Dwarf 3 Smart Telescope Review (Full Review)
Observe a galaxy, far, far away… with your very own Millennium Falcon – the amazing Dwarf 3 Smart Telescope. This portable smart telescope allows you to witness galaxies thousands of light years away with most of the complexities of astronomy taken out of the equation. Apart from observing galaxies and other astronomical objects such as the moon or the sun, the Dwarf 3 is also capable of bird watching and taking panorama shots, all controlled from your smartphone via an app.
| Editor Update: Since we received the Dwarf 3 in Ocotober 2024, there have been a number of updates that makes capturing neighbouring celestial objects such as the moon or deep sky objects like the Orion Nebula far easier but more importantly, far better images. |
.
Dwarf 3 Smart Telescope Highlights
- Choose and Play!
The new DWARFLAB App leads you to stunning shots on a single click. Designed with beginners in mind, the one-click shooting feature streamlines the process, ensuring effortless photography. At the same time, for advanced users, manual adjustments are still open for your precise control over every aspect of the shot - Instant start with a touch with NFC connection
Just put your phone near the Ring Light and connect to DWARF 3 instantly. Start your shooting right now. - IP54
Resistant to dust, moisture and dew, ensuring optimal performance in most climate conditions - Background imaging
Minimising or even closing the app while shooting, the Dwarf 3 will keep working and will be ready for you to check back in - Auto Capture and Tracking
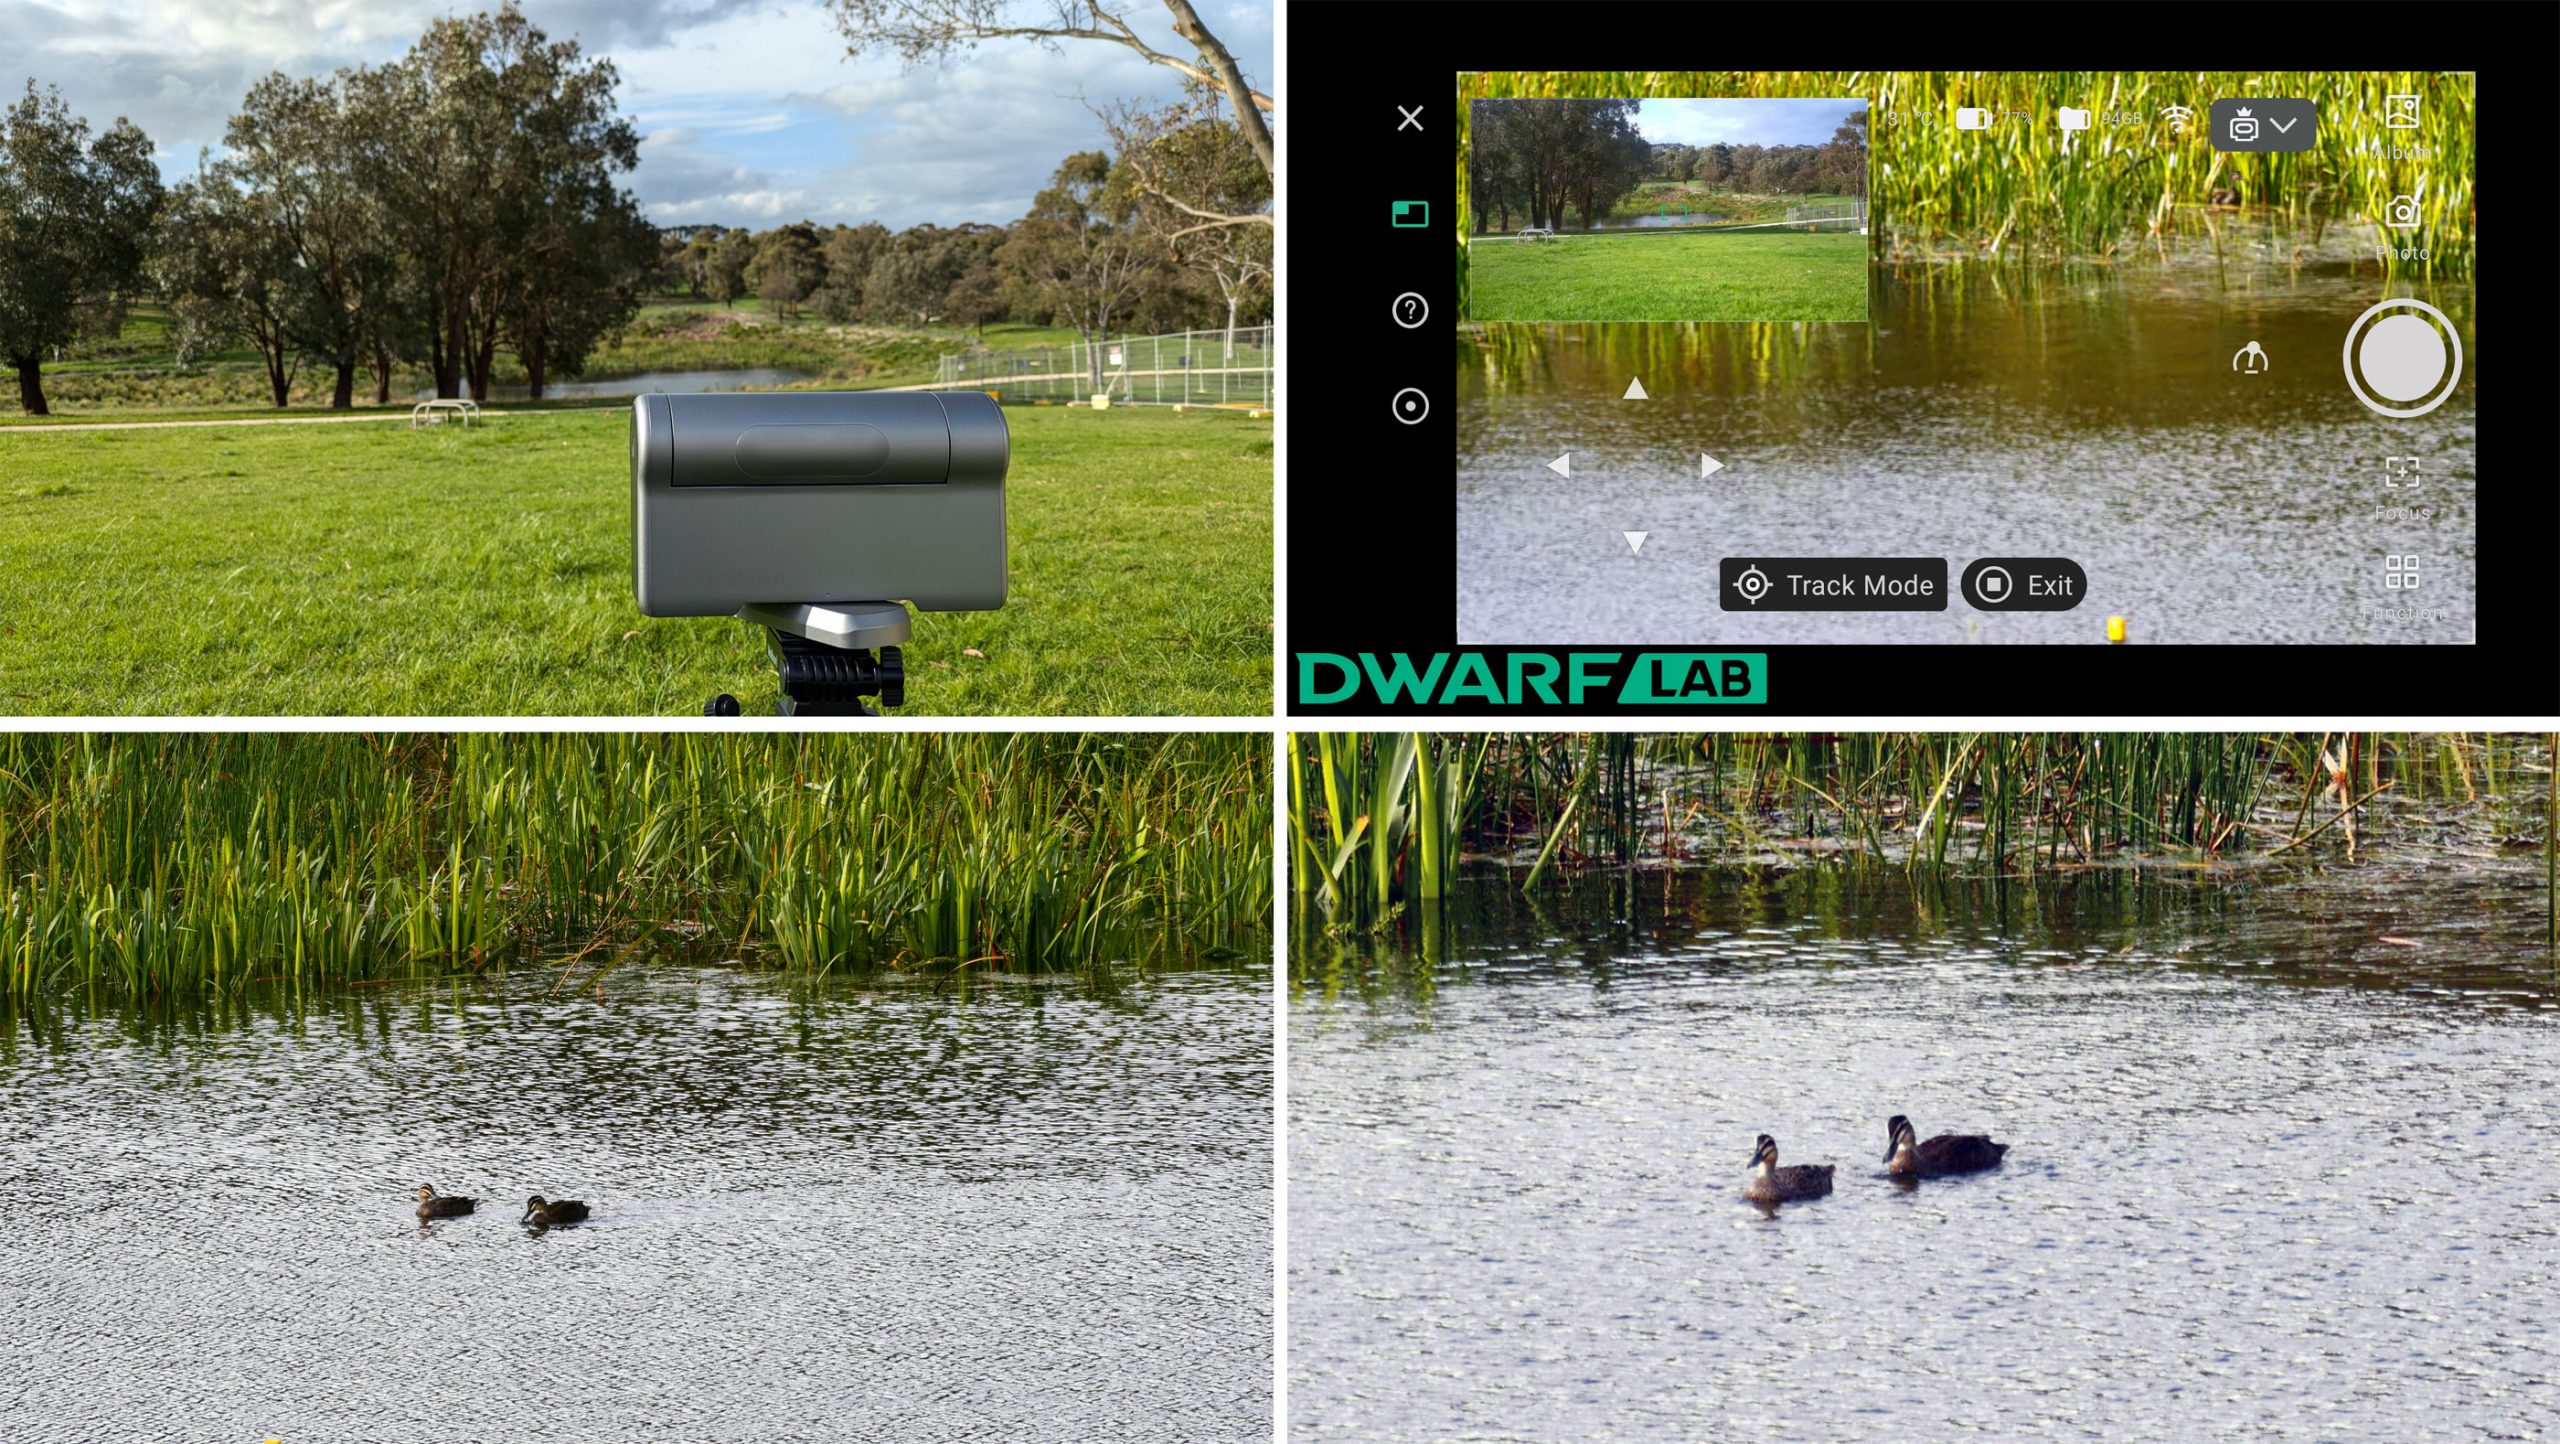
Identify, capture, and track your target. Even if your bird takes flight suddenly, the dual-camera system collaboratively re-locates and continues tracking it without missing a beat. - Giga Pixel Panorama
Frame expansive vistas on your screen and showcase immersive horizons to your friends. Let DWARF 3’s AI-powered stitching blend the scenery for breathtaking panoramas
Courtesy of Dwarflab, the manufacturers of the Dwarf 3, Impulse Gamer was given an exclusive early review sample of this very clever and easy-to-use device. The Dwarf 3 is also available for pre-order at Dwarflab if you want to get in fast.
Size matters!
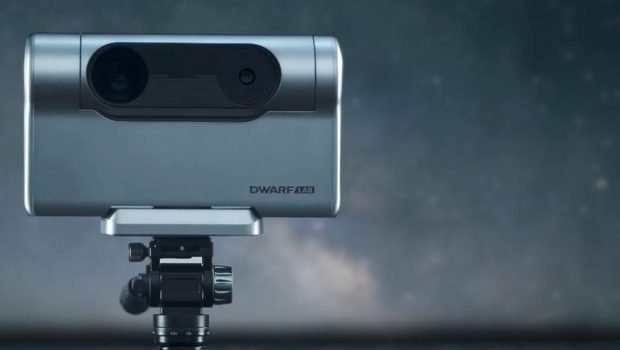
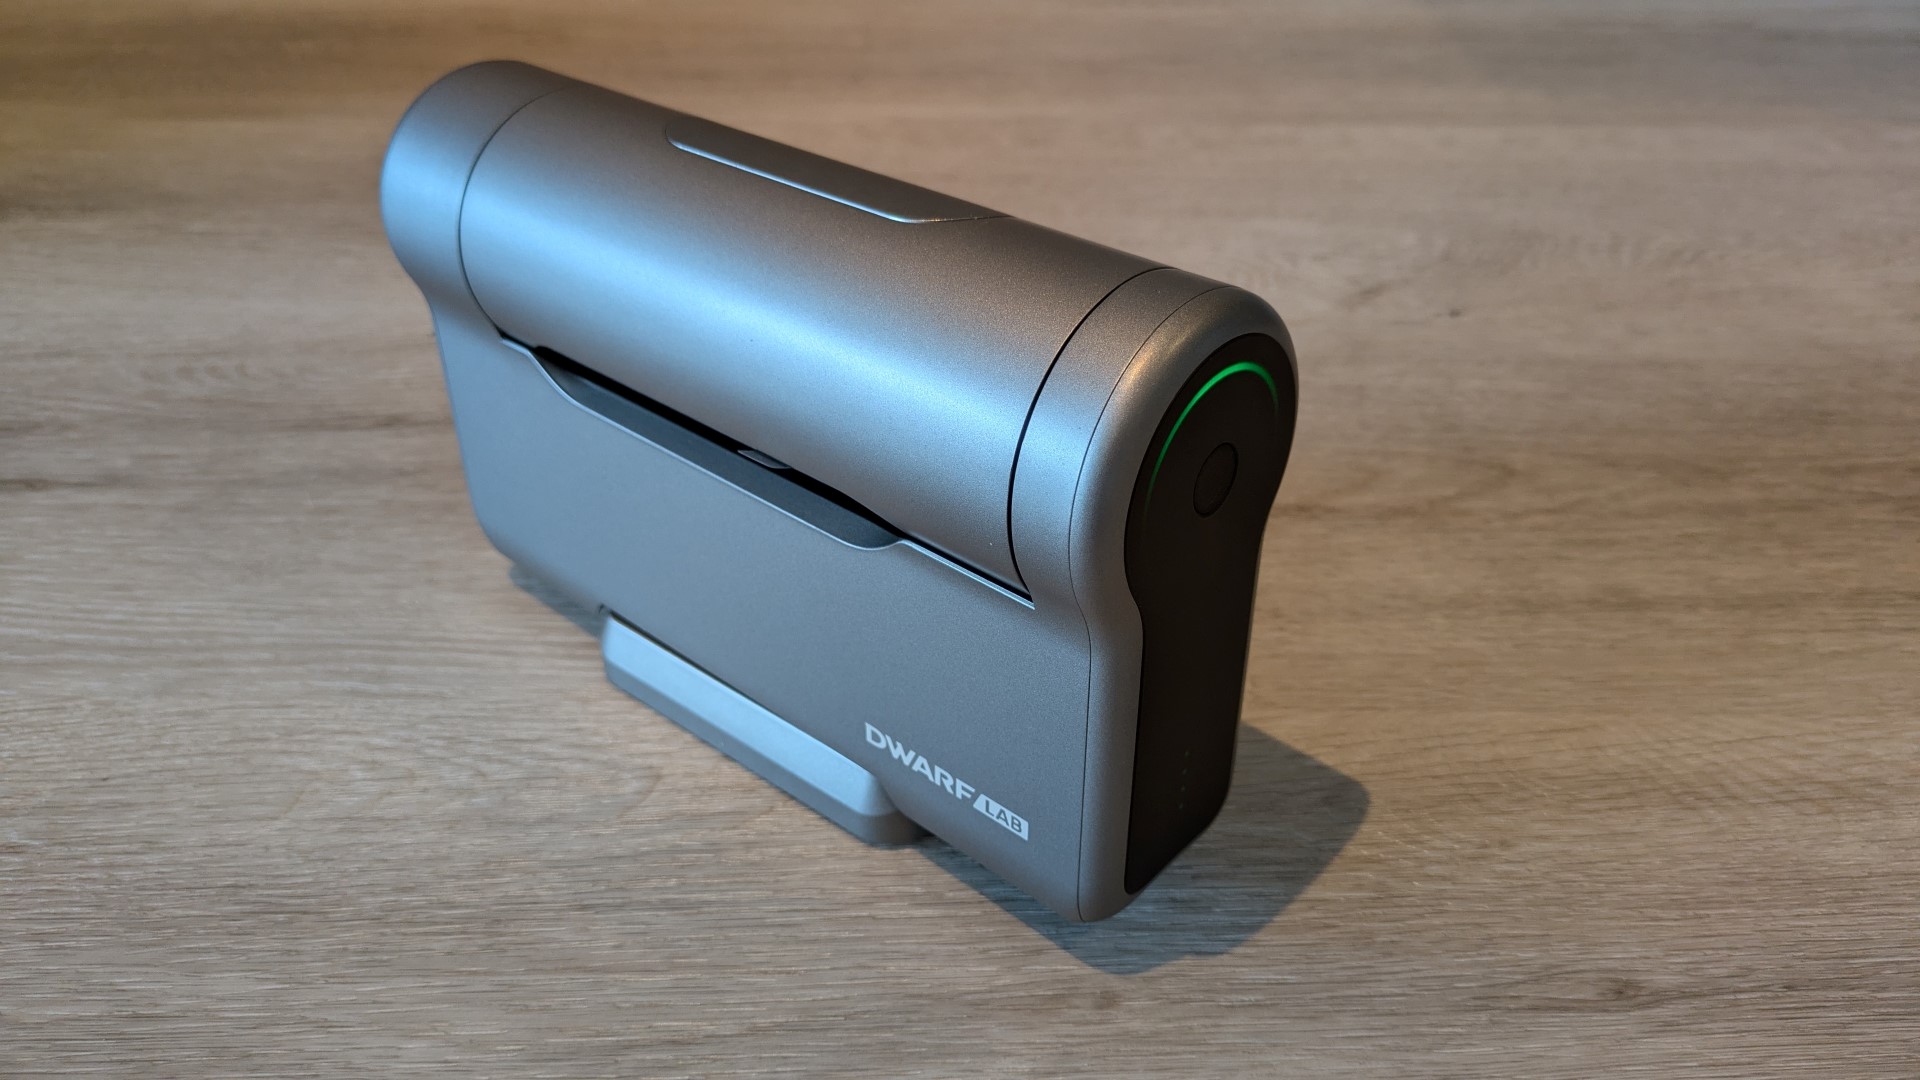
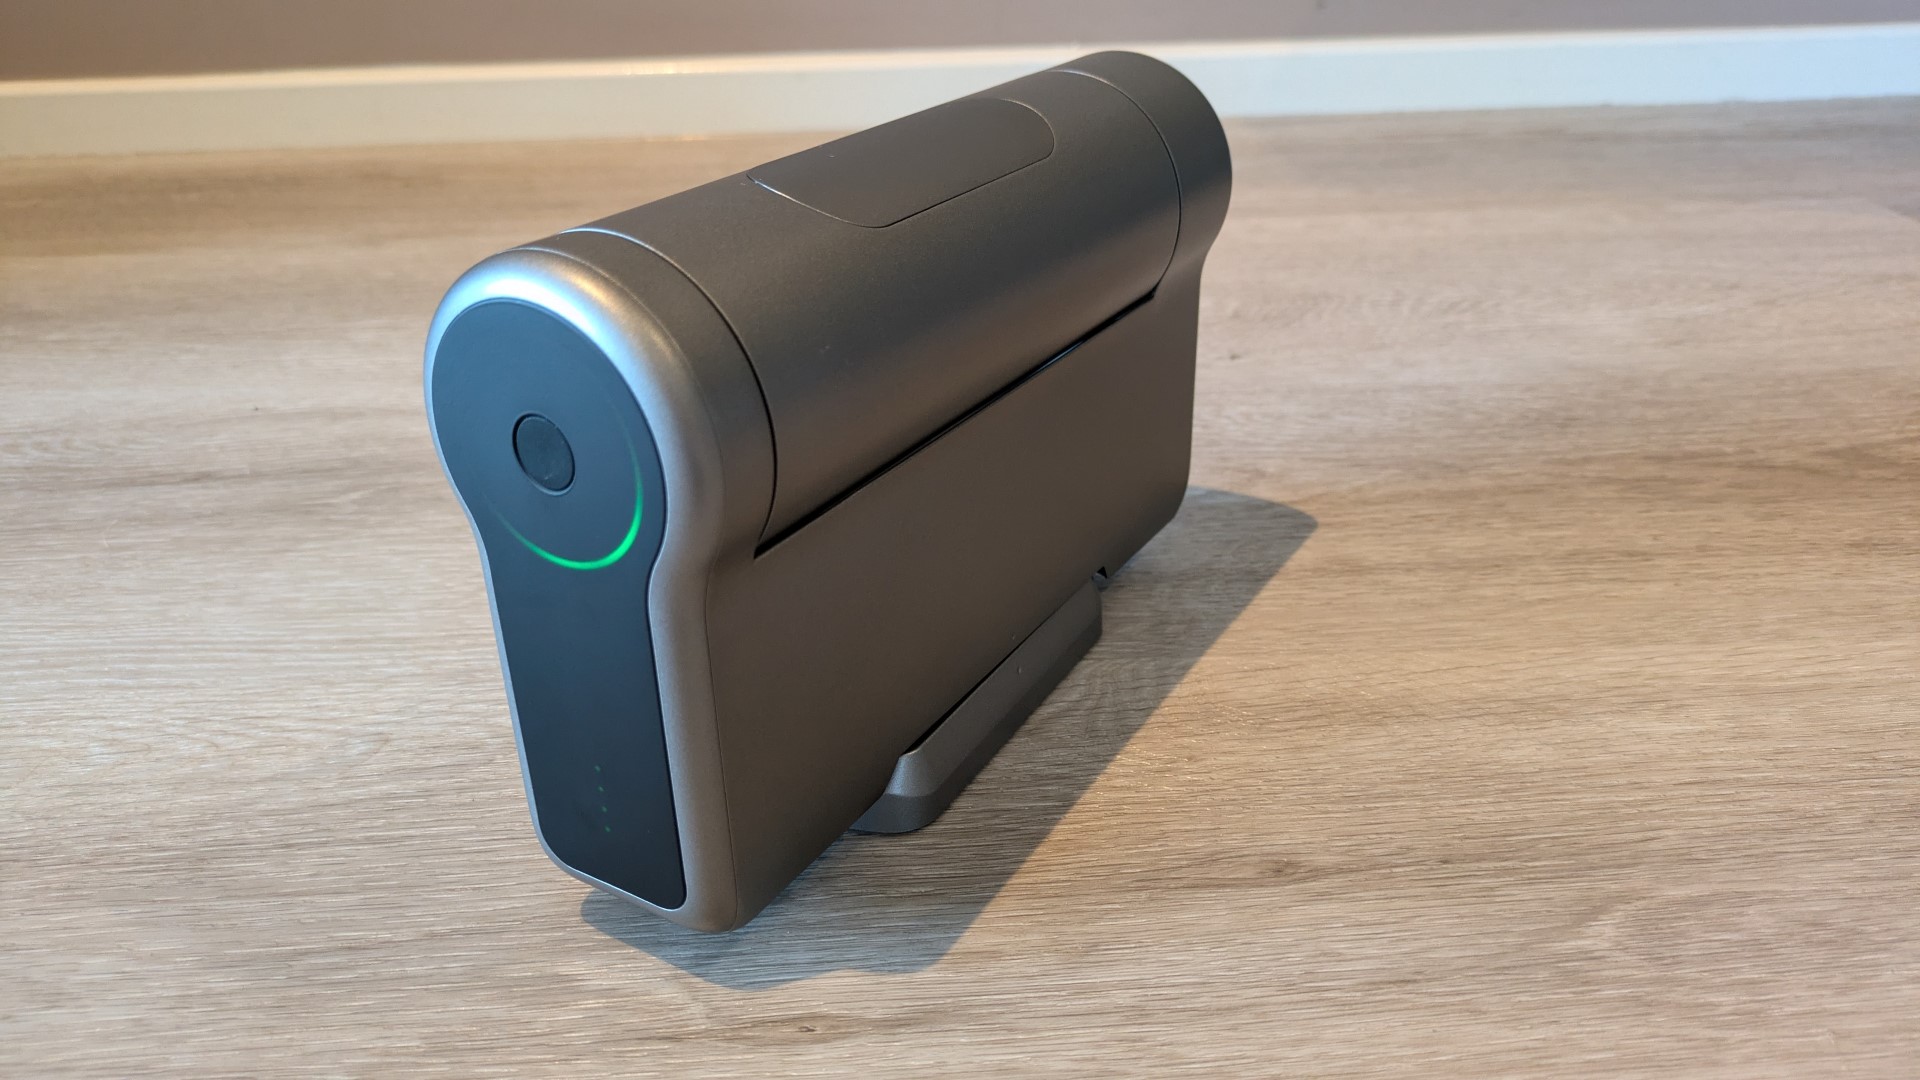
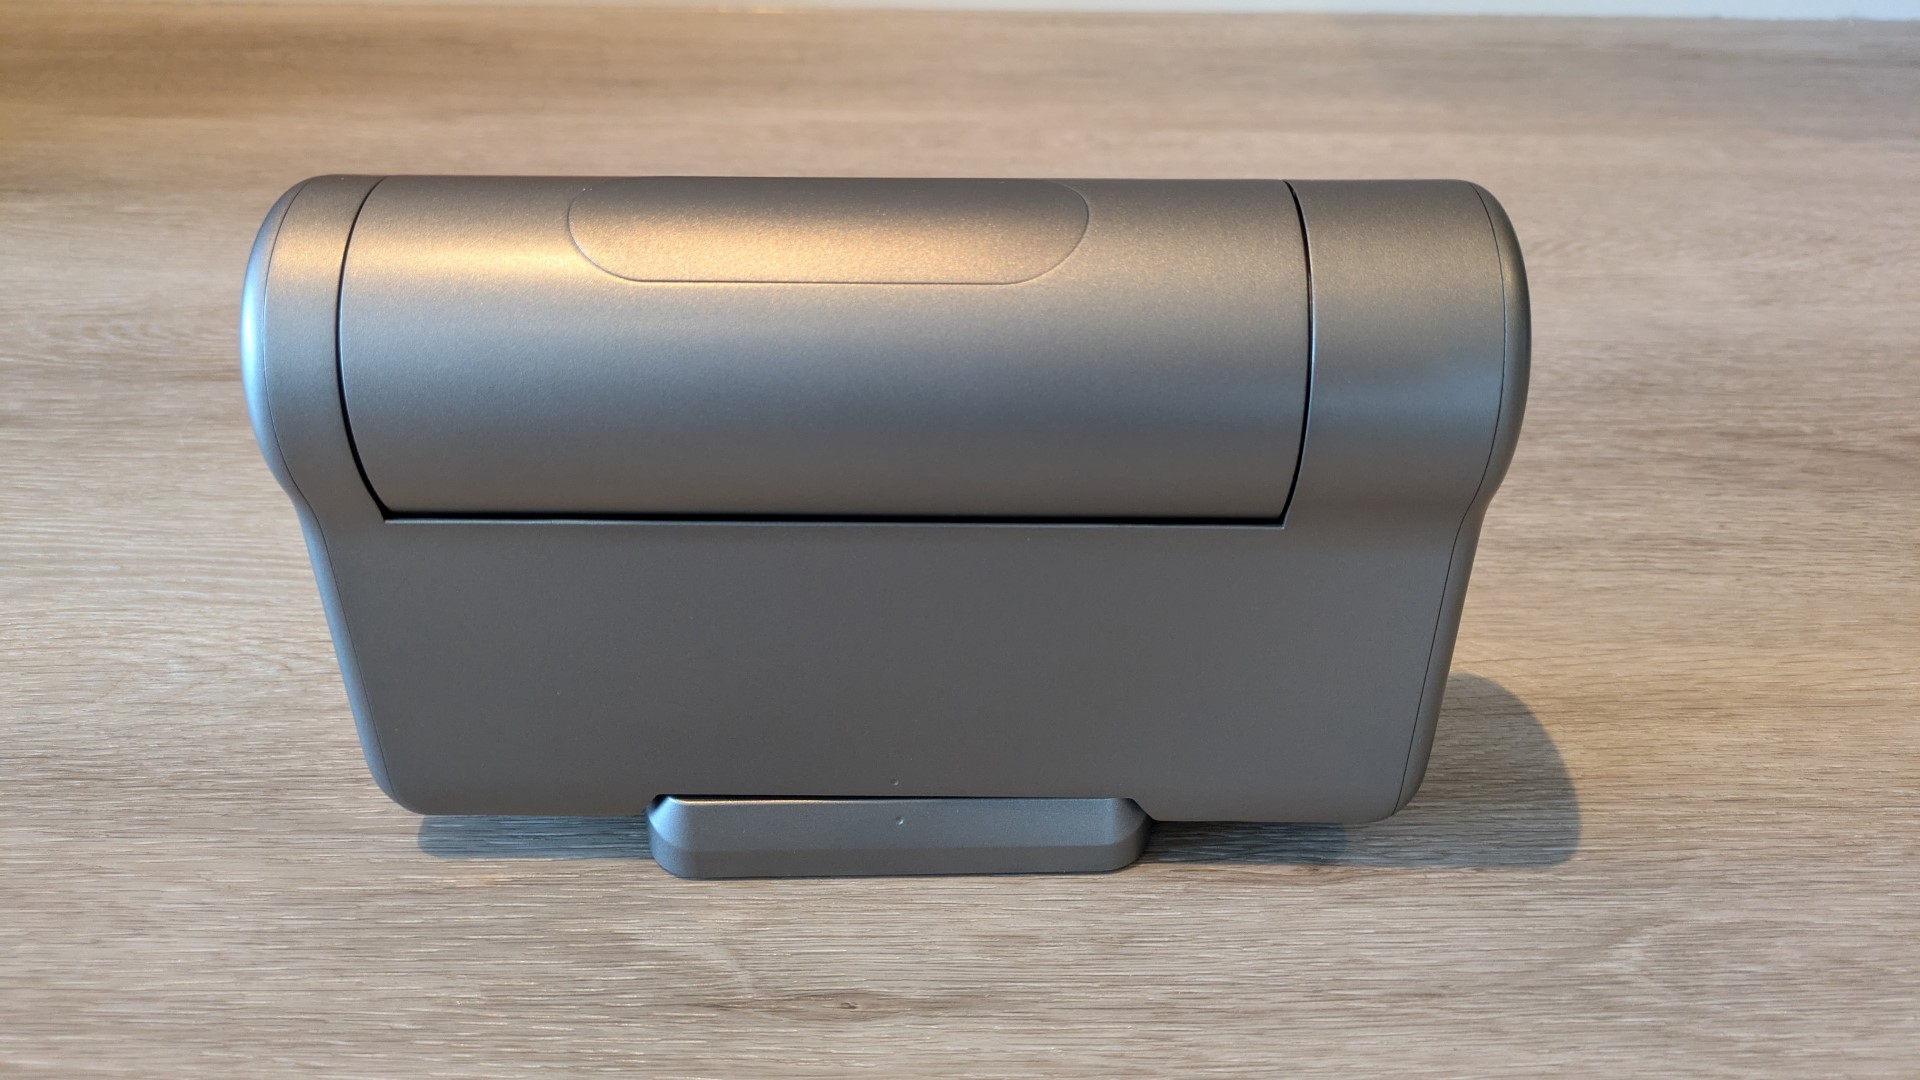
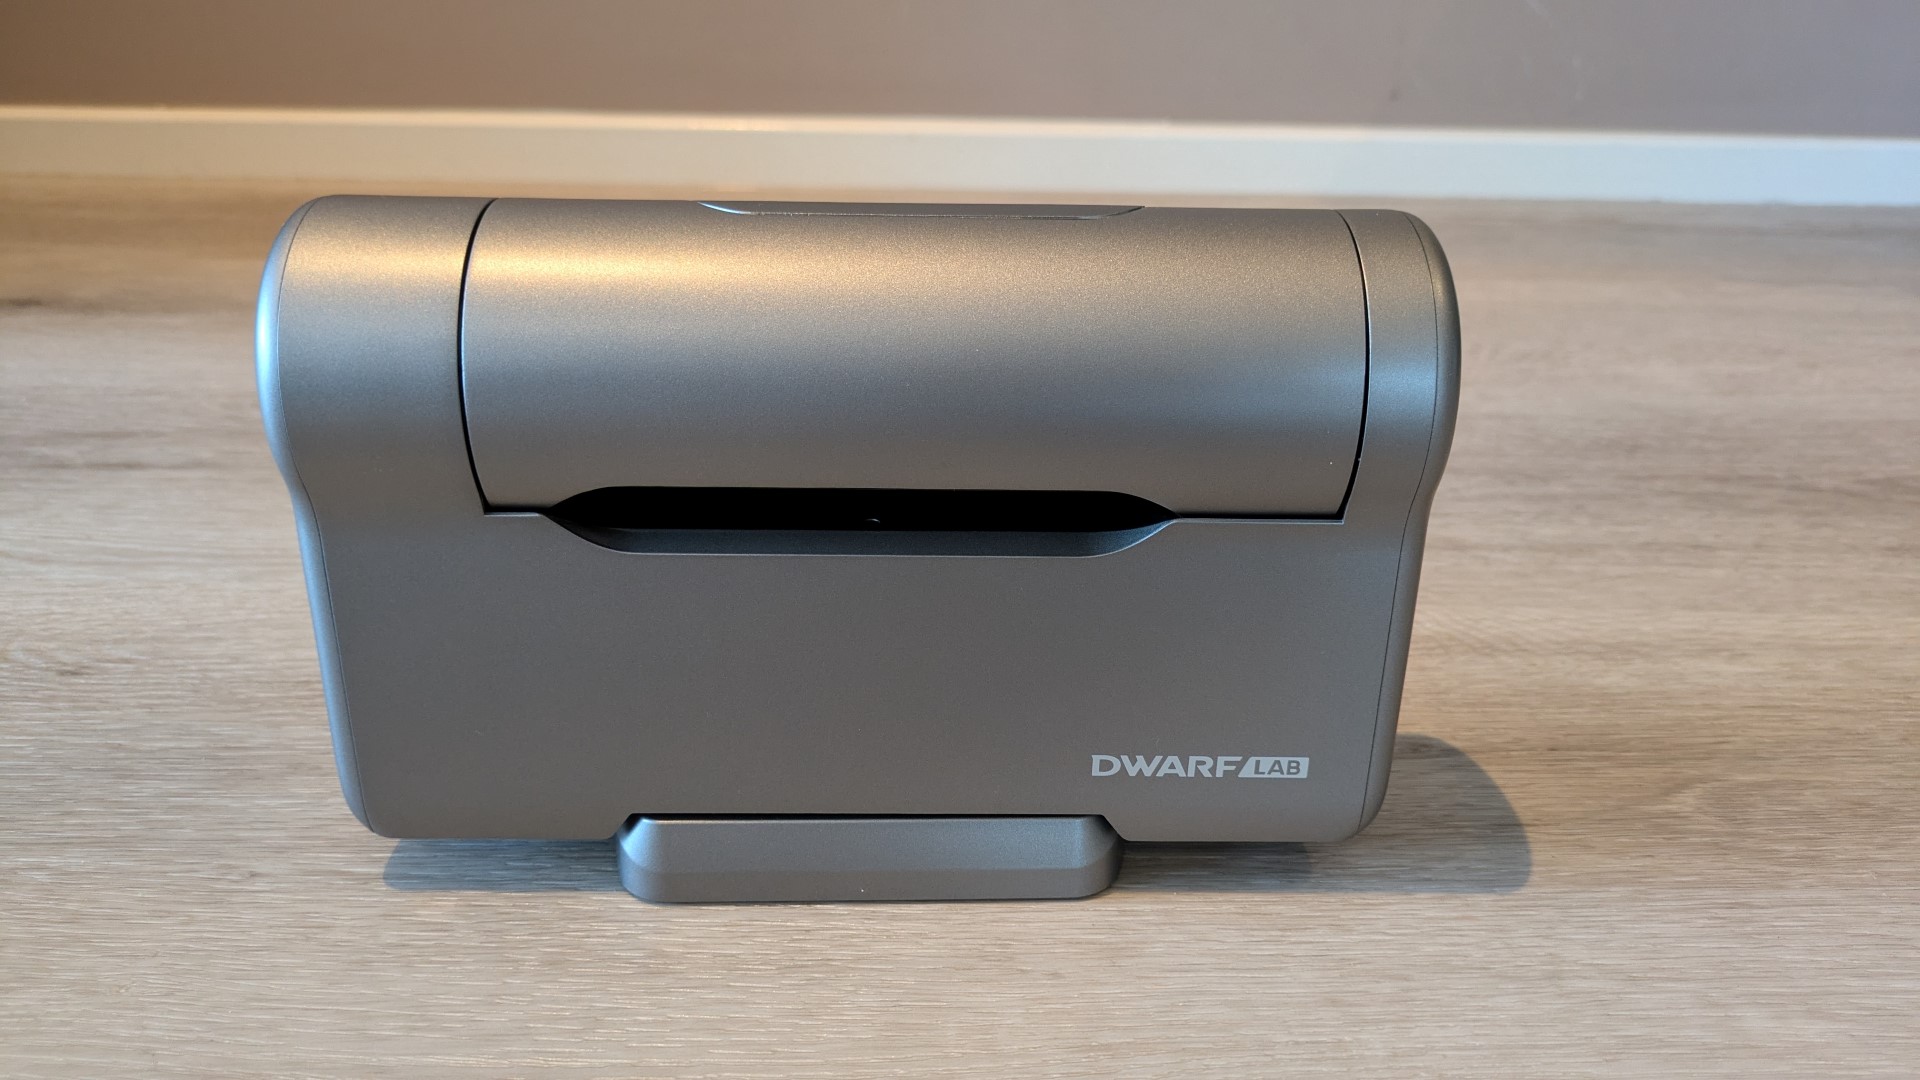
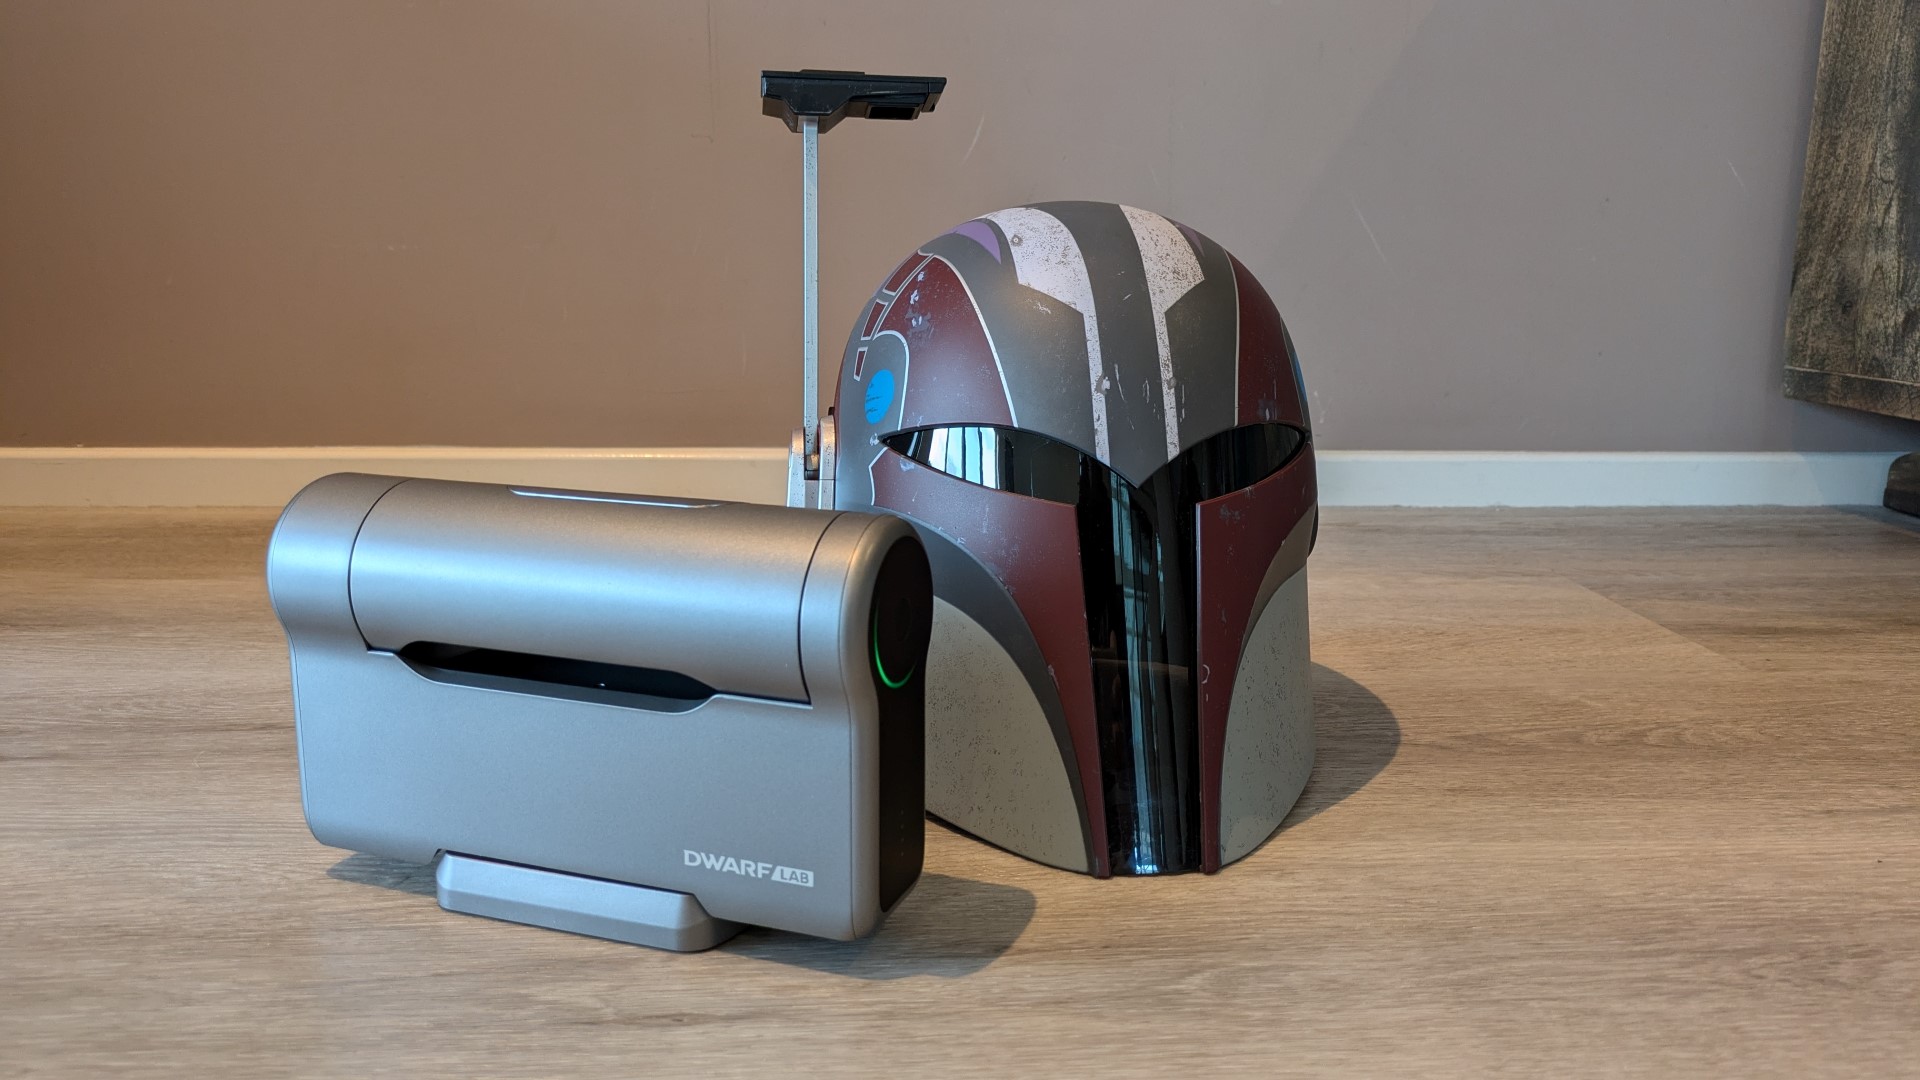
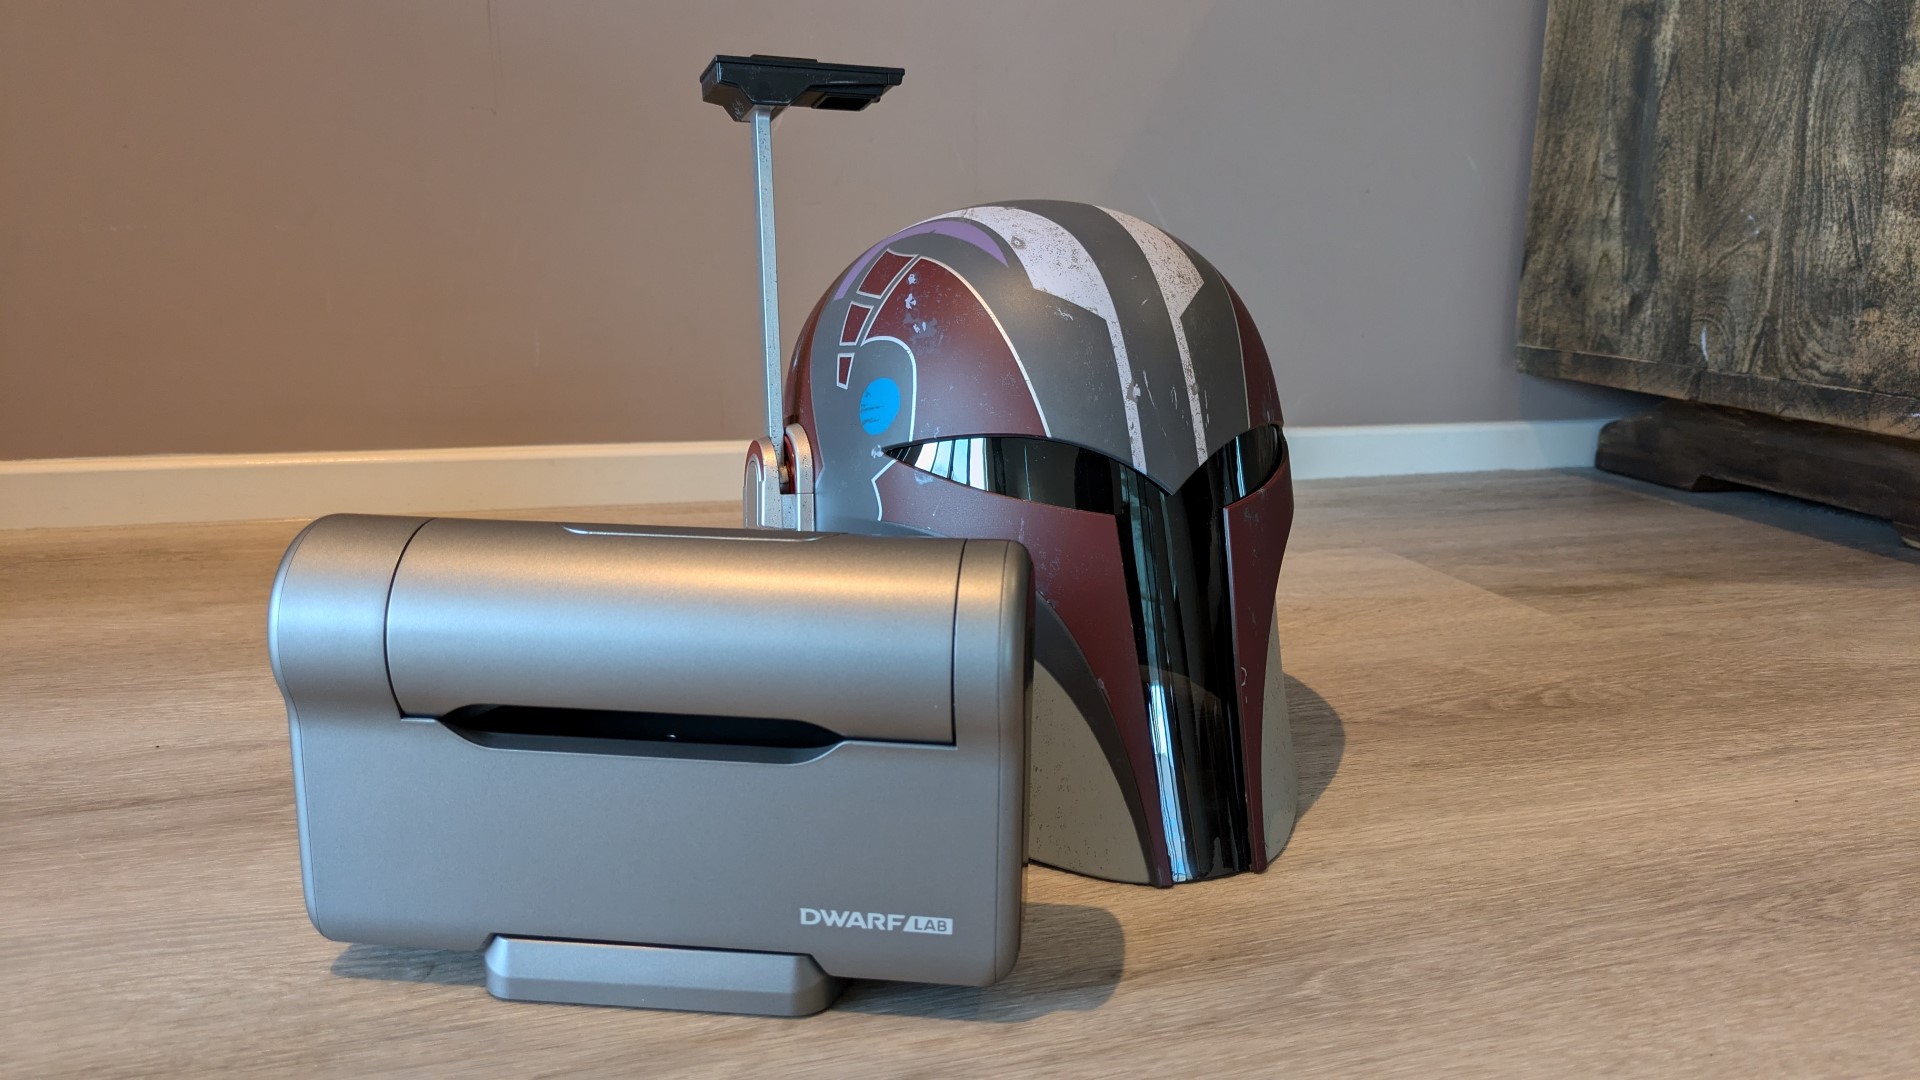
The most noticeable physical feature of the Dwarf 3 is its diminutive size, which of course mirrors its name – the Dwarf 3 Smart Telescope is a very small device considering what it is capable of. Size-wise, it reminds me of those once-popular video cameras back in the day, with the Dwarf 3 measuring just 20cm (H) x 6cm (W) x 13cm (L) and weighing only 1.2kg, making it super portable. The only additional accessory you need for this telescope is a tripod.
Additionally, Dwarflab makes the entire process relatively simple when you are searching the heavens for your intended constellation. Although traditional telescopes can use smartphones to assist with calibration, pinpointing locations, and taking photos, the Dwarf 3 is fully automated – for the most part. If you want to take astrophotography, there is a simple process to follow that includes the following instructions from Dwarflabs (Thanks Grace);
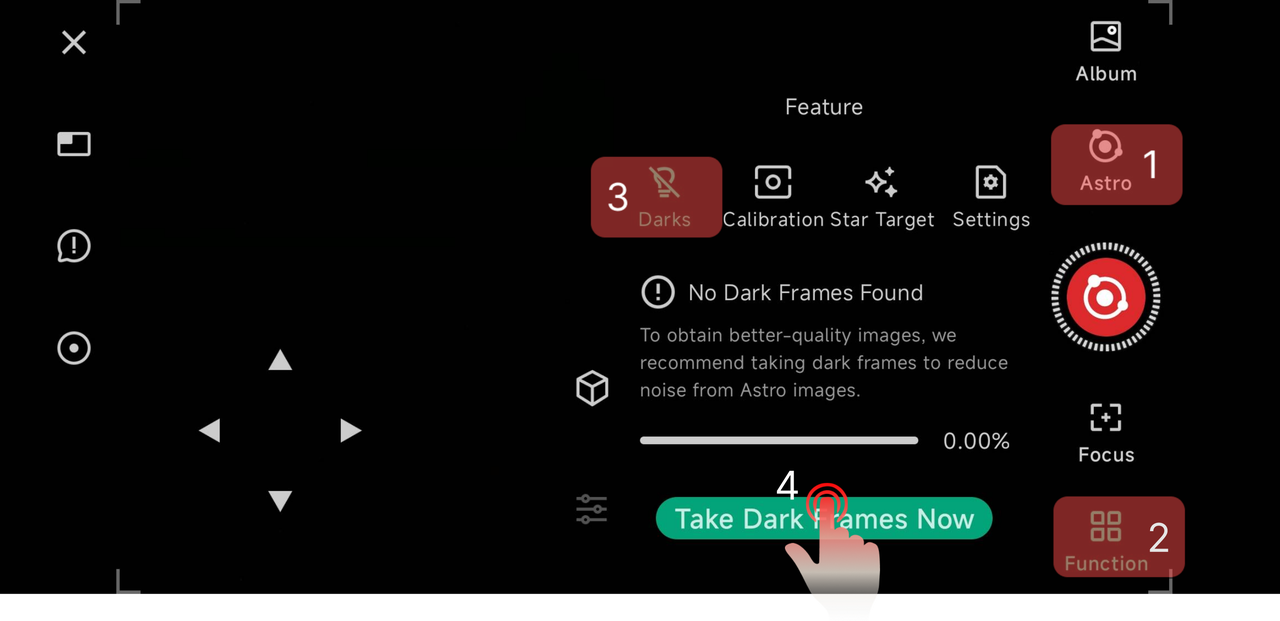
Turn off the lights in Home Page
Enter shooting interface. Select ‘Astro’ mode and click “Take Dark Frames Now”.
To more accurately reduce noise, the DWARF 3 supports taking personalized dark frames. You can choose to capture dark frames using either wide-angle or telephoto lenses for different use.

* For optimal results, the dark frame’s exposure, gain, binning and shooting temperature should match your actual shooting parameters. If the temperature difference exceeds 8°C, we will prompt you to recapture the dark frame.
How to take dark frames:
- Choose whether you need to take Darks for the telephoto or the wide-angle, then switch to that particular view.
- At Darks, navigate to Function, then set the Shutter, Gain, and Binning(if you are taking tele darks) of your dark frames to the same settings as your Astro shooting session. The default number of dark frames is set to 10, with support for customization.
- Attach ND filters to the device, and retract the lens into the body facing downwards to prevent light from entering the lens
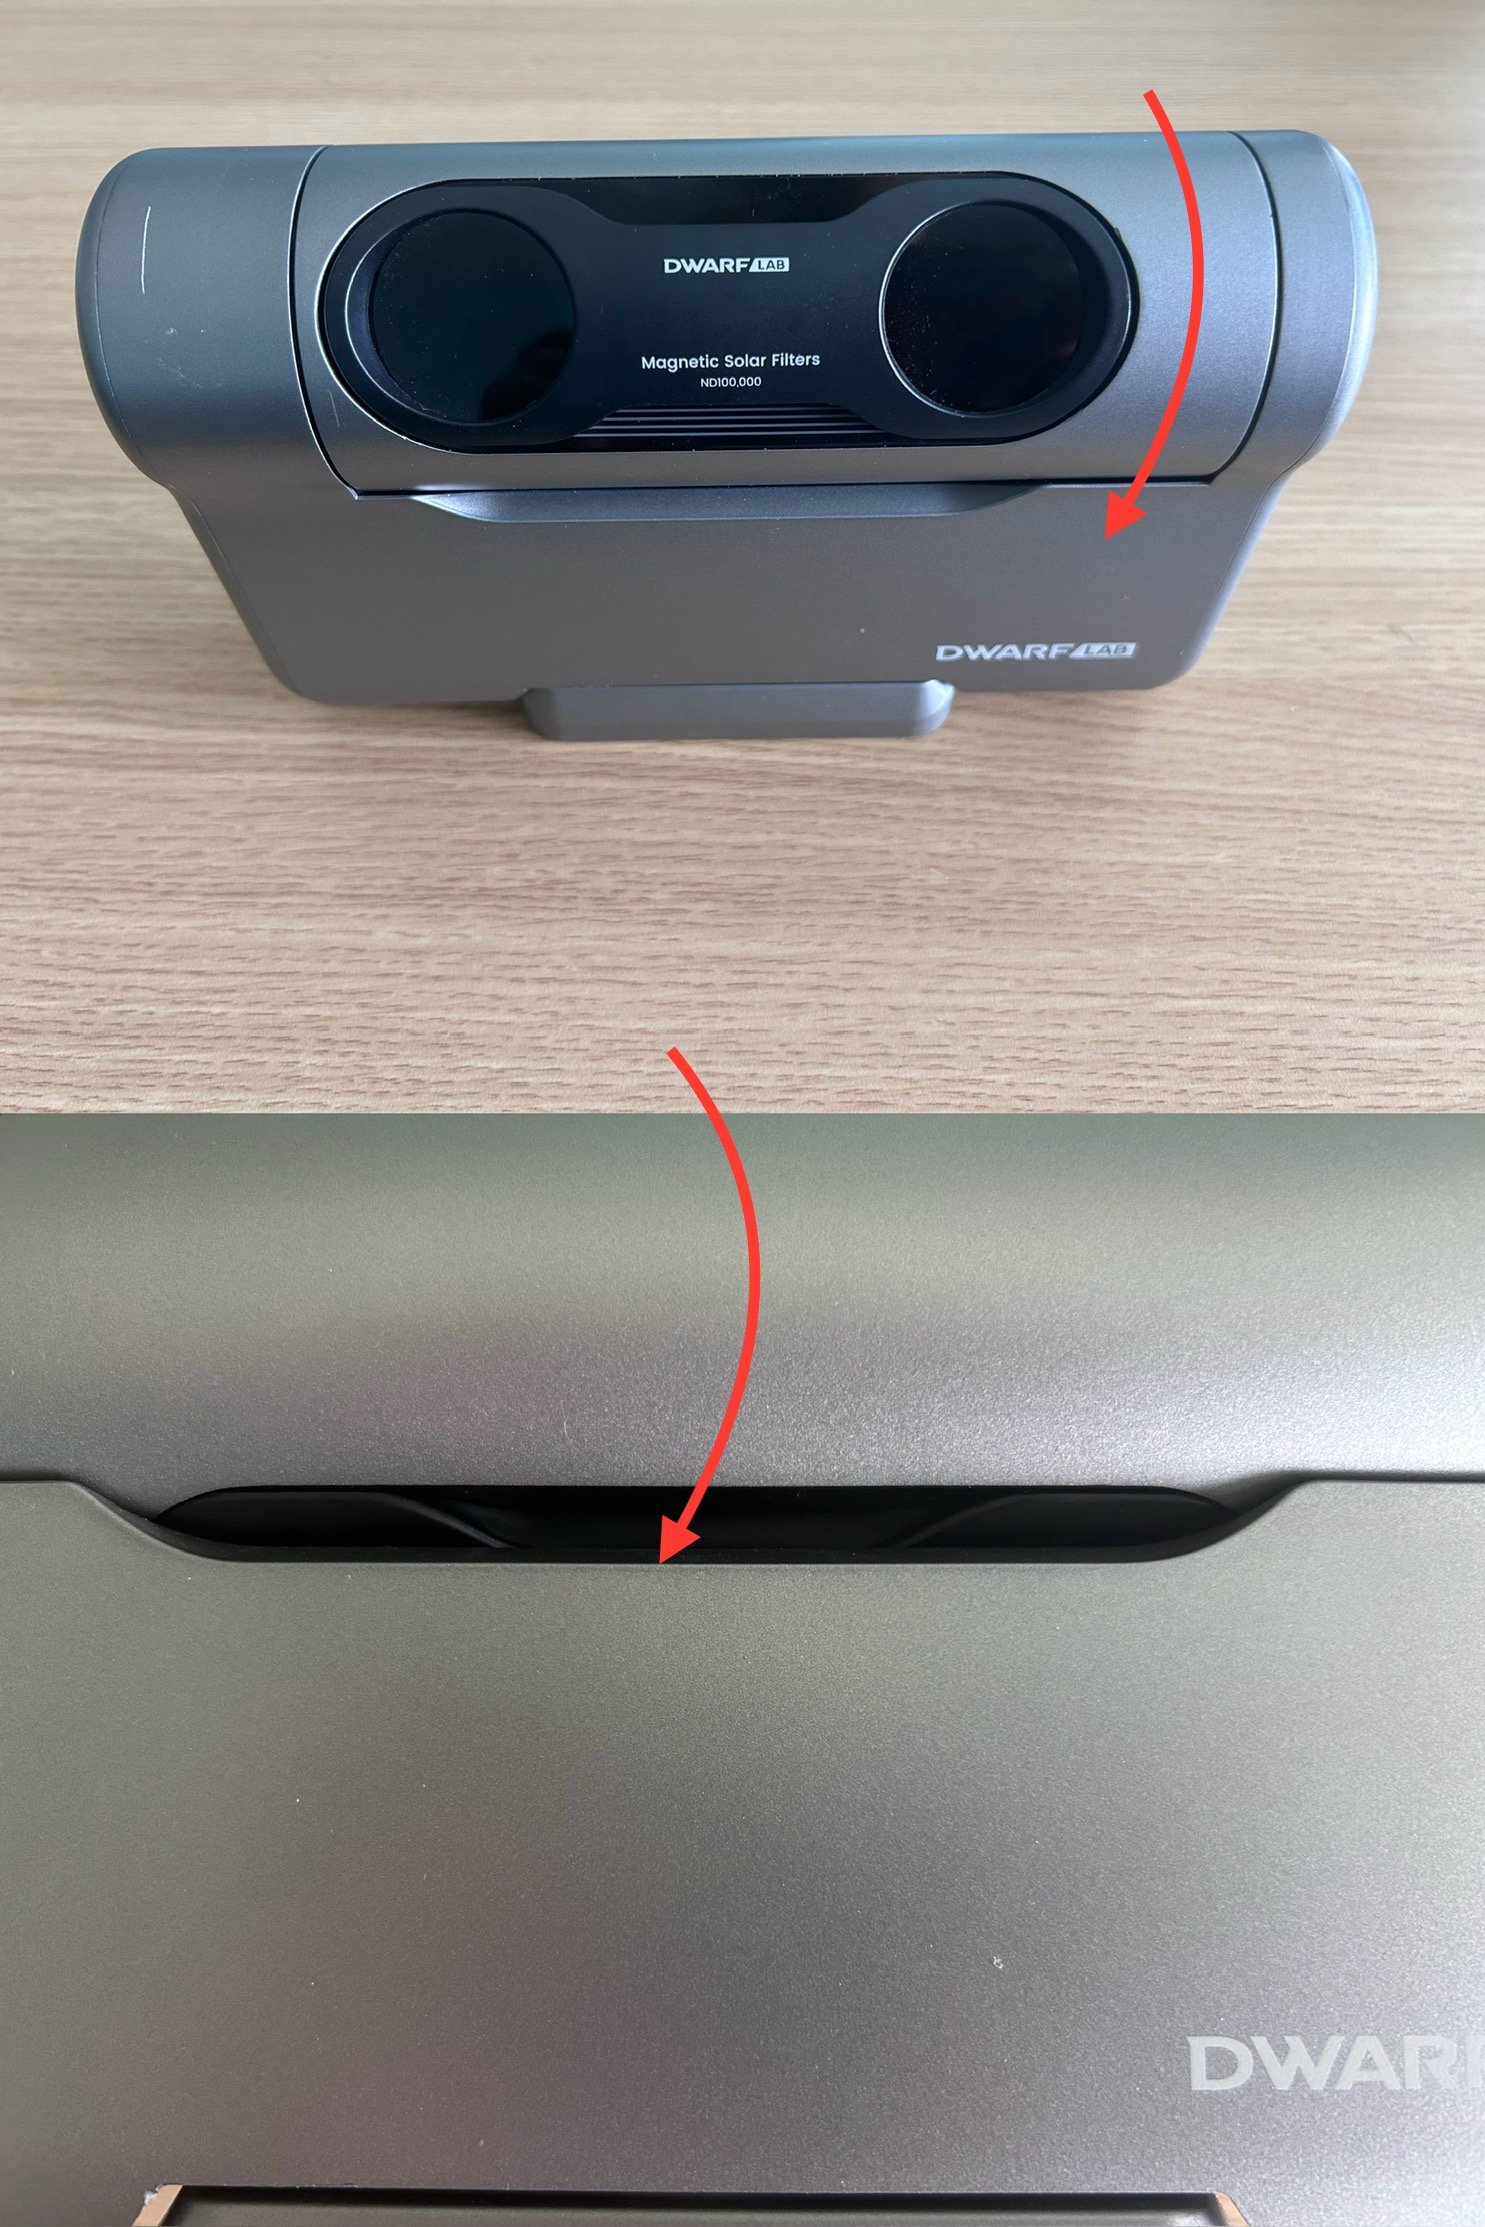
- Click the shooting button on the right to start capturing the dark frames.
Tap ‘Tele Darks/Wide Darks’ to see the dark frames you have already taken. DWARF 3 comes with some set of darks which are considered to be highly used.
*Notes: You can find the parameter sets associated with the dark frames you’ve captured under ‘Astro Mode – Parameter Settings – Preset’. Simply click on your preferred parameter set to quickly apply the corresponding settings. Dark frames captured for wide-angle and long-focus lenses will be visible under their respective menus.
And that’s it! The only other caveat is that you need clear skies!
The Unboxing
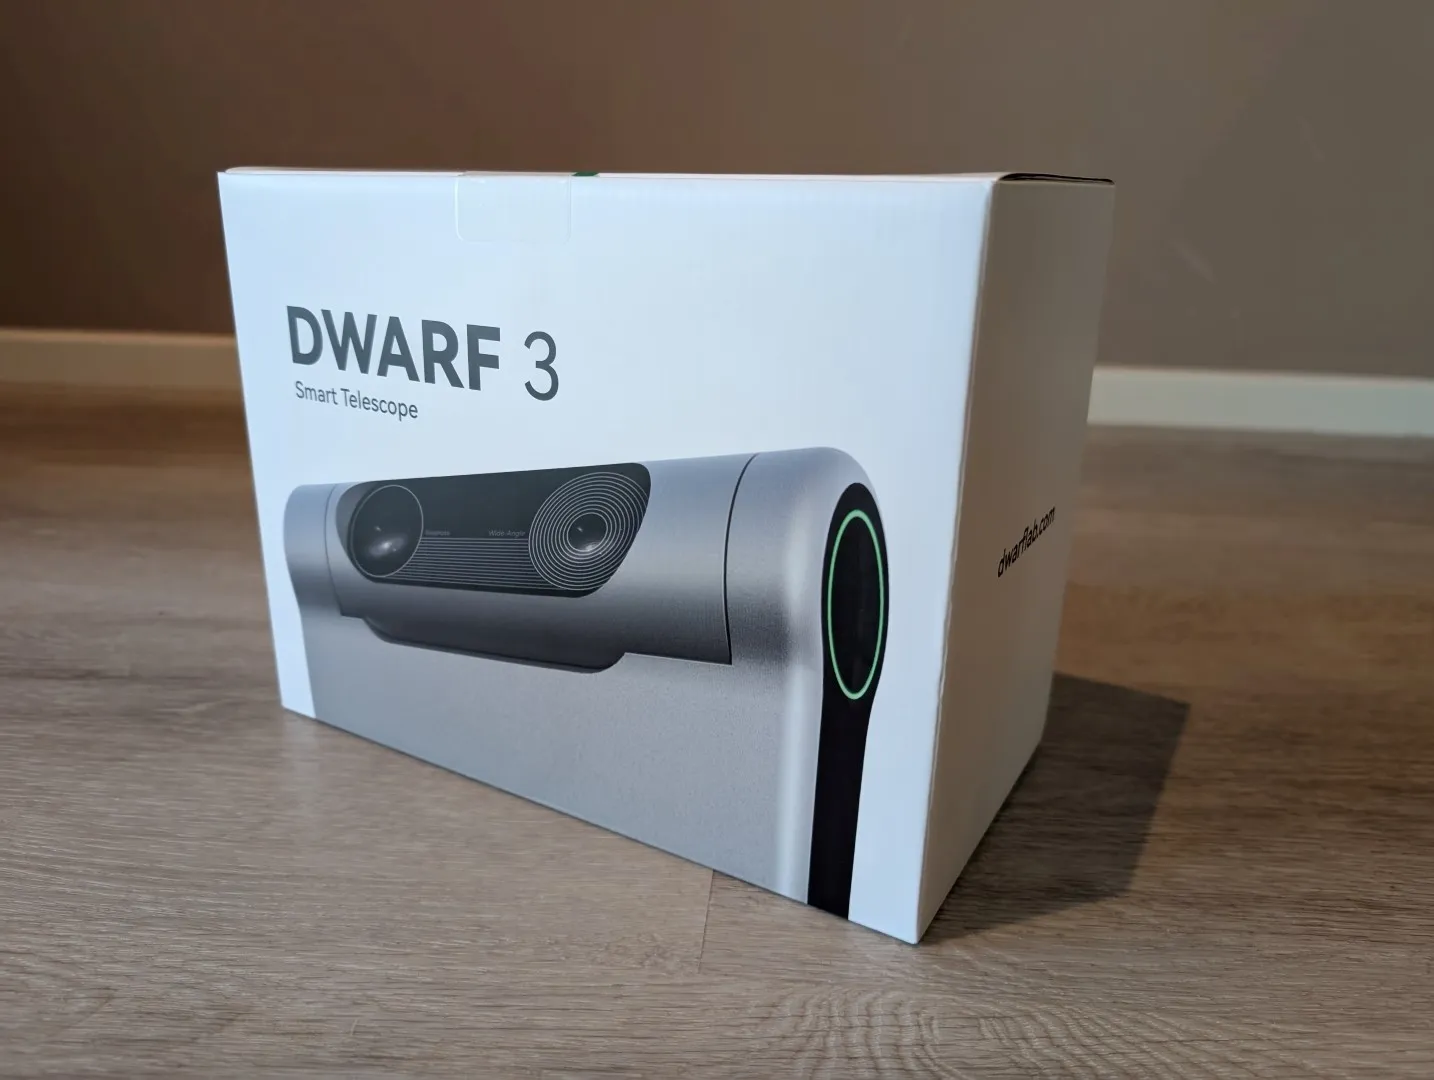
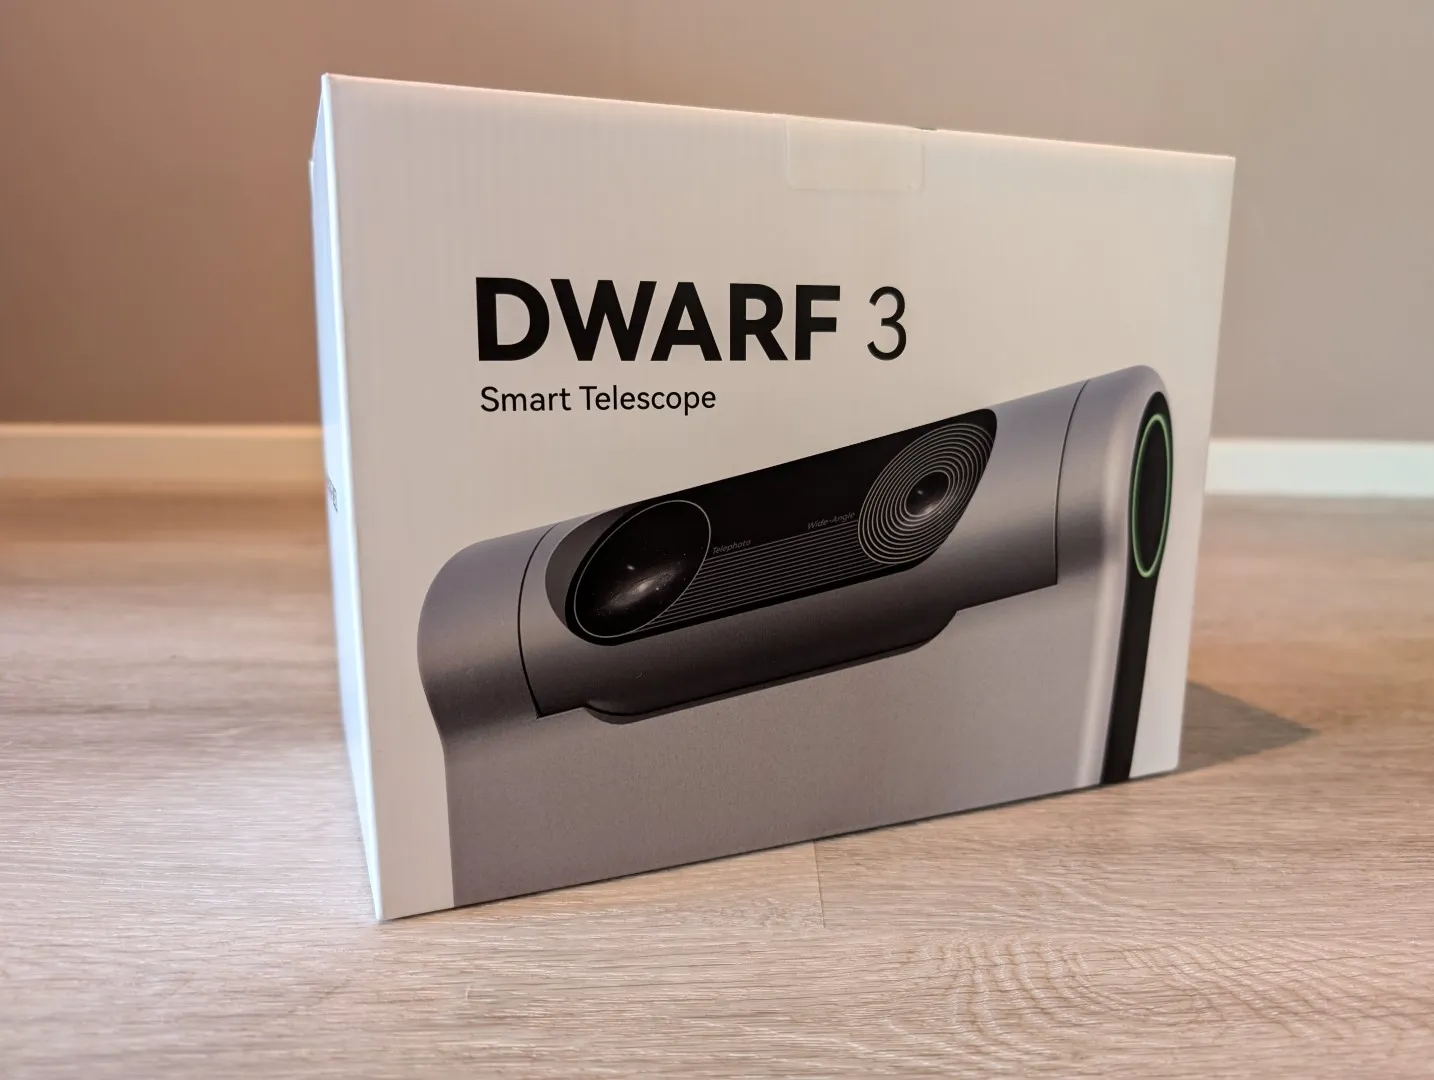
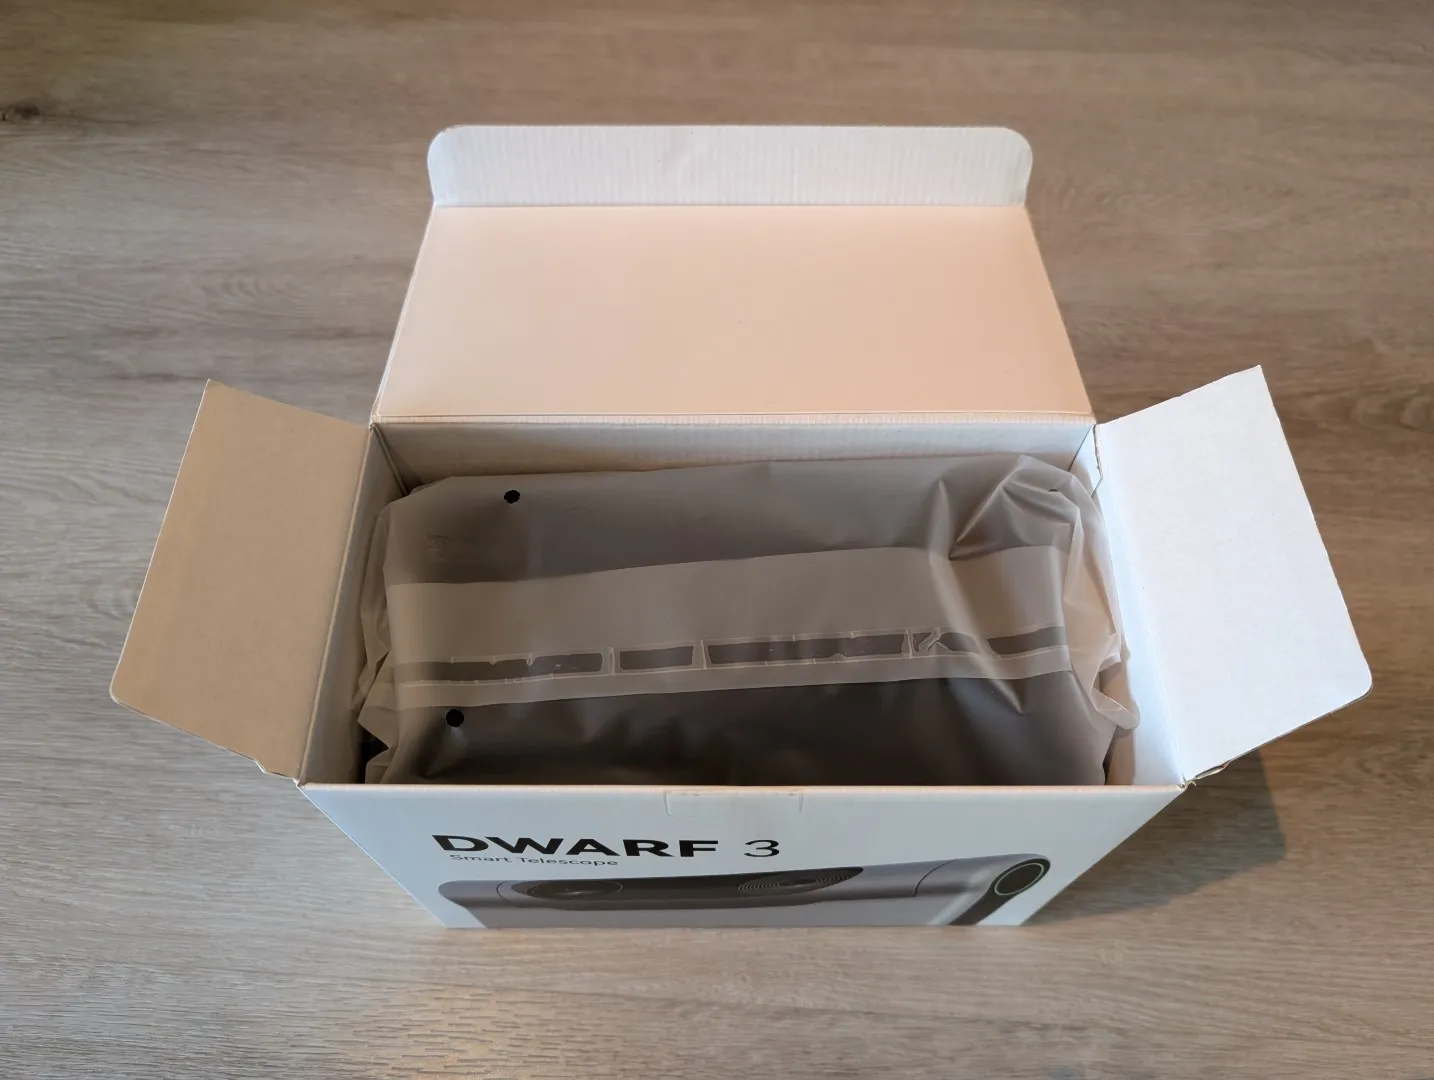
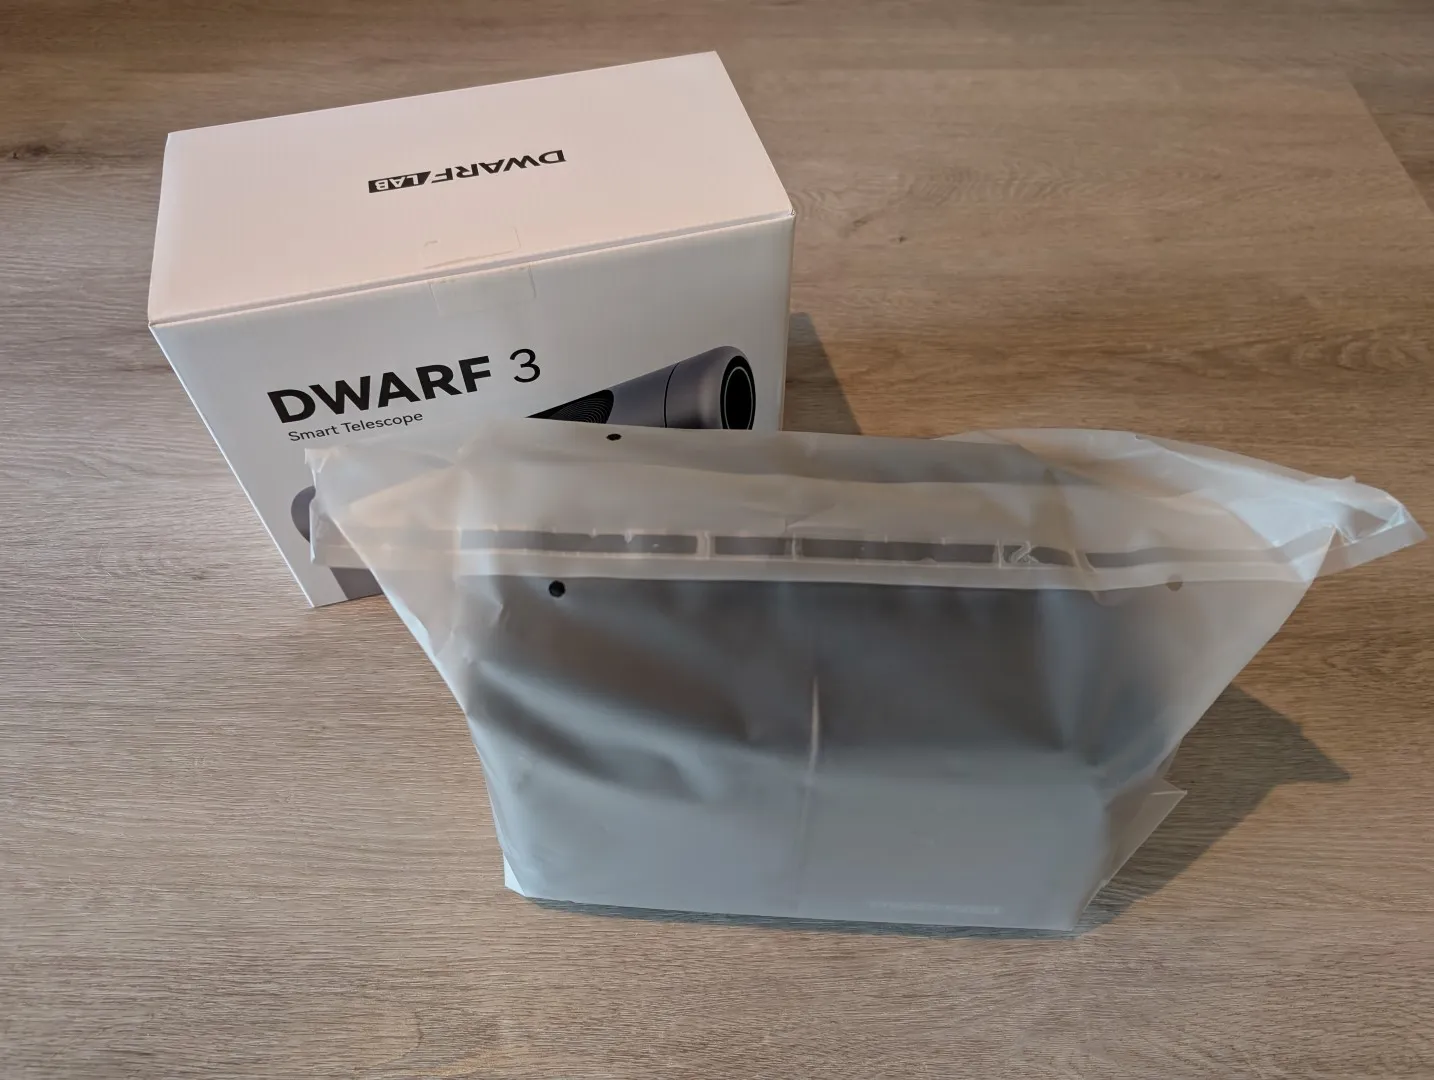
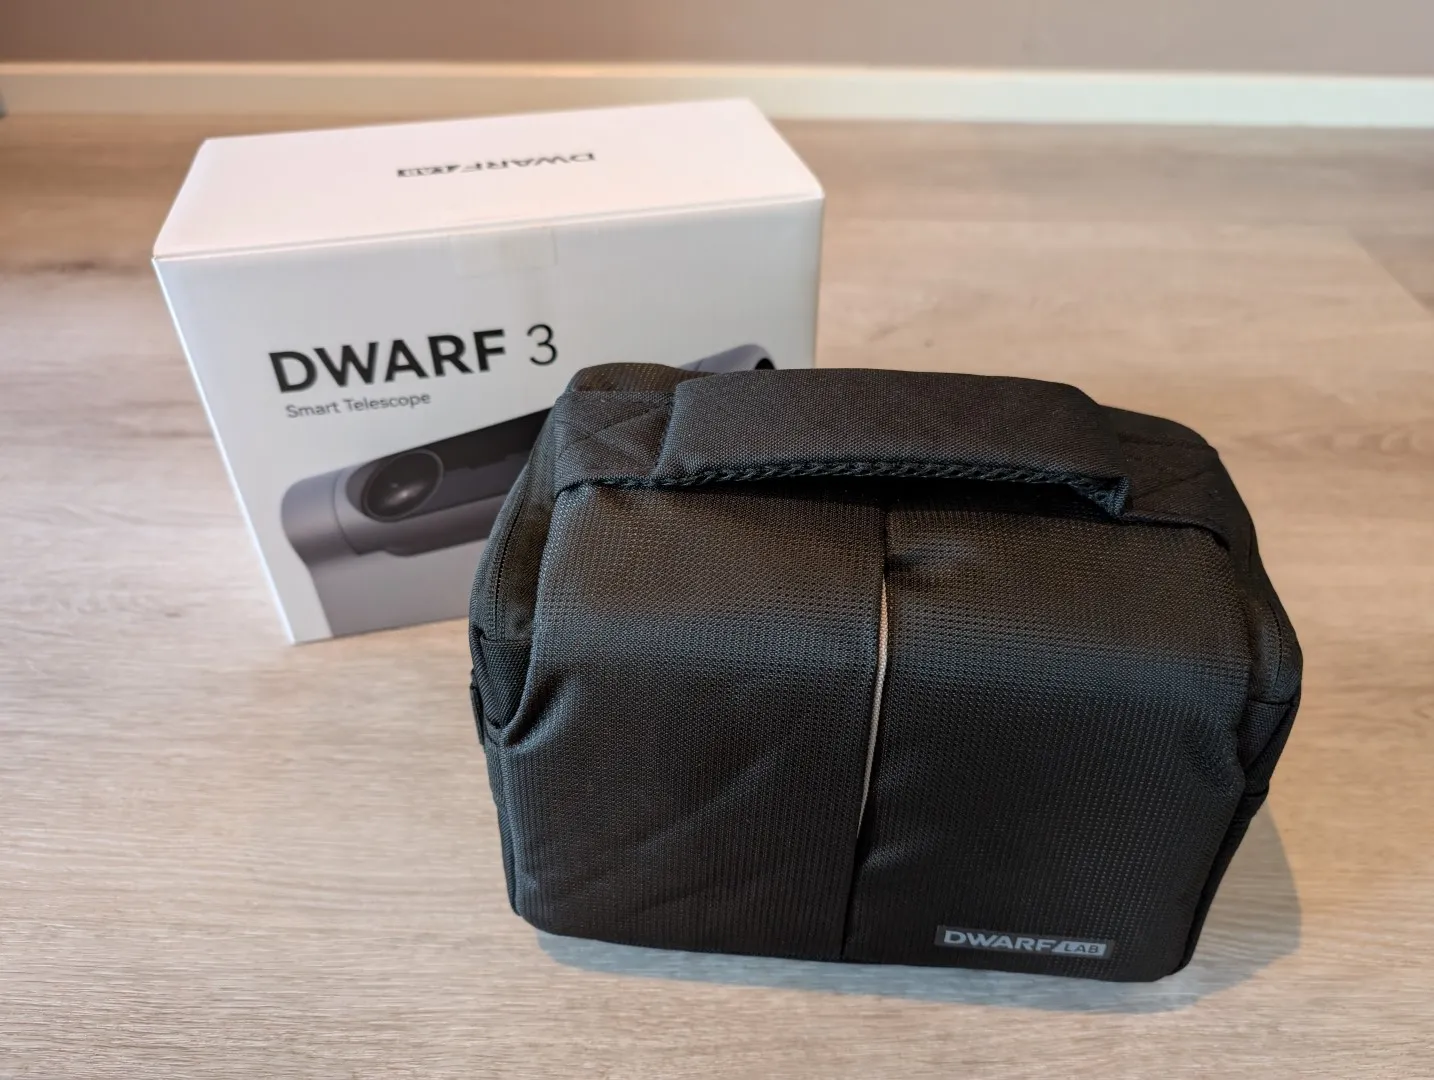
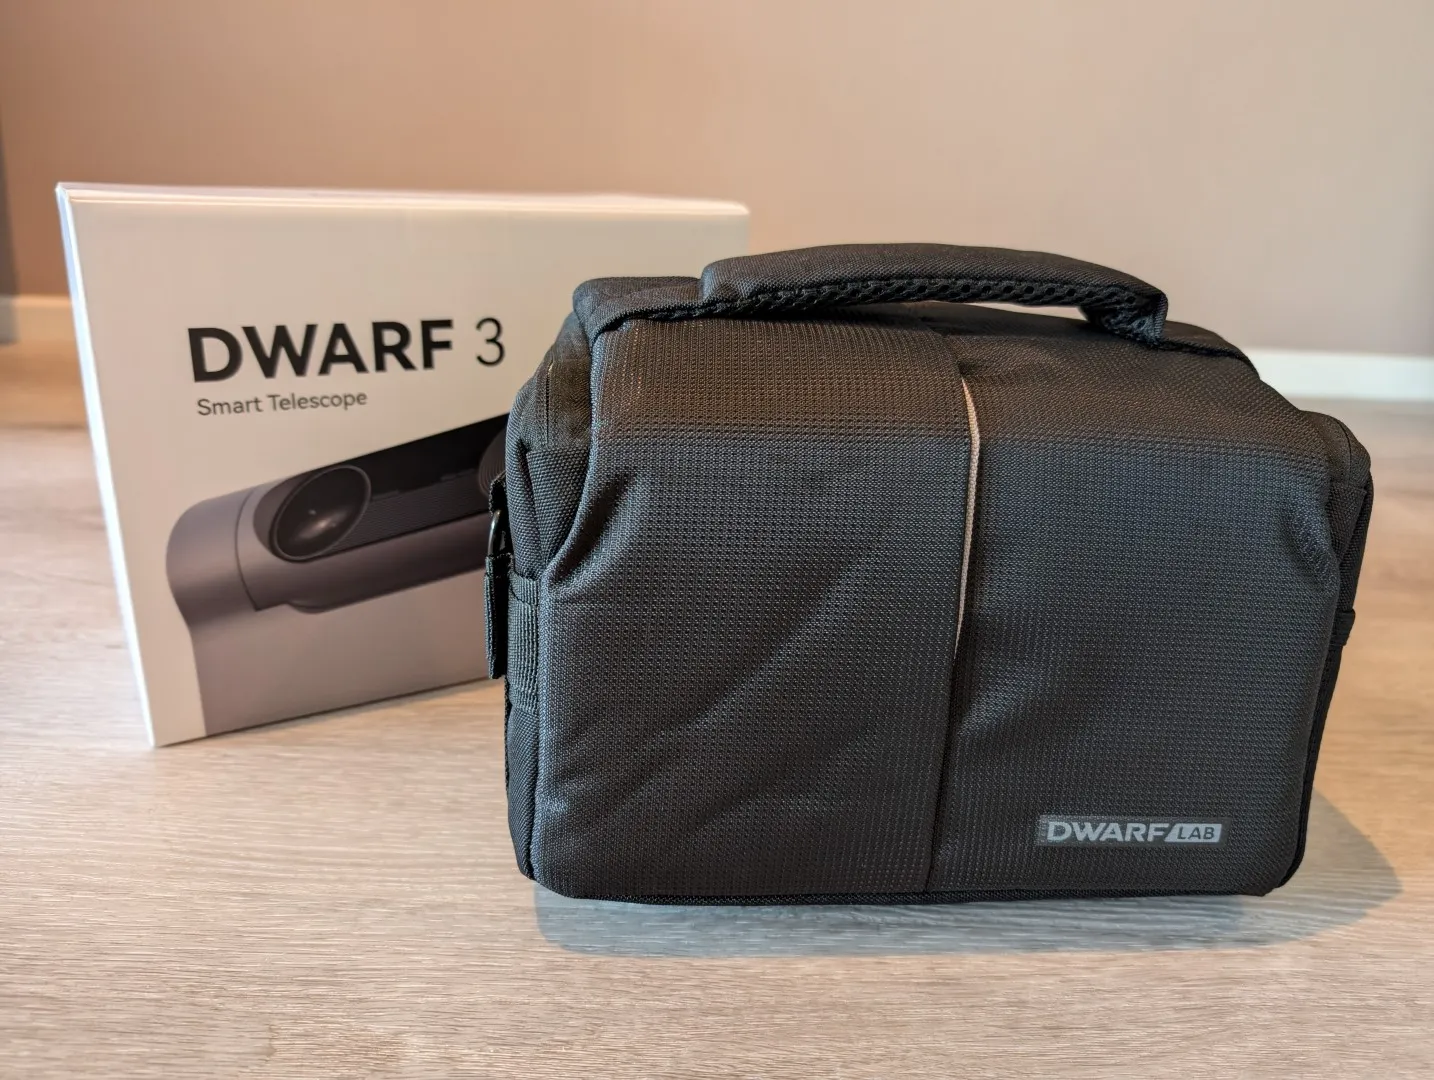
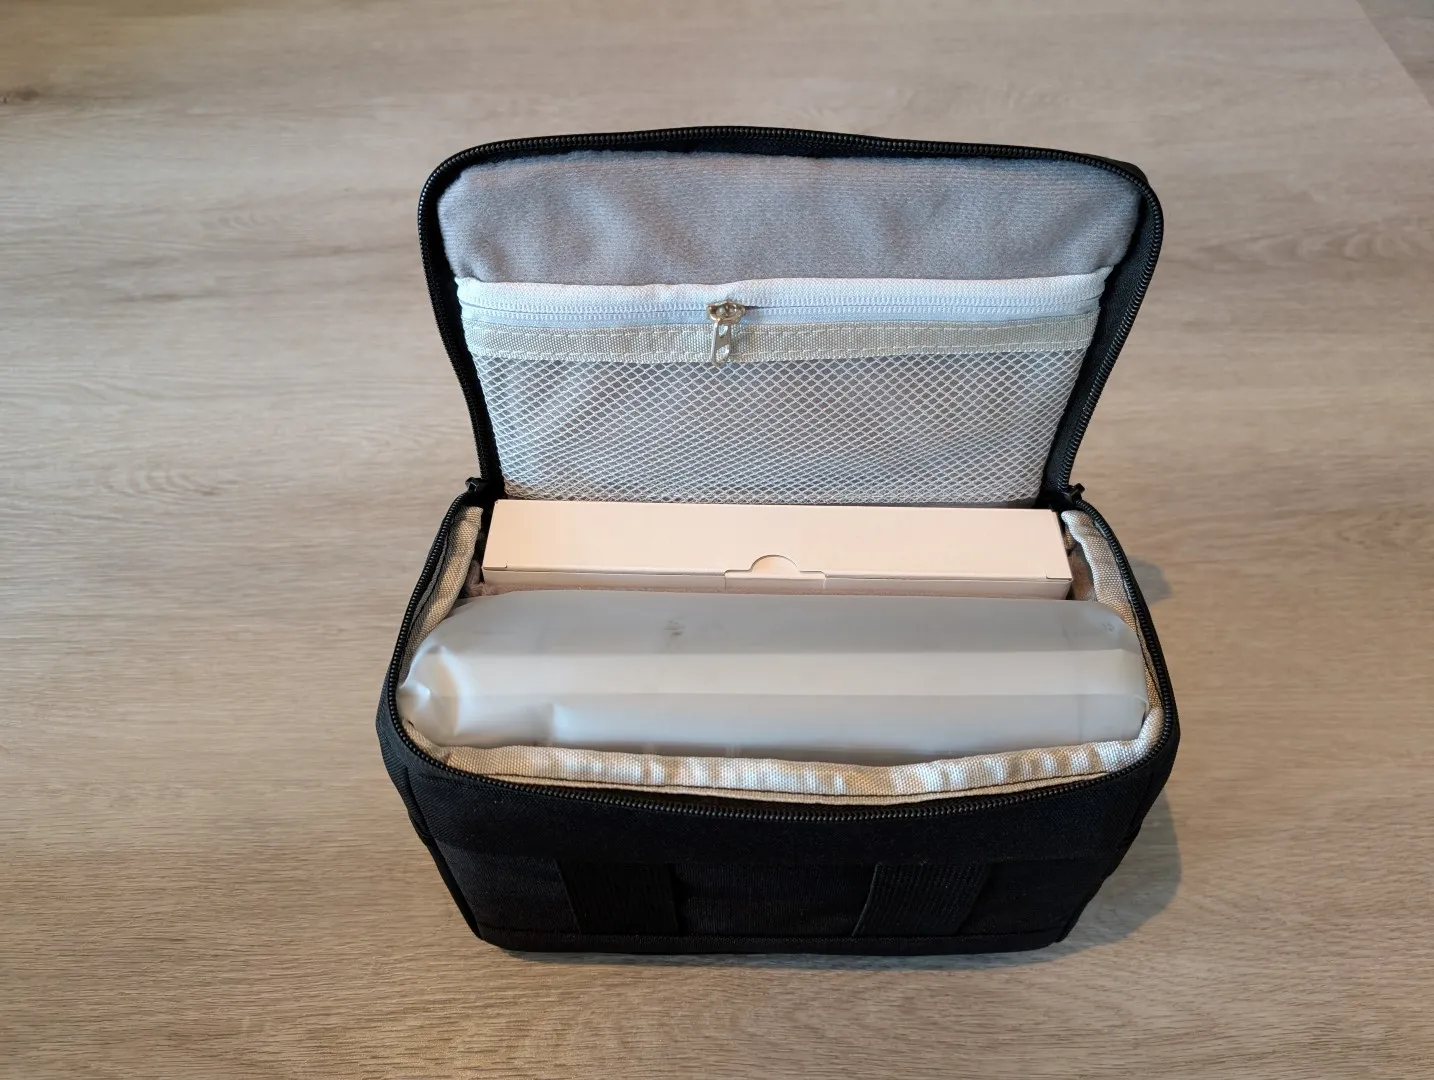
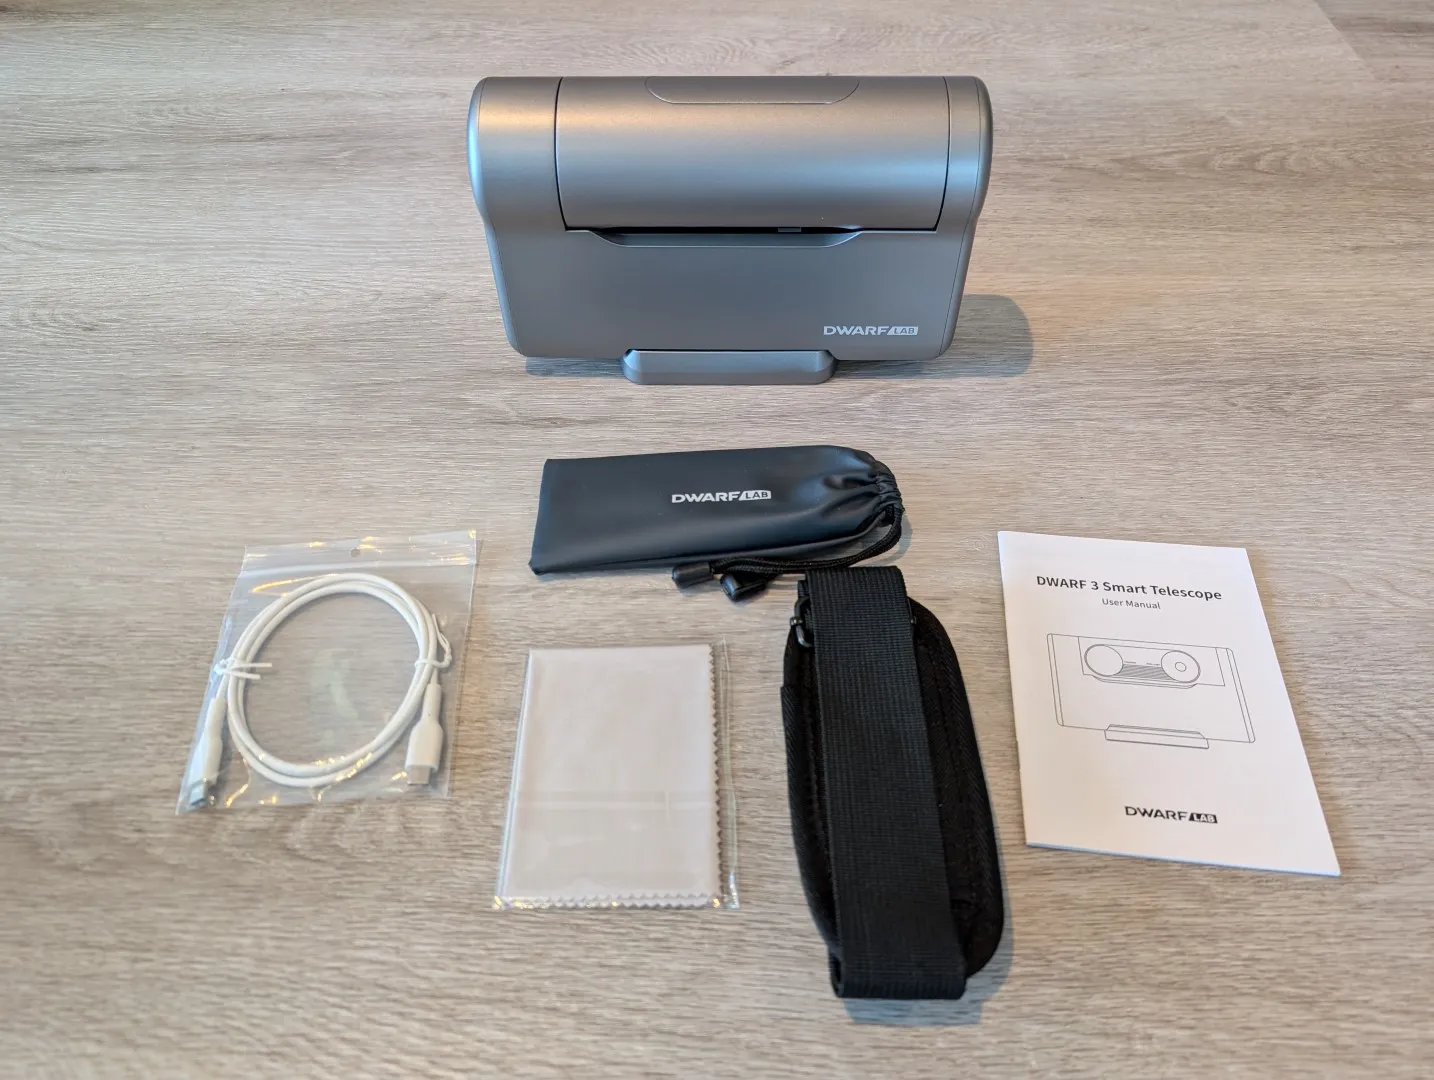
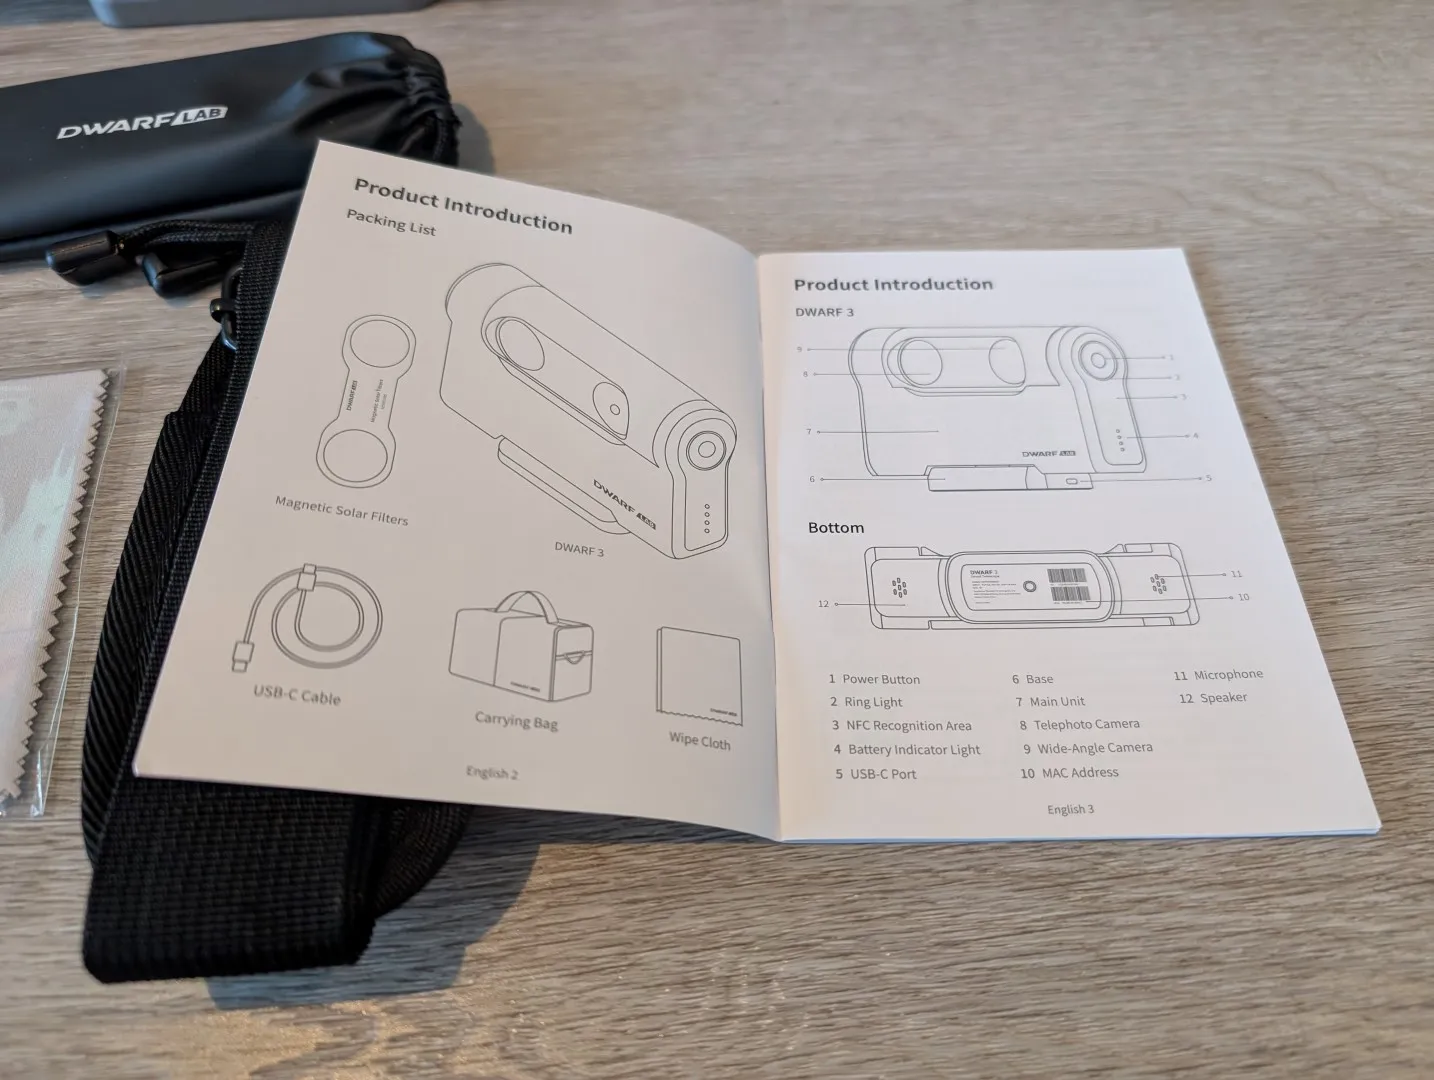
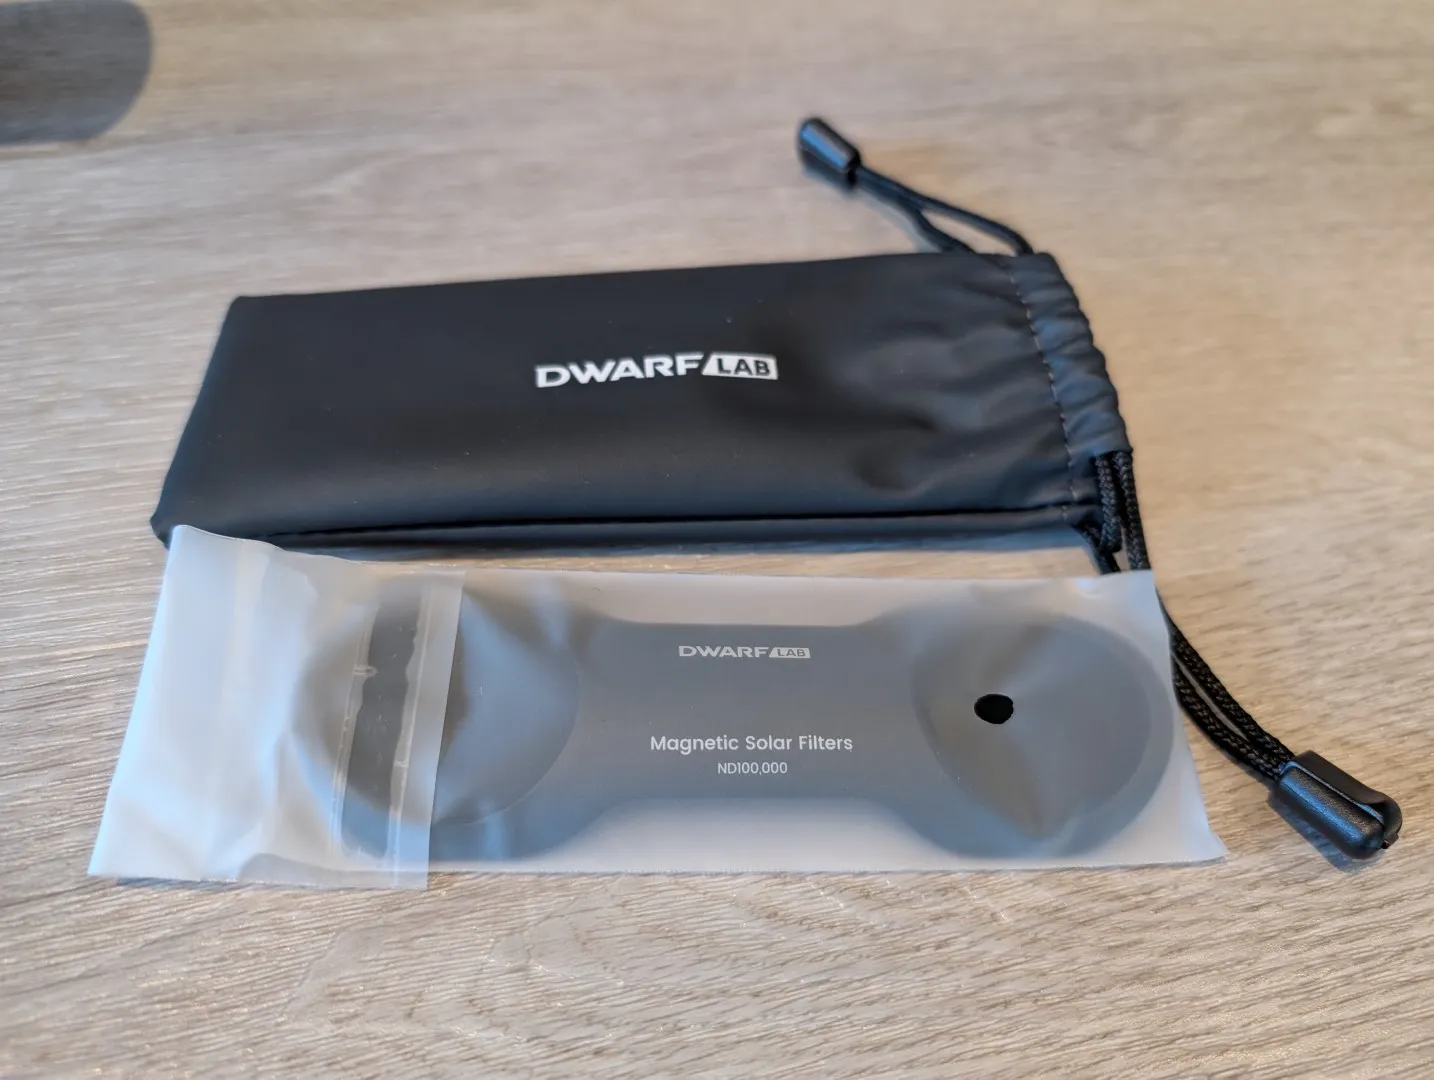
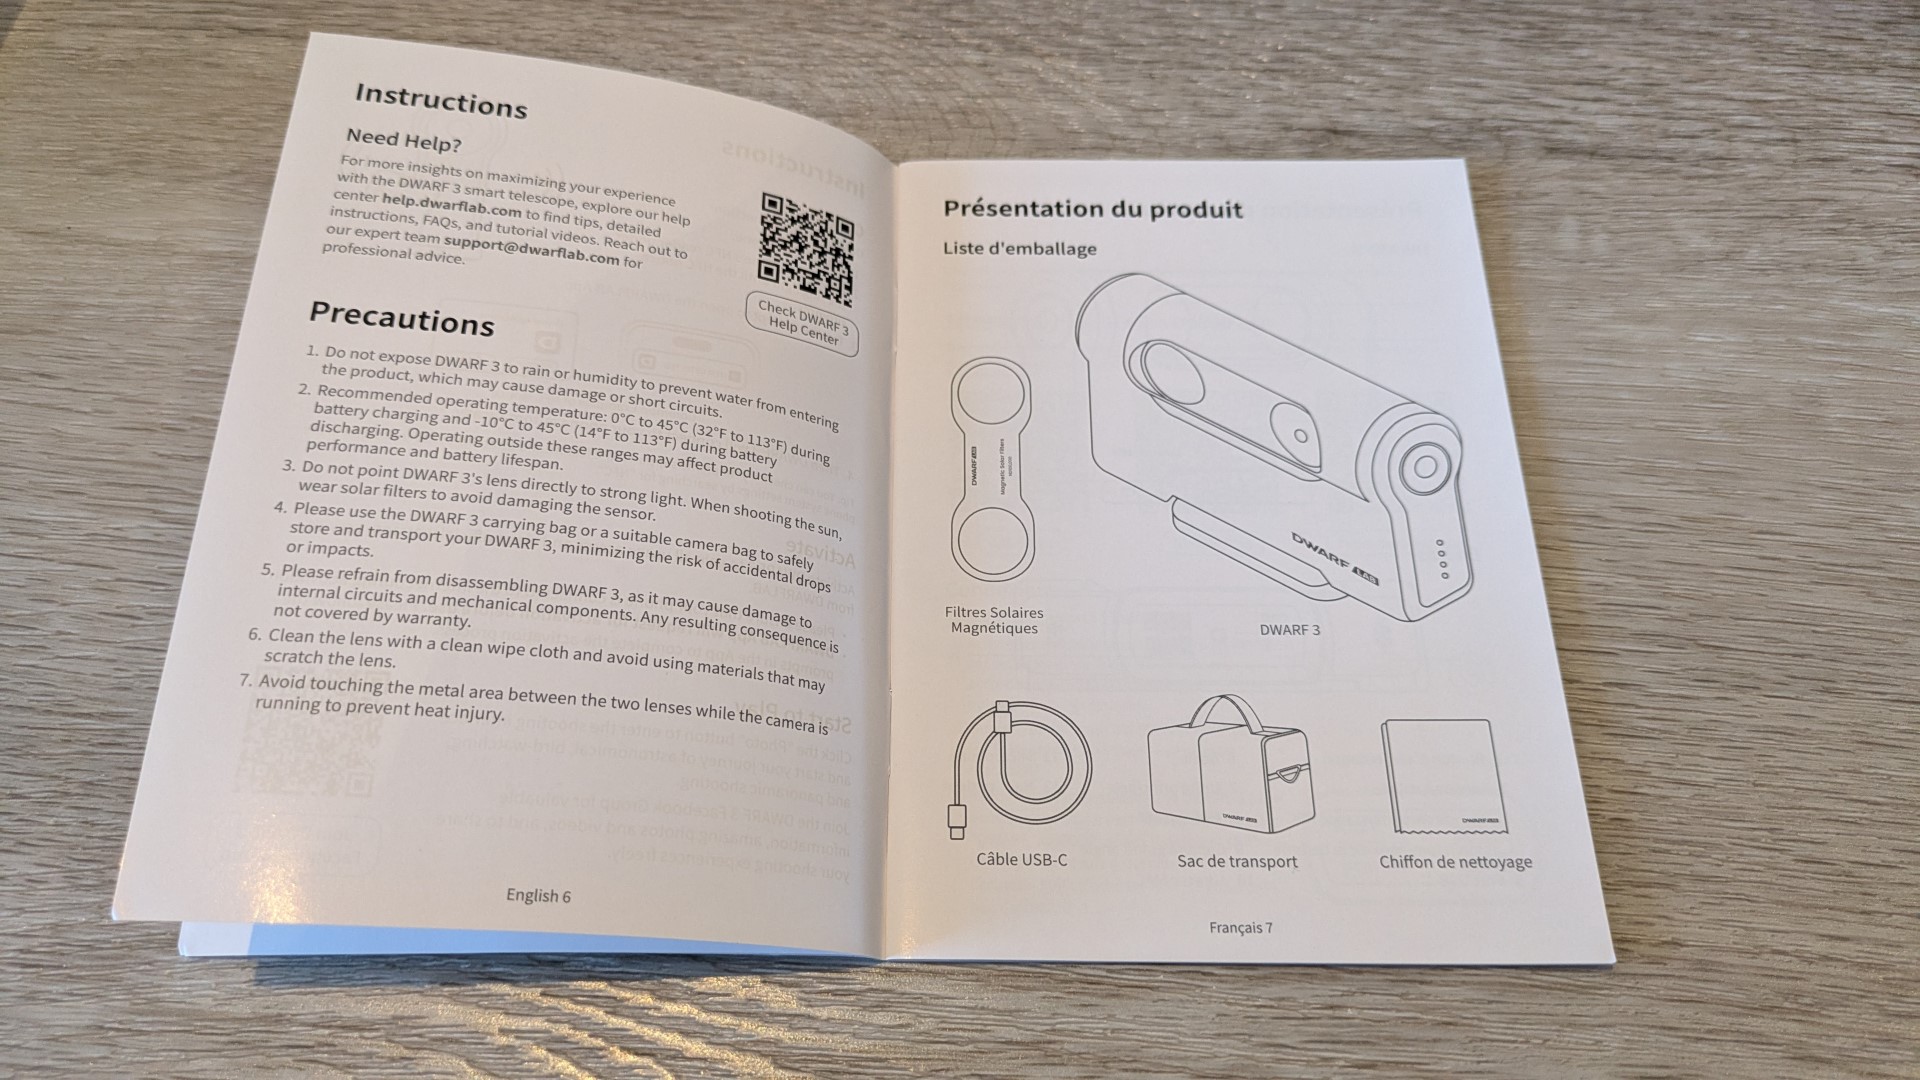
Very well packed from Dwarflabs, the Dwarf 3 comes with everything you need to start your astro experience, including the unit itself, a magnetic solar filter (with pouch), a USB-C cable (for charging and transferring files), a manual, a cleaning cloth, and a carry bag with a strap.
In terms of storage, the Dwarf 3 comes with 128GB of internal storage that translates to 100GB for the user, once you account for the operating system and software, which for most will be more than adequate.
The overall build quality is great.
Not only does it feel professionally built and sturdy, but aesthetically it looks the part as well with its metallic gray coloring. Most laymen will think it’s either a portable projector or video camera. The Dwarf also has a discrete power button, a USB-C connection, a tripod mount on the bottom, and both the telescope and base rotate to find heavenly objects in space and on our little blue planet, like birds. There is also an LED light ring for the power button and a battery indicator, both of which can be disabled for astrophotography.
The Dwarf 3 is powered by a very large 10,000mAh battery, making it ideal for time-lapse astrophotography. The telescope has an IP54 rating, which makes it resistant to dust and moisture—perfect for those cold nights. The Dwarf 3 Smart Telescope is also the successor to the very popular Dwarf II.
Below is a comparison between both models.
Dwarf 3 and Dwarf II Specifications
| Dwarf 3 | Dwarf 2 | |
| Aperture Diameter | 35 mm (Tele) | 24 mm (Tele) |
| 3.4 mm (Wide) | 2.8 mm (Wide) | |
| Focal Length | 150 mm (Tele) | 100 mm (Tele) |
| 6.7 mm (Wide) | 6.8 mm (Wide) | |
| Equivalent Focal Length | 737 mm (Tele) | 675 mm (Tele) |
| 45 mm (Wide) | 48 mm (Wide) | |
| Sensor | Sony IMX678 | Sony IMX415 |
| Built in Filters | VIS (Tele) | VIS (Tele) |
| Astro (Tele & Wide) | IR – Pass (Tele) | |
| Dual Band (Tele) | – | |
| Support Daytime & Nighttime Photography | – | |
| Battery | Built in | Replaceable |
| 10000 mAh | 5600 mAh | |
| With External USB charging support | With External USB charging support | |
| Shooting Modes | Photo (Tele & Wide) | Photo (Tele) |
| Video (Tele & Wide) | Video (Tele) | |
| Astro (Tele & Wide) | Astro (Tele | |
| Pano (Tele & Wide) | Pano (Tele) | |
| Burst (Tele & Wide) | Burst (Tele) | |
| Timelapse (Tele & Wide) | Timelapse (Tele) | |
| NPU | 5 TOPS | 2 TOPS |
| Telephoto Video | 4k @ 30FPS | 4K @ 26FPS |
| 1080p @ 60FPS | 1080 @ 30FPS | |
| Wide Angle Video | 1080 @ 30FPS | N/A |
| Wide Angle Picture | 1920 x 1080 | N/A |
| Max Exposure time | 60s in EQ mode | 15s |
| More functions | NFC one touch connection | – |
| Astro Mosaic | – | |
| Wide Angle astrophotography | – | |
| Size | 222 x 142 x 65mm | 204 x 130 x 62mm |
| Weight | 1.3kg | 1.2kg |
As you can see from the above specifications, there are some noticeable improvements from the Dwarf II to the Dwarf 3. The new Sony IMX678 sensor with improved aperture diameter, focal length, and equivalent focal length will capture better photos, and from testing, we can cocur that this is the case.
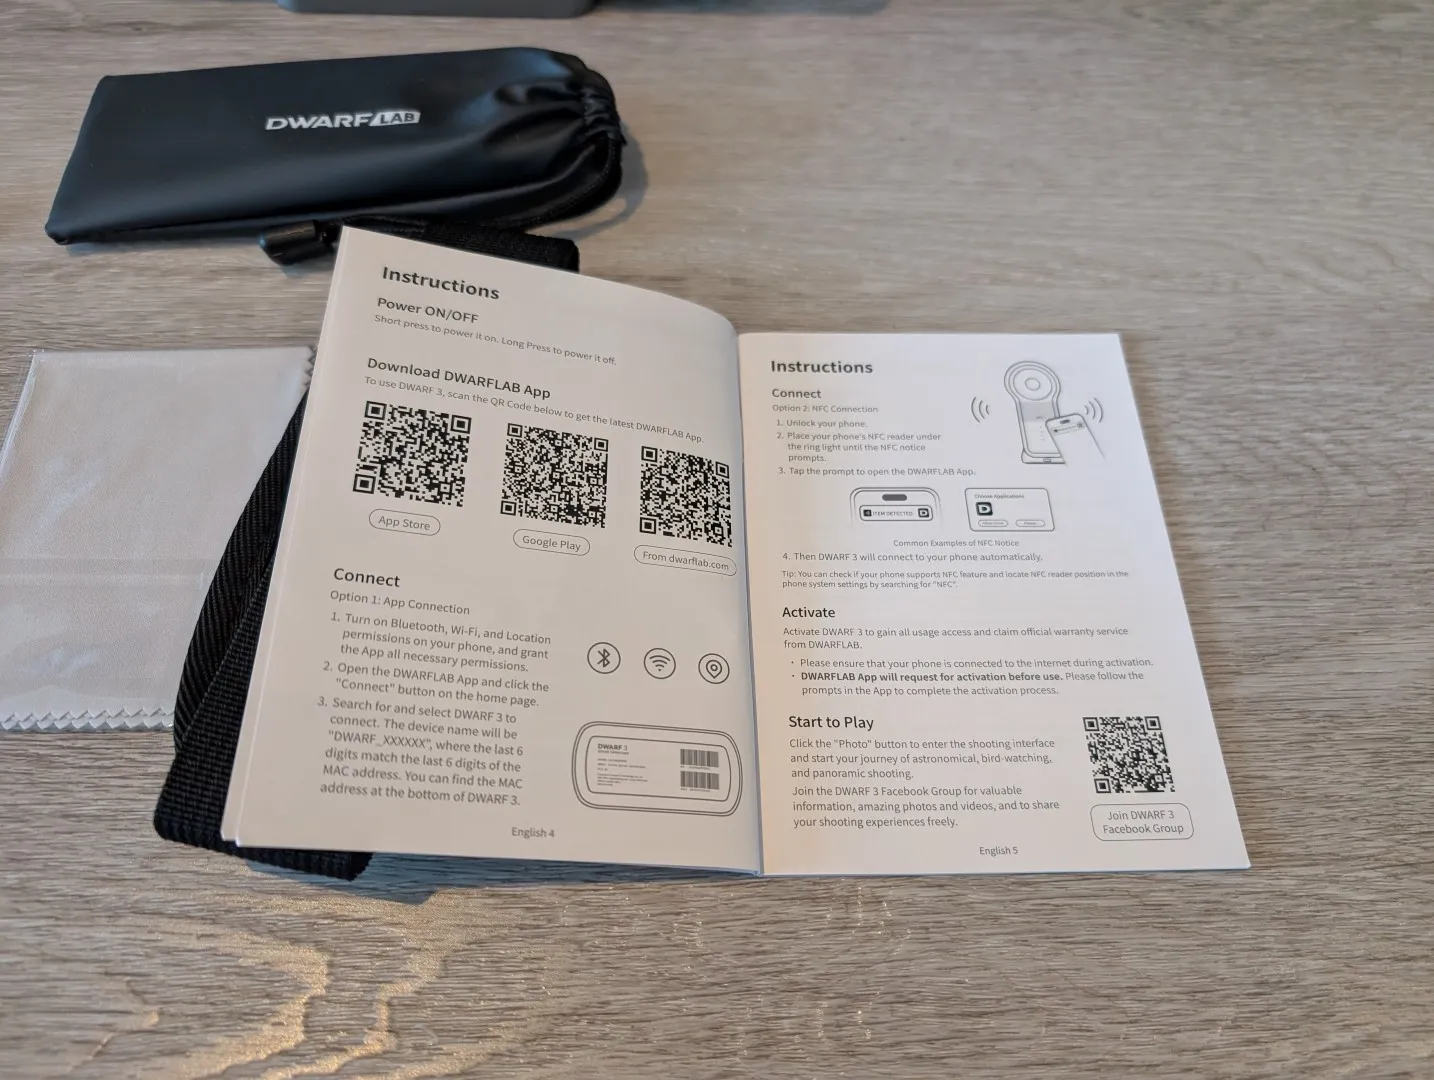
Setting up the Dwarf 3 is simple. Once you have charged the smart telescope, you need to download either the Android (reviewed) or iOS app, pair it with your smartphone, and follow the installation wizard.
I also like how the device has NFC (Near Field Communication), which means next time you want to use the telescope, you just turn it on, run the app, and then tap your phone next to the light ring on the Dwarf 3. Once the device is charged, you are ready to explore the heavens.
The App
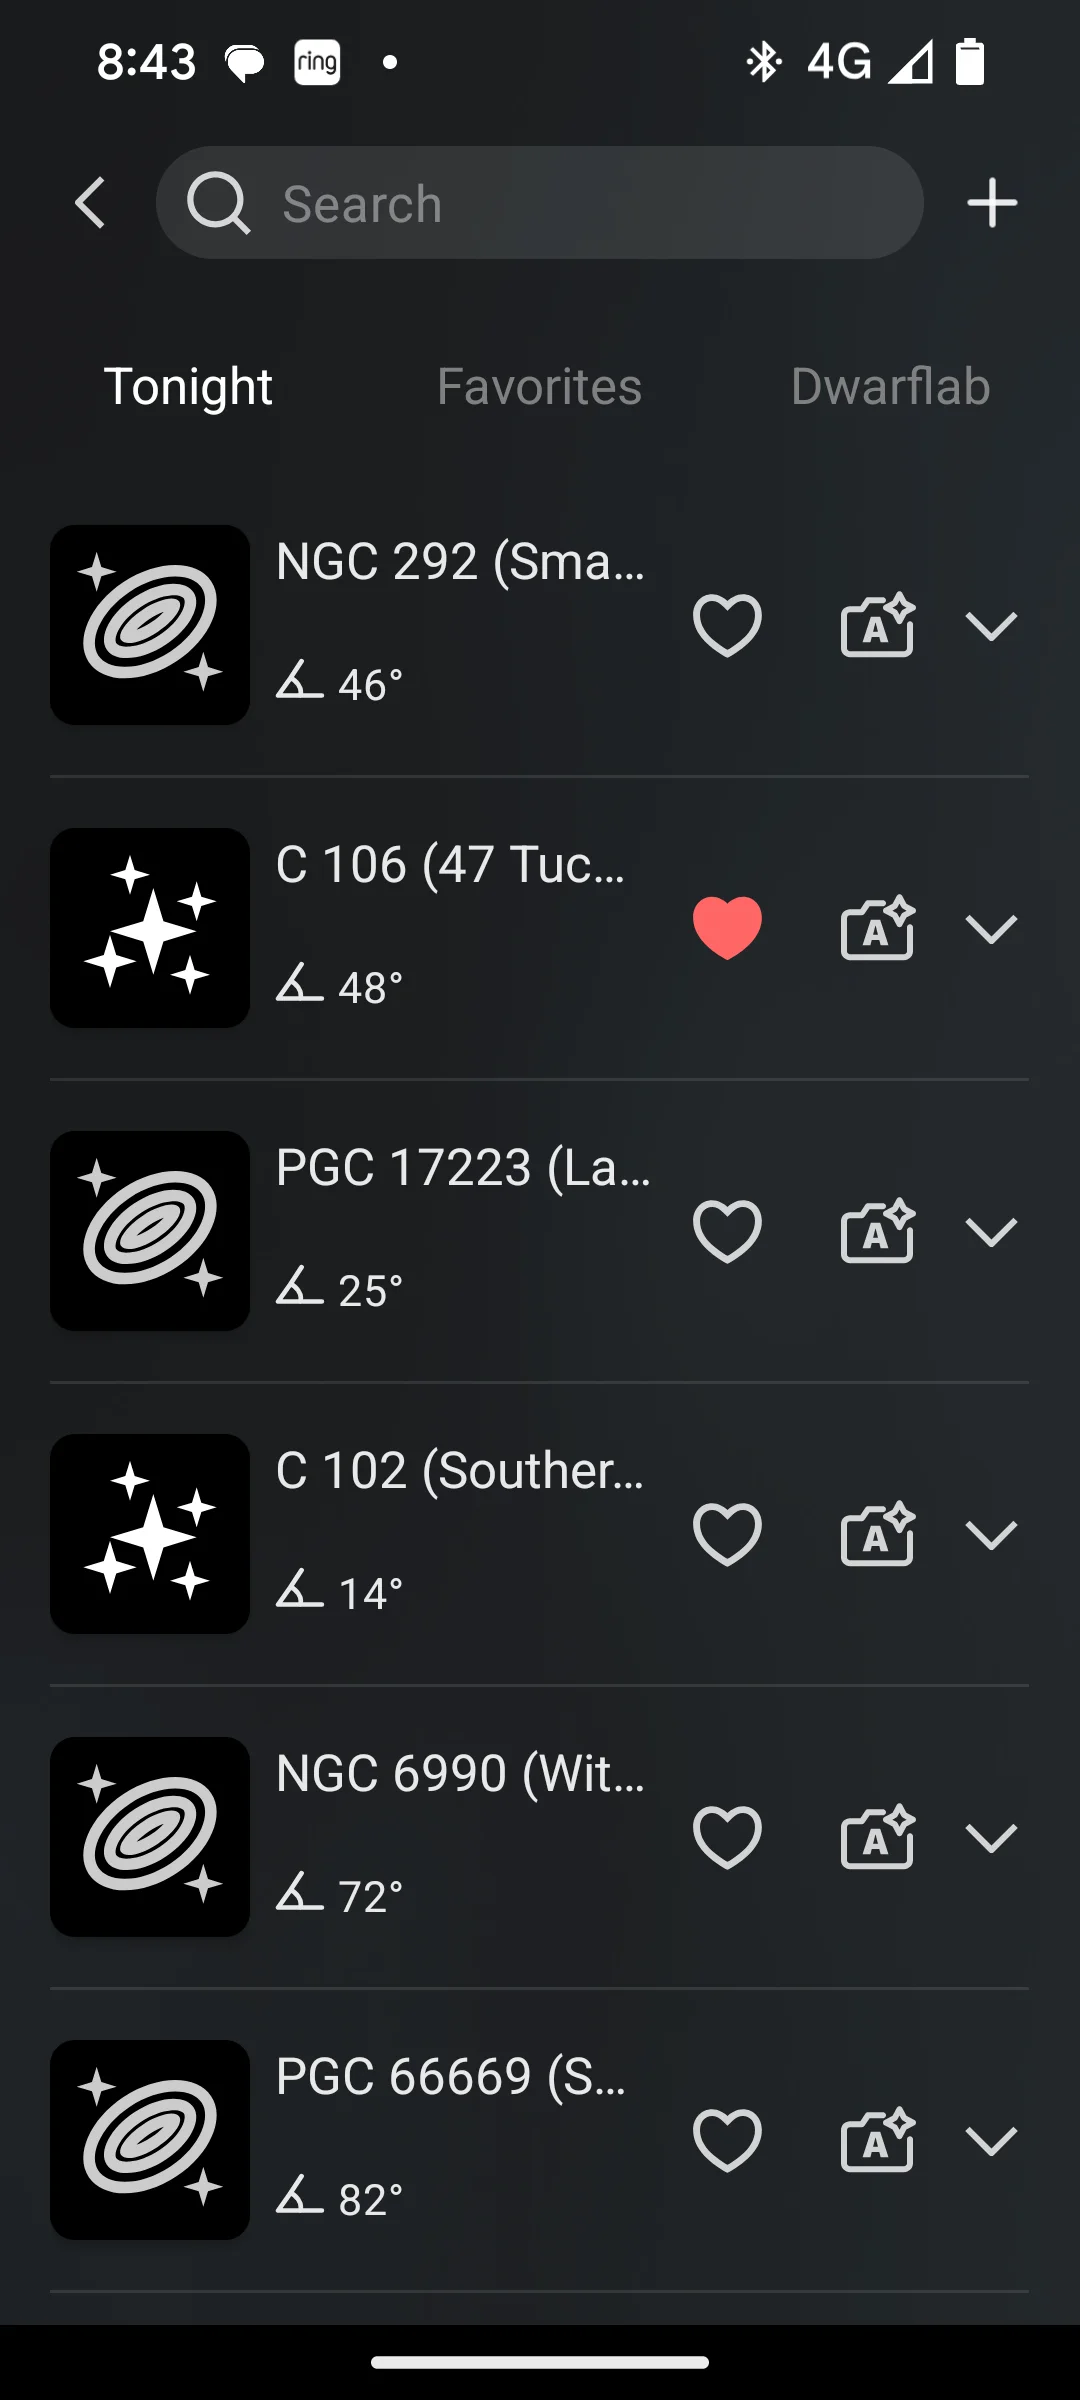
The Dwarflab app is very easy to use, allowing for both manual and automatic options. You can point the app at the night sky to find a celestial object such as the Andromeda Galaxy or a planet such as Saturn and then tap on that object. It will give you information about it, including the option of a one-click go-to. For manual control, there is a virtual joystick that allows you to control the Dwarf 3 remotely.
In terms of distance, I easily got at least 10 metres of distance between my Google Pixel 9 and the Dwarf 3. If I went further than this distance, I would lose connectivity and would need to reconnect. But I digress. The app even allows you to add favourites, visit recommended objects and scroll through a list of galaxies and nebulae, thanks to Dwarflab.
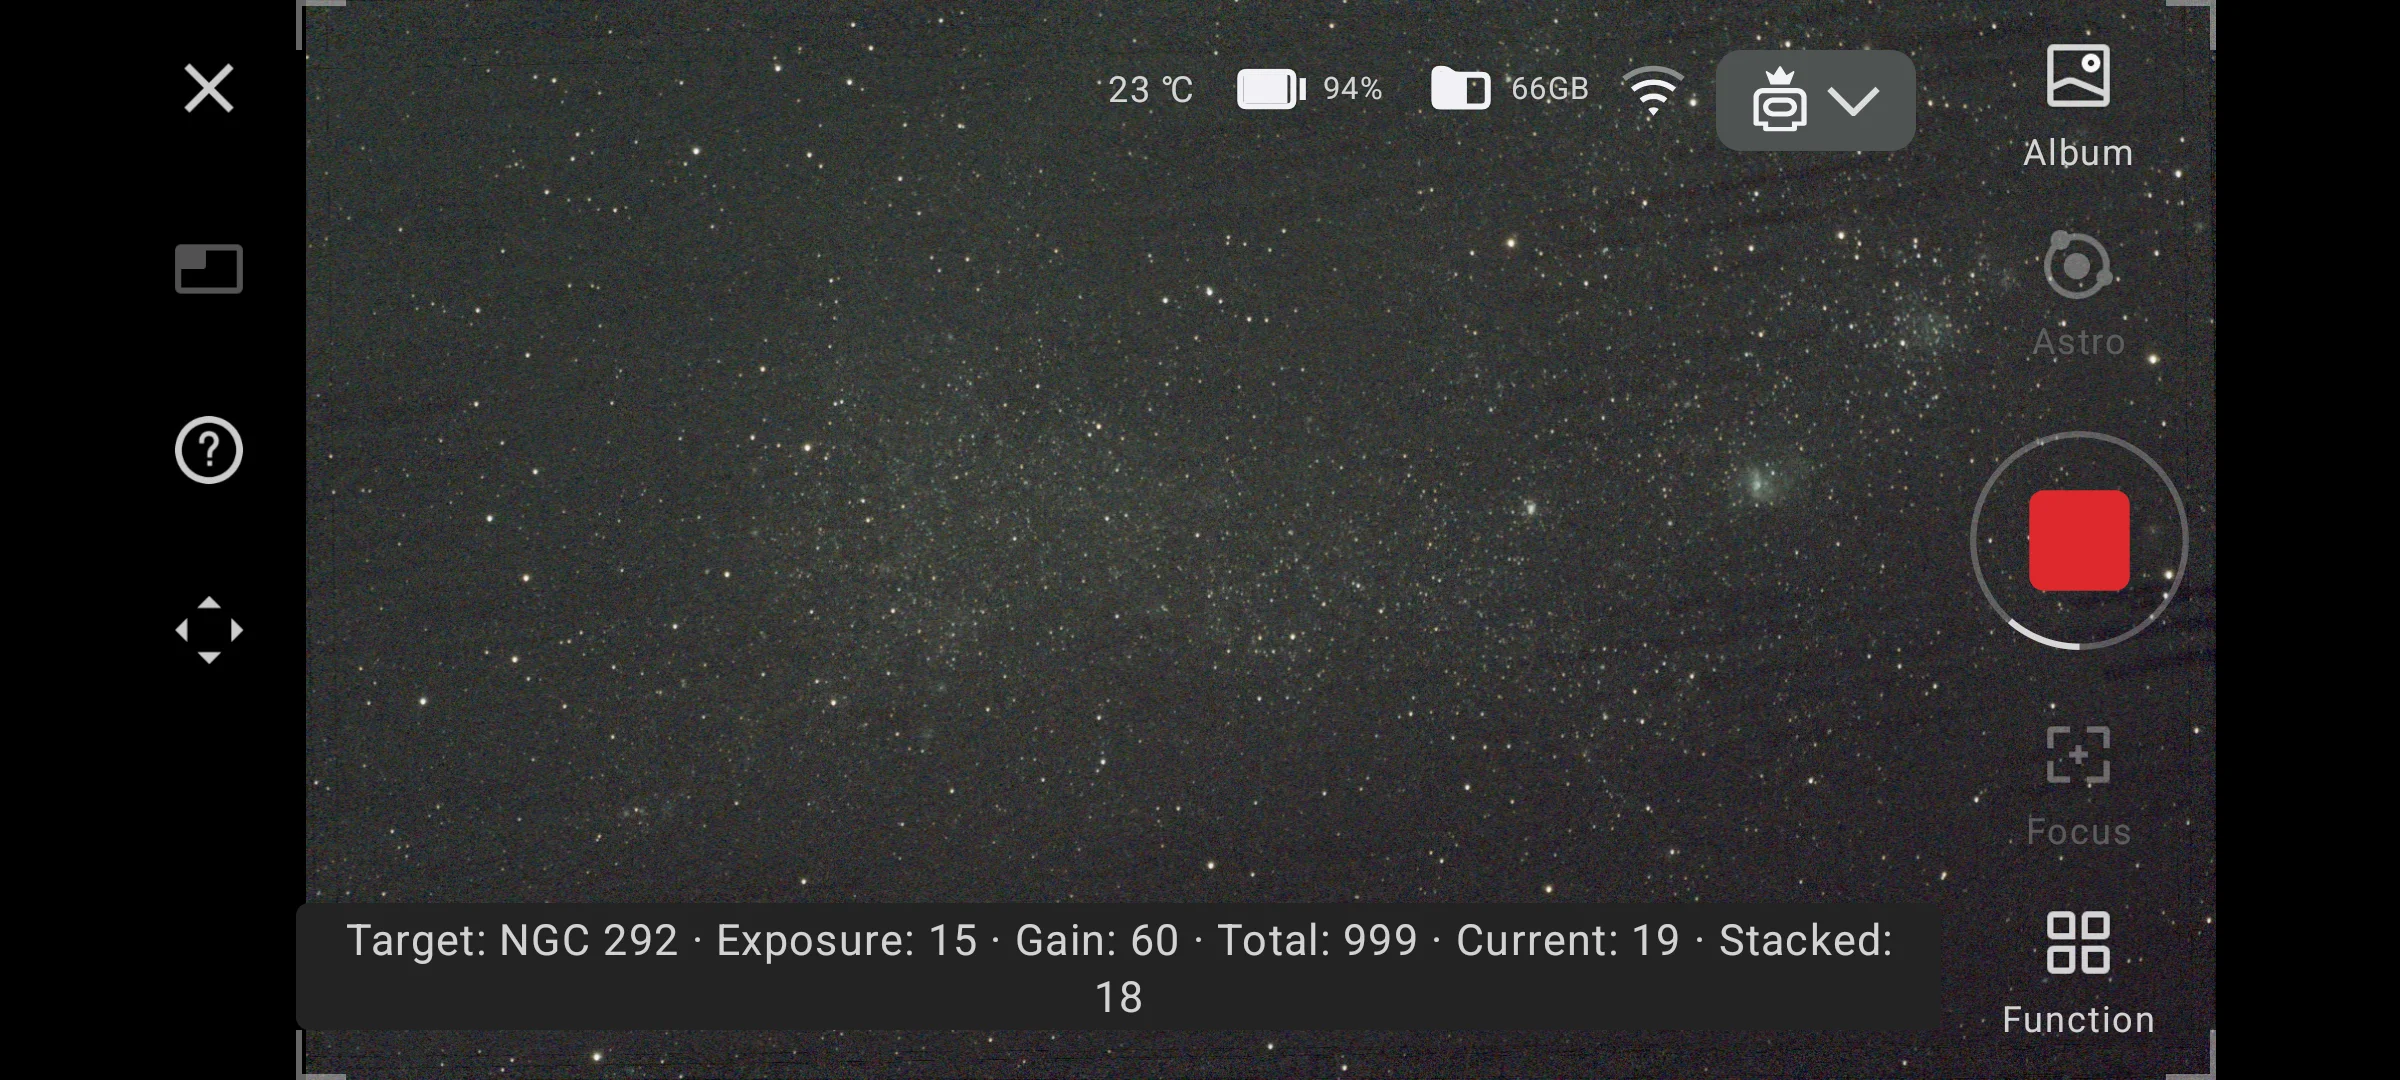
The Dwarf 3 also allows for offline automatic operation, meaning you don’t need to have your smartphone connected to it. You basically connect, choose your constellation, and select one of the recommended settings from Dwarflab. You then come back in 30 minutes, 60 minutes, or 3 hours to see what the telescope has captured.
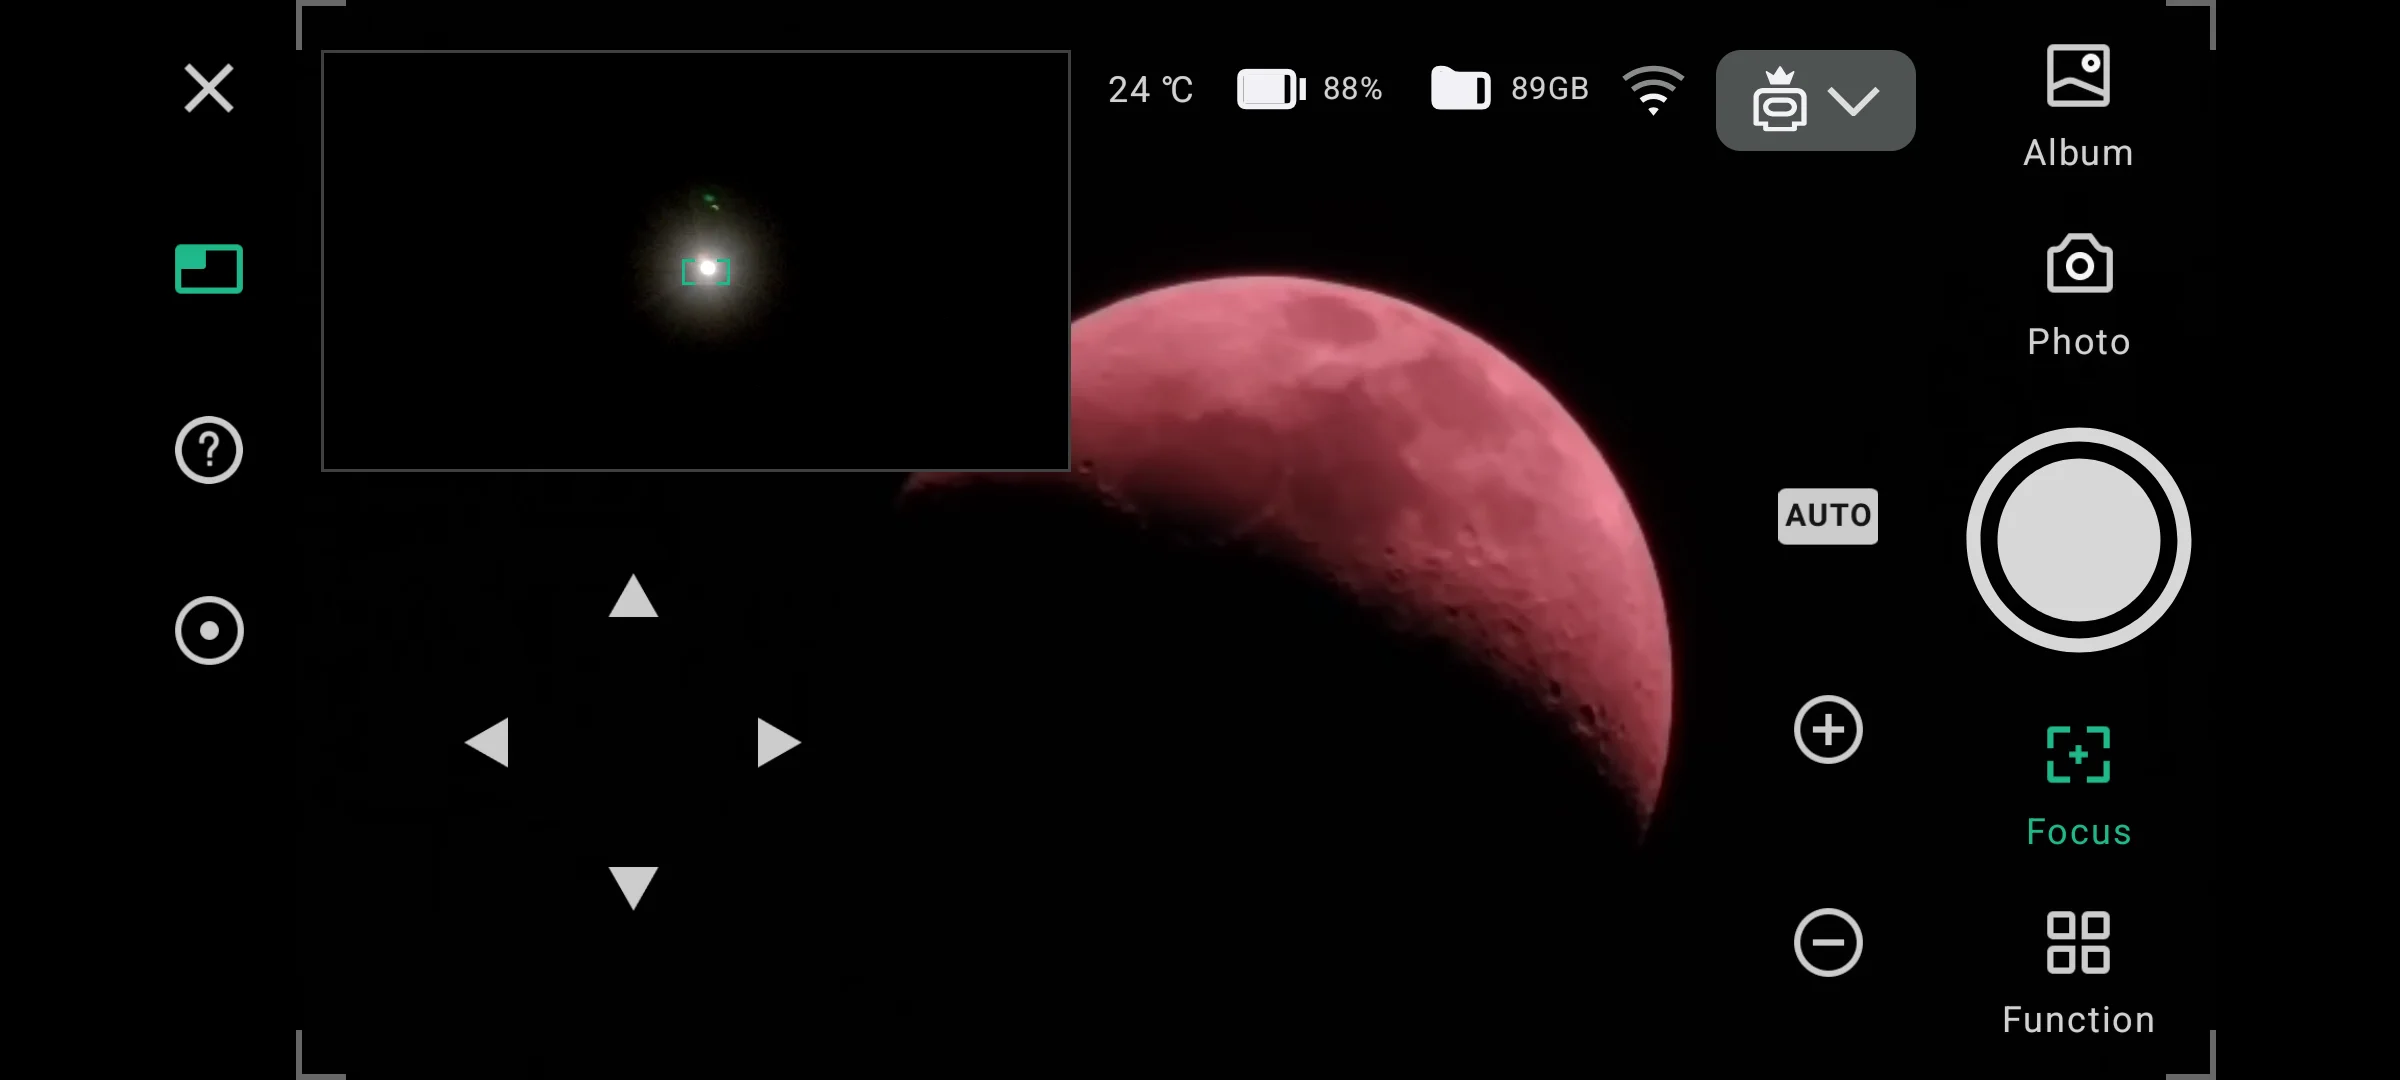
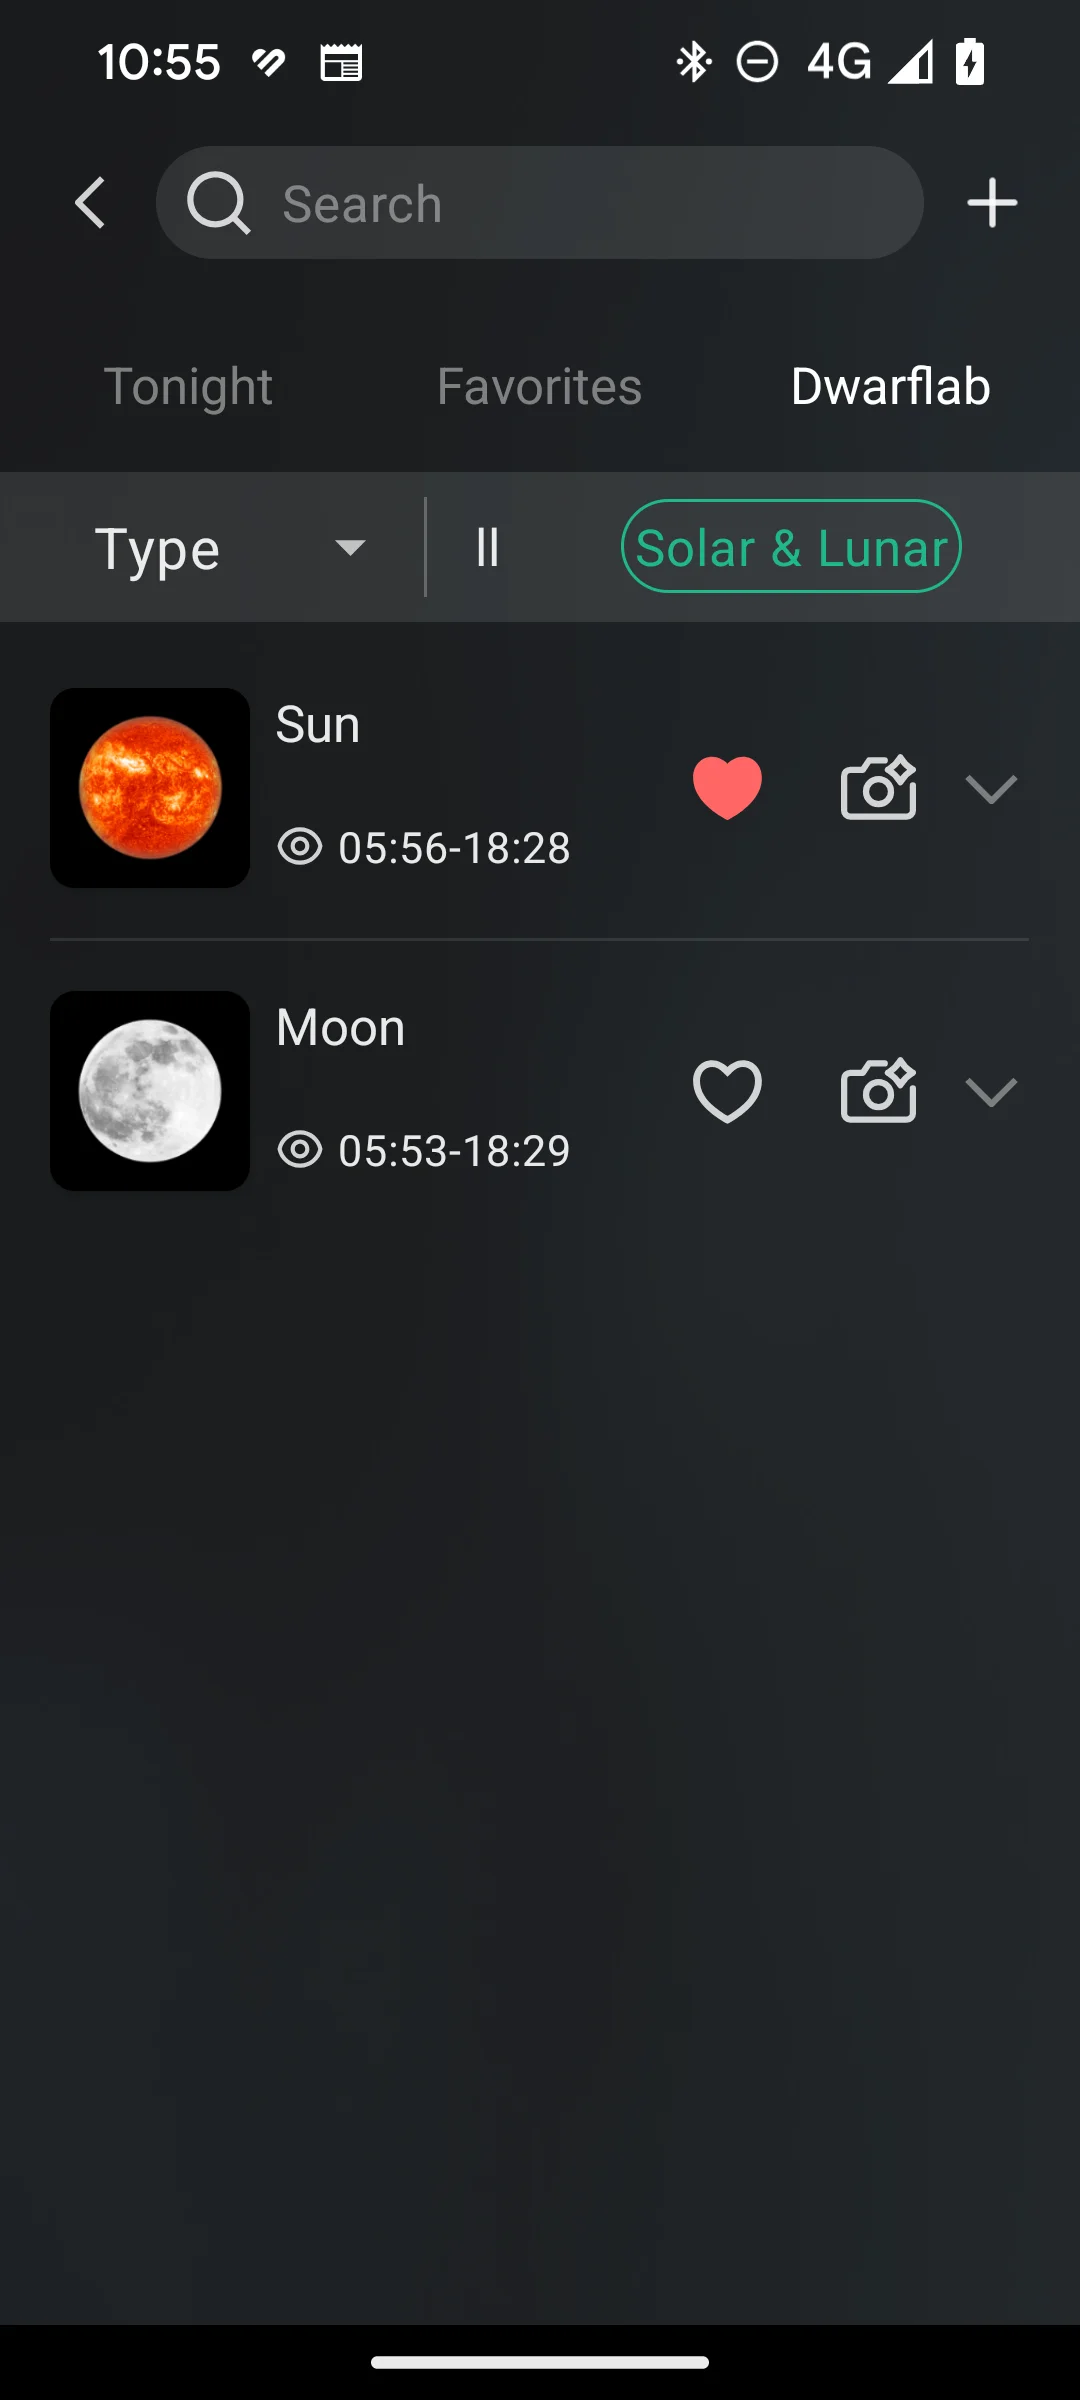
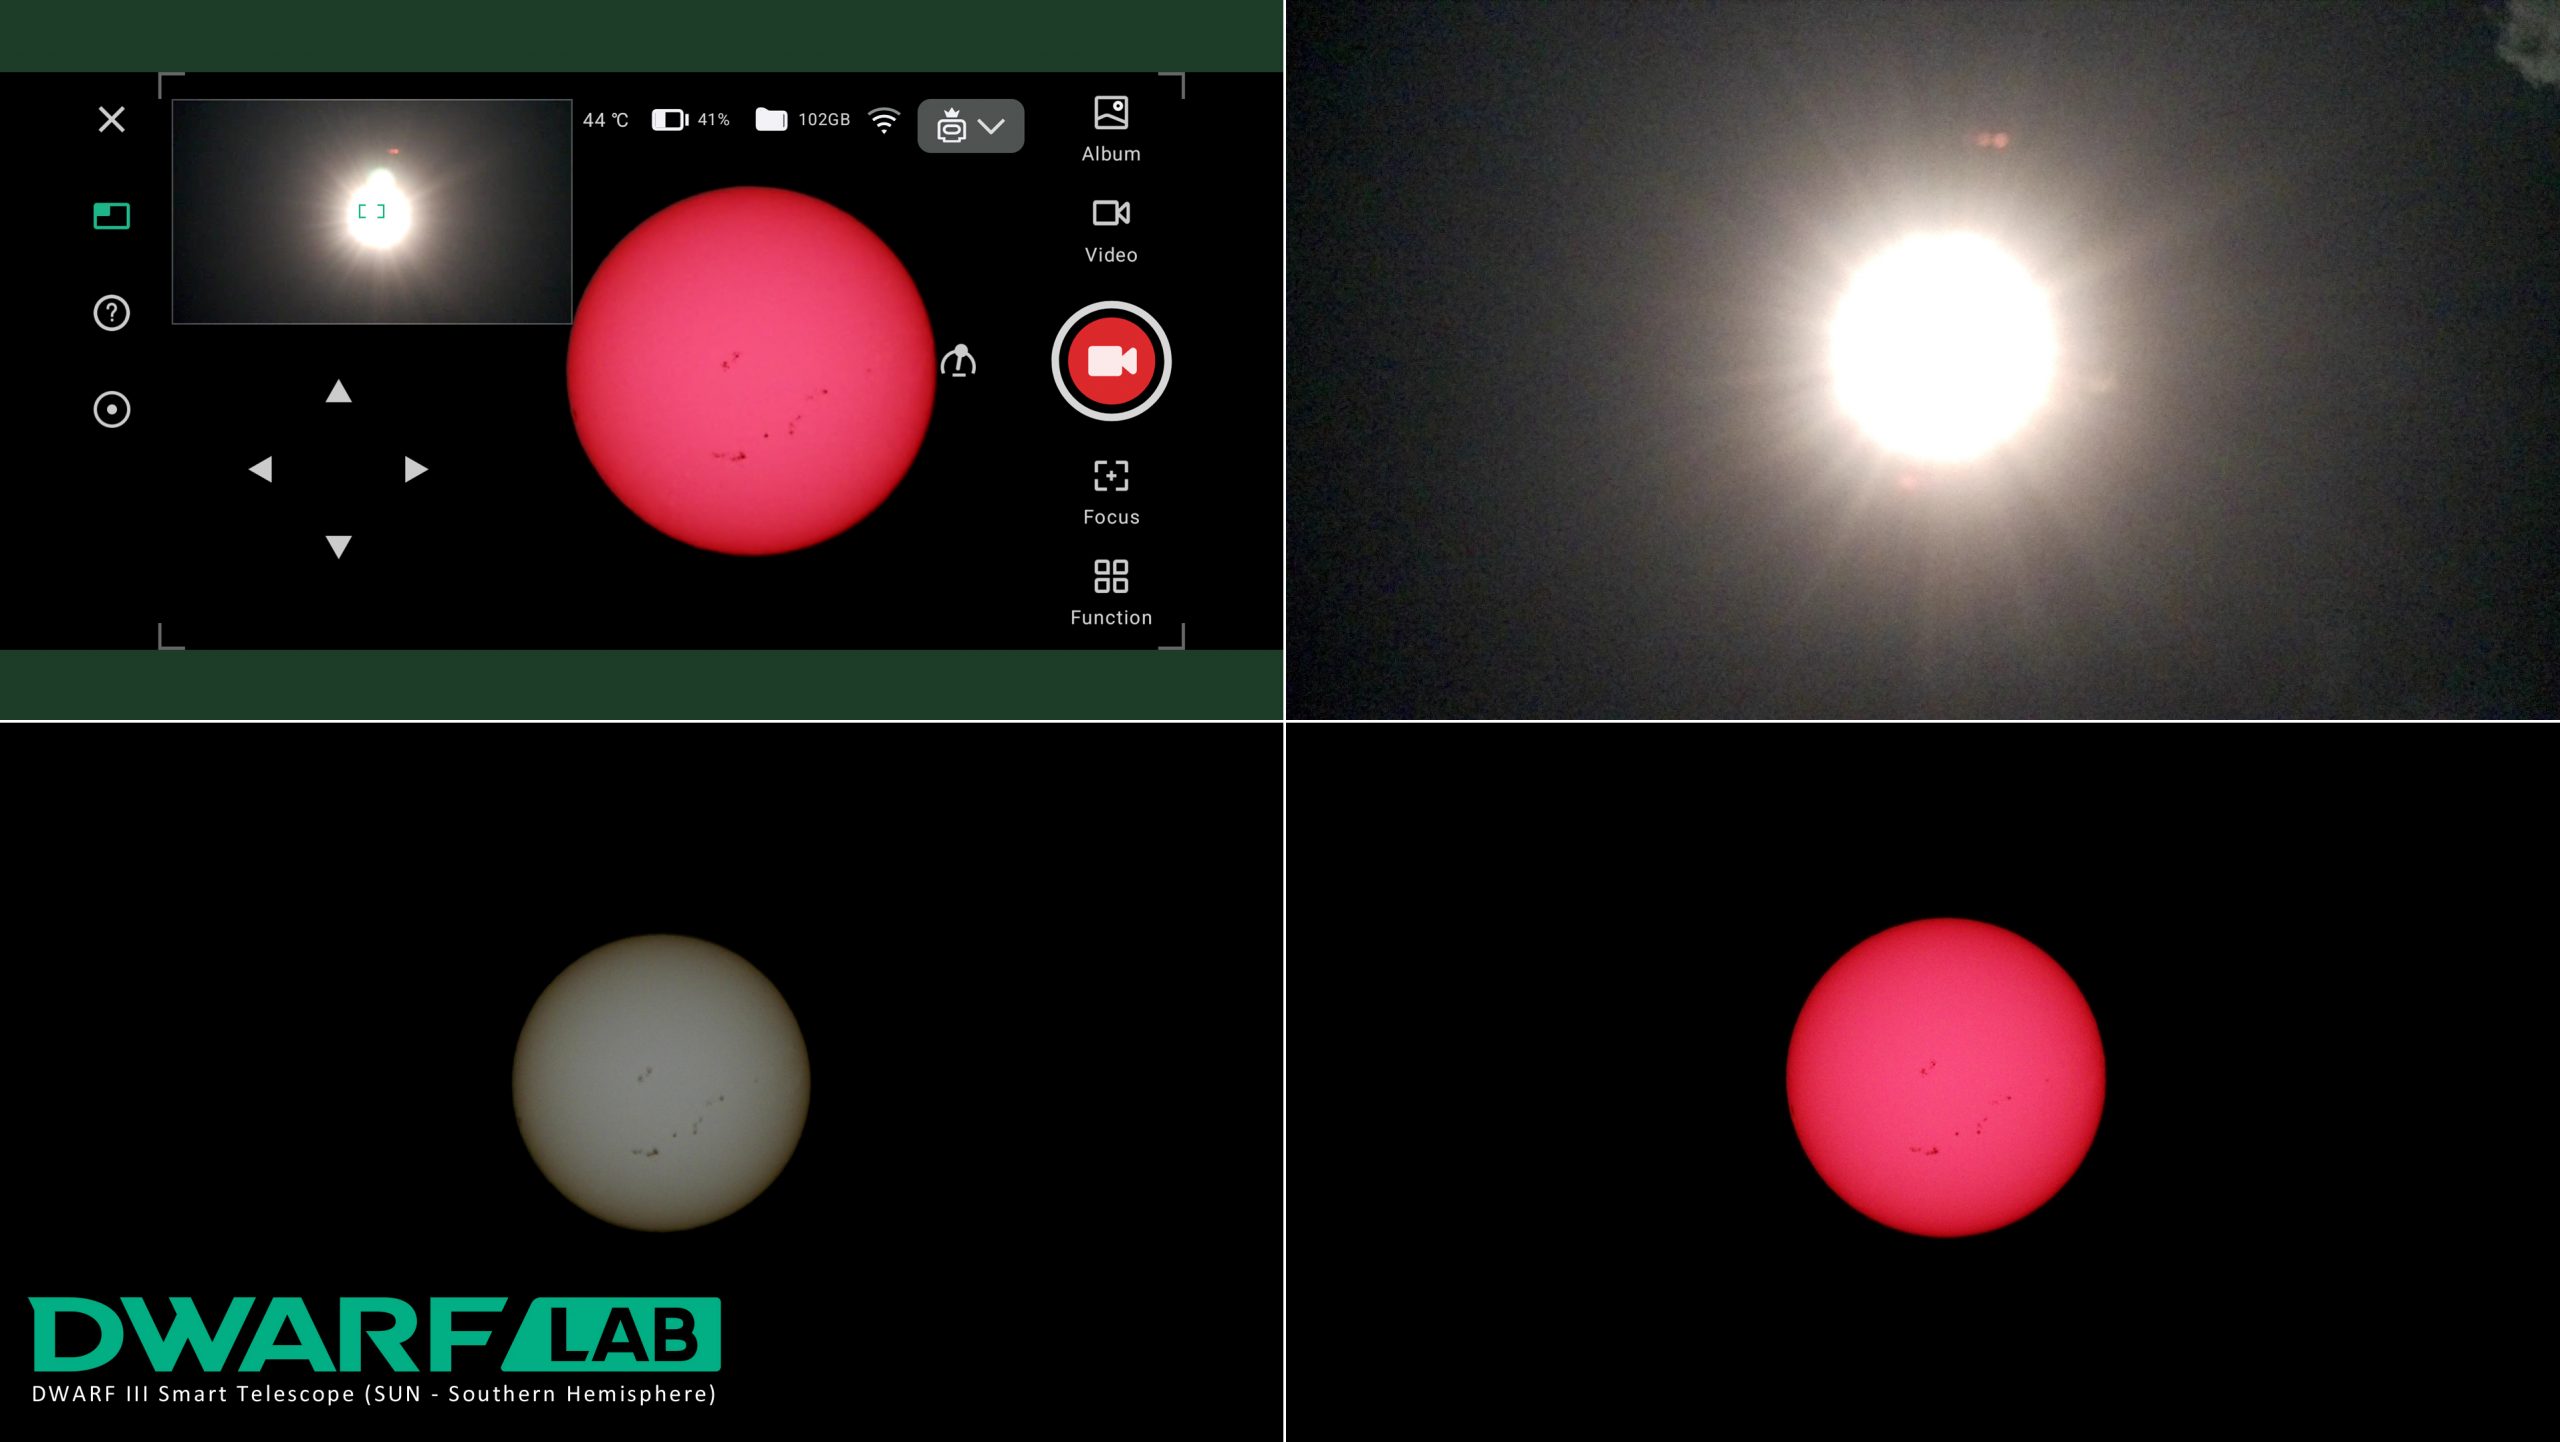
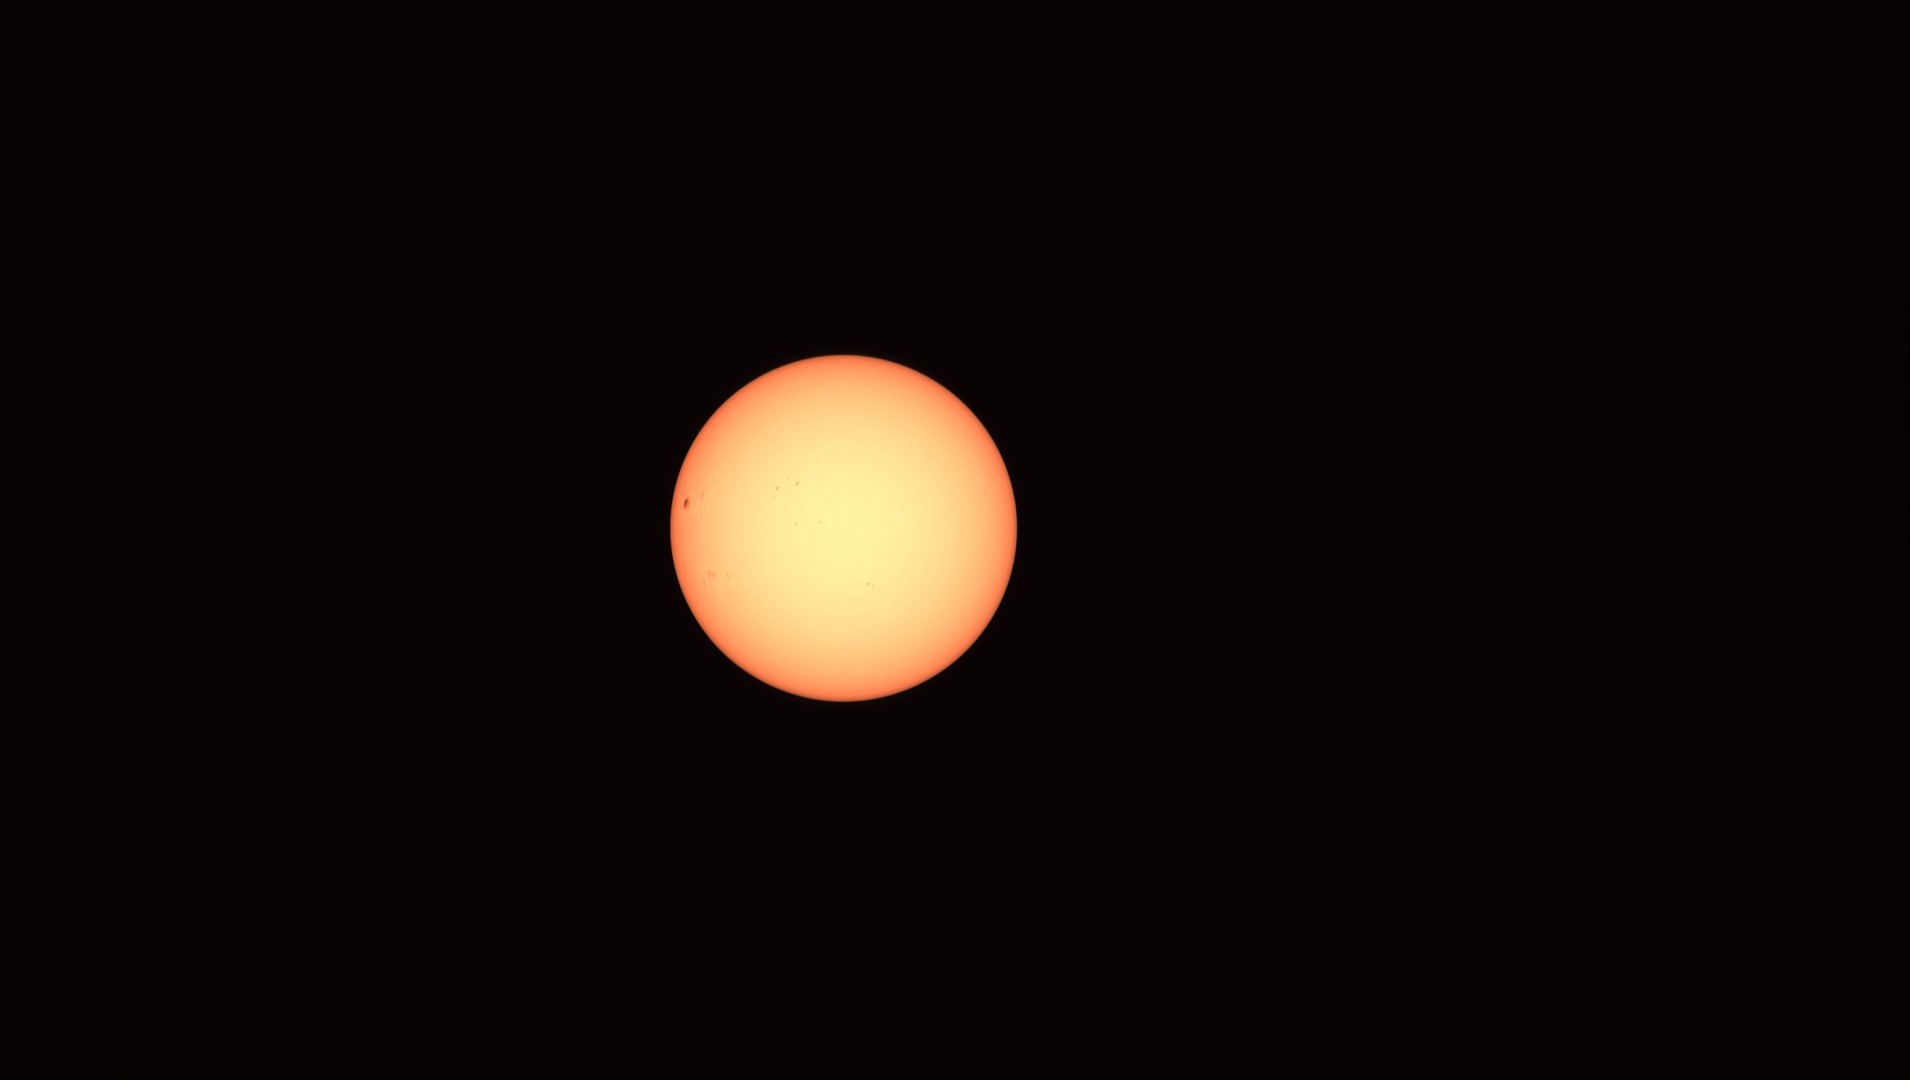
In relation to tracking two of our biggest neighbours, the moon and the sun, you need to manually point the telescope at these objects. Once done, the Dwarf 3 can then track both the moon and the sun. Thankfully, this is not the case for other celestial ojects such as galaxies or planets in our solar system like Mars, Venus, or Saturn. That said, the Dwarf 3 is not a planetary telescope. Although it can take amazing shots of the moon and the sun, it is a little underpowered for other planets.
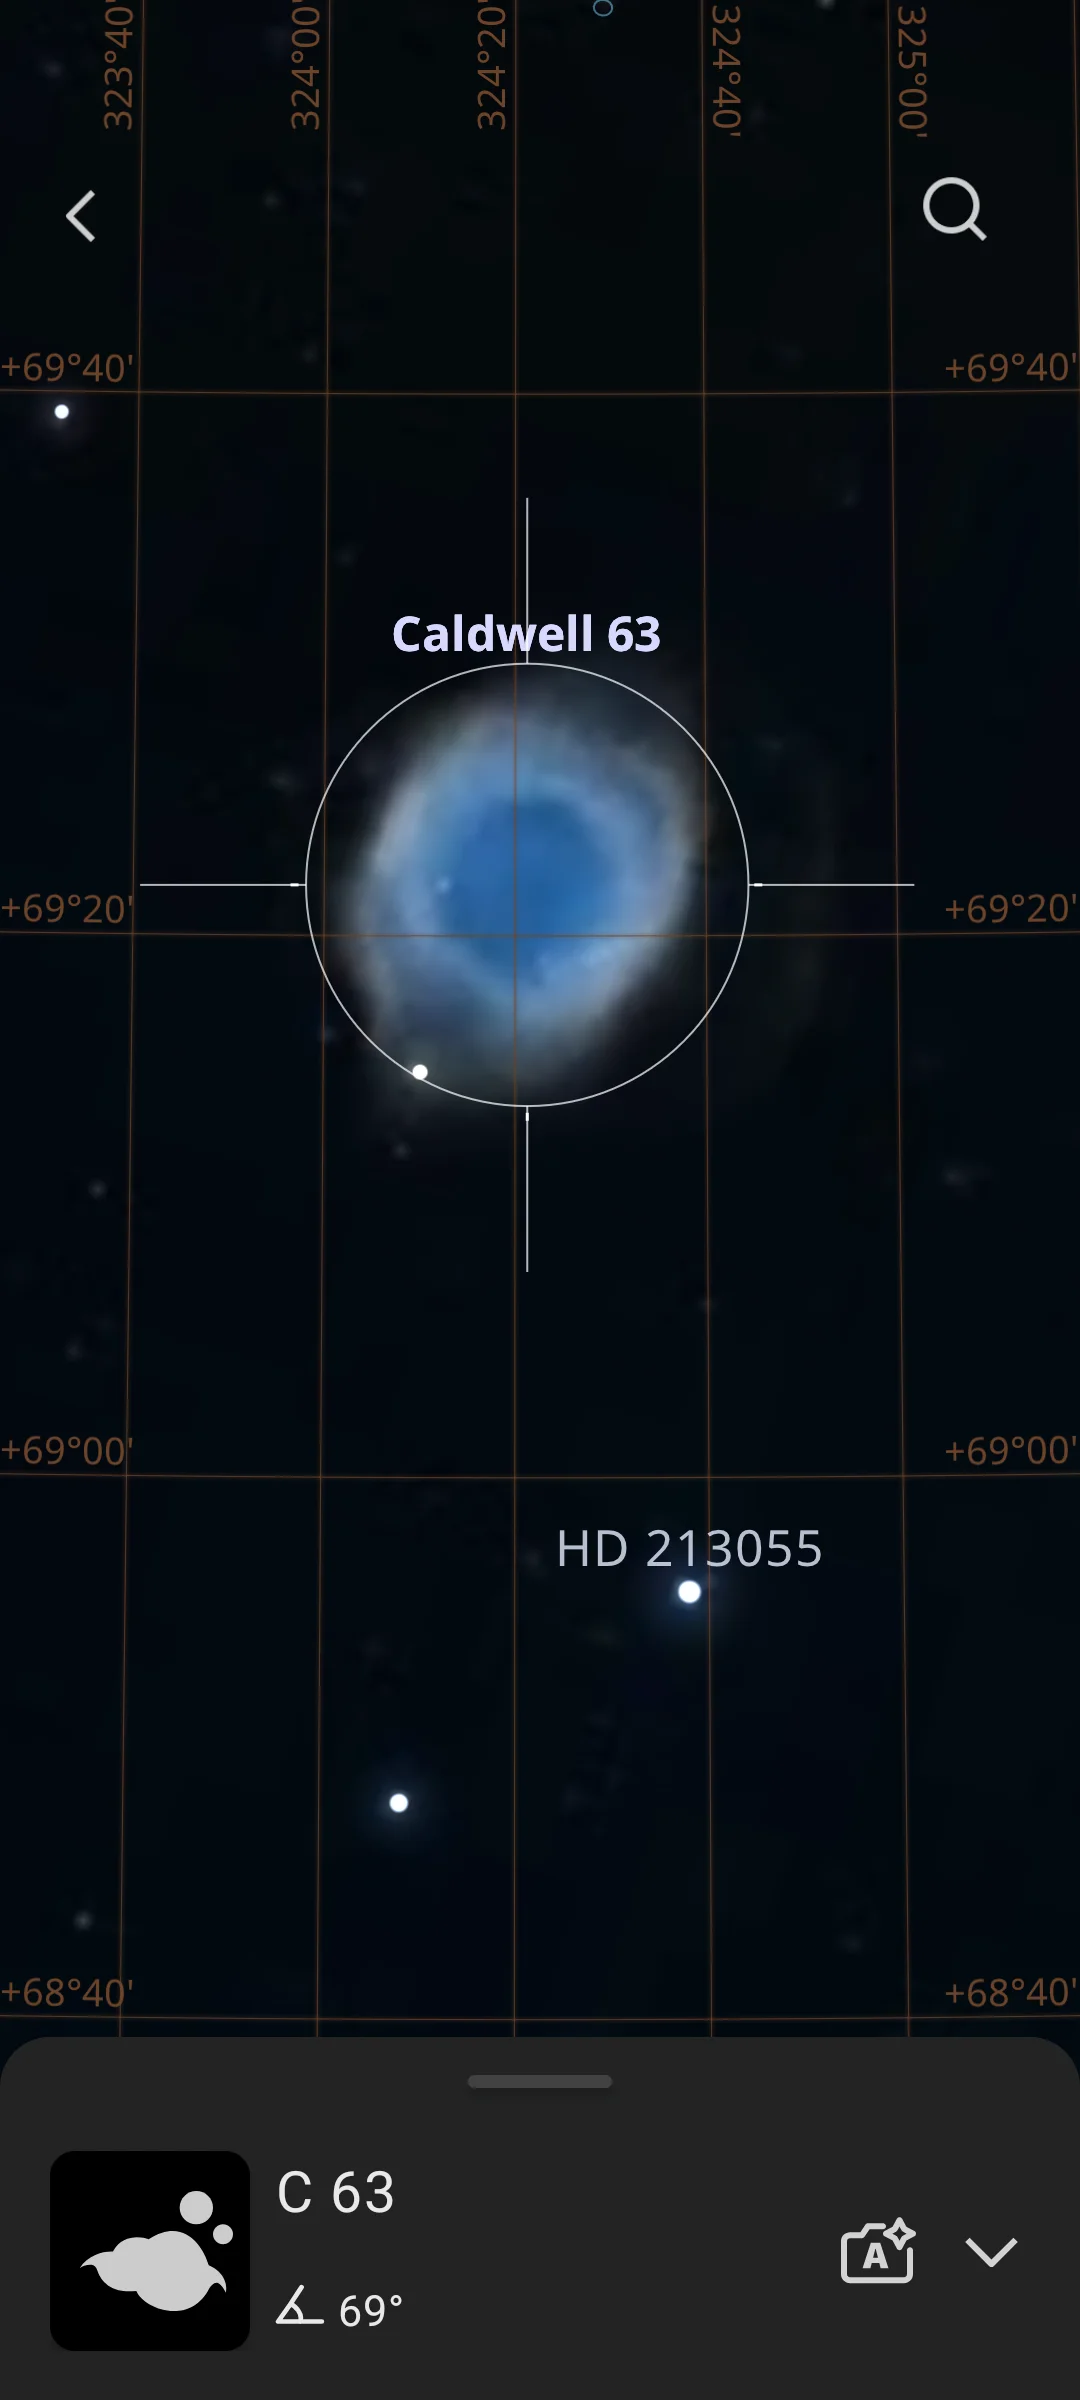
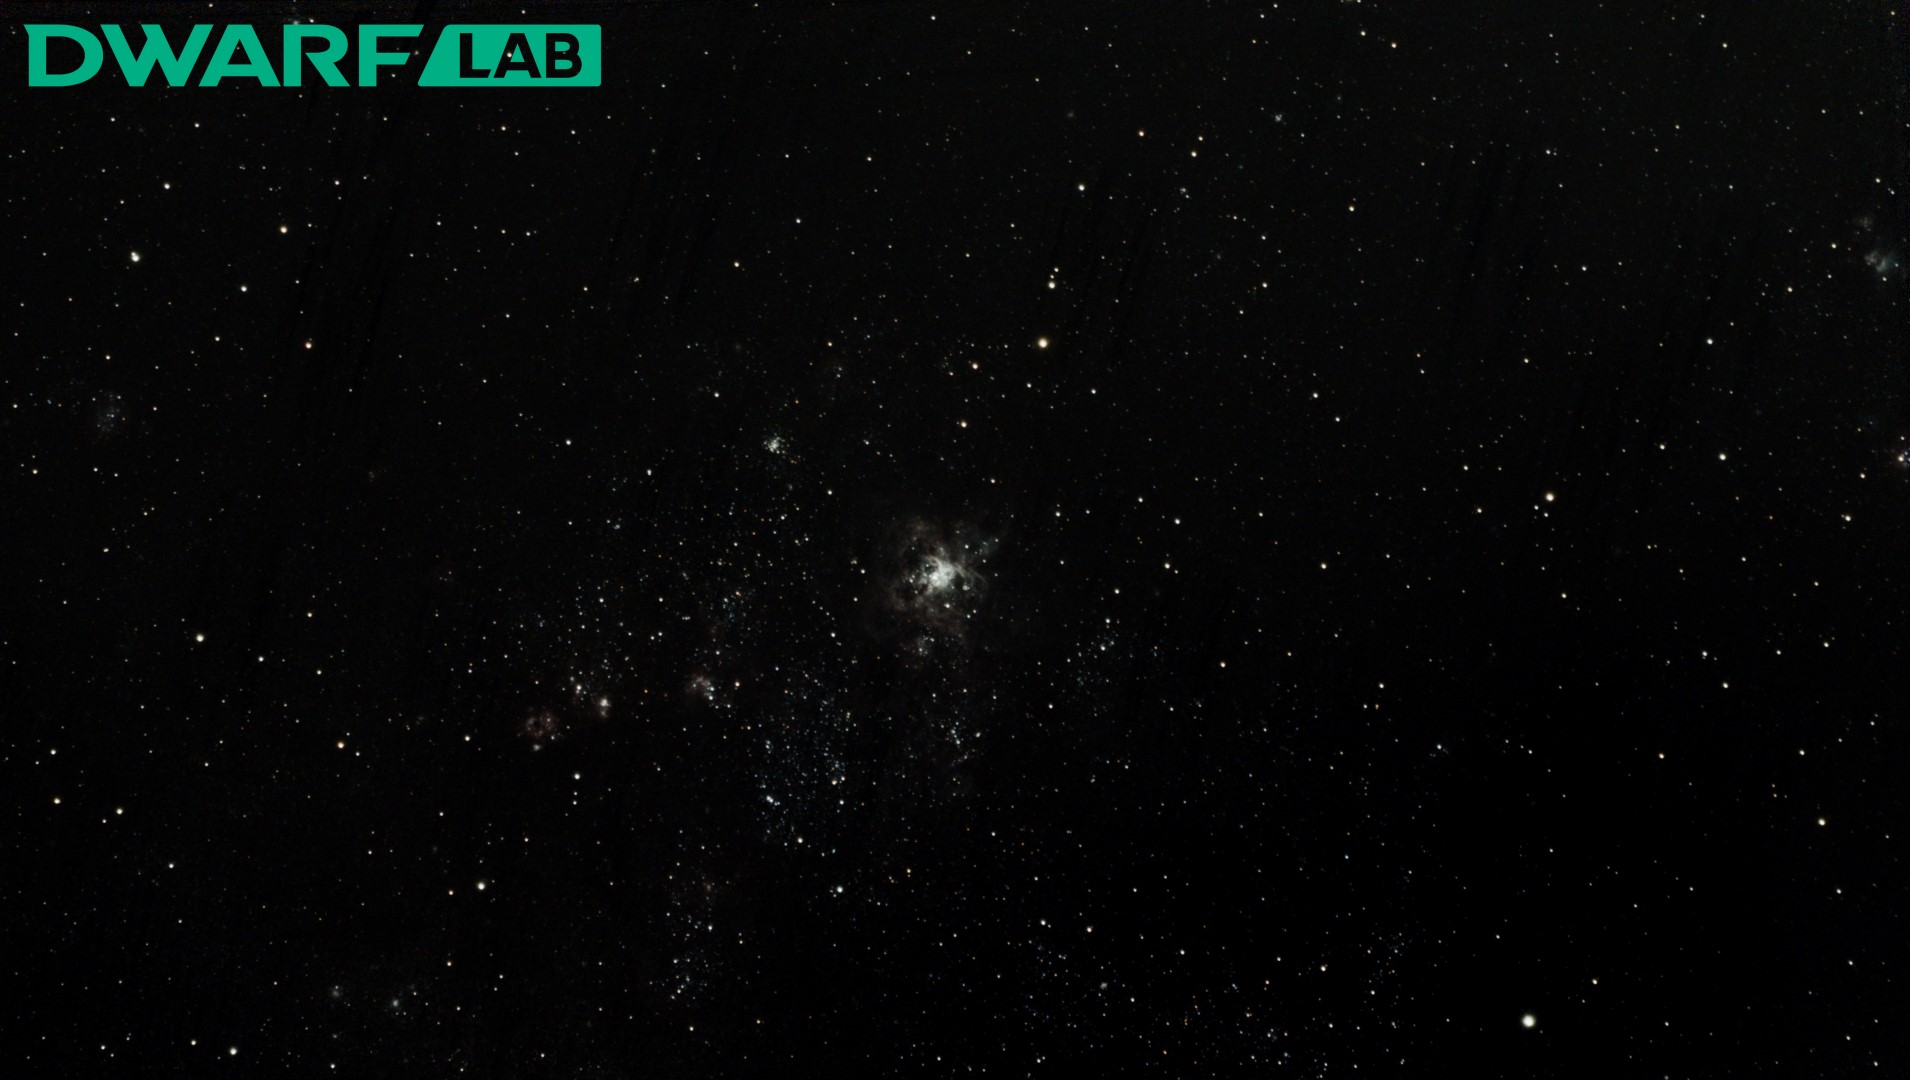
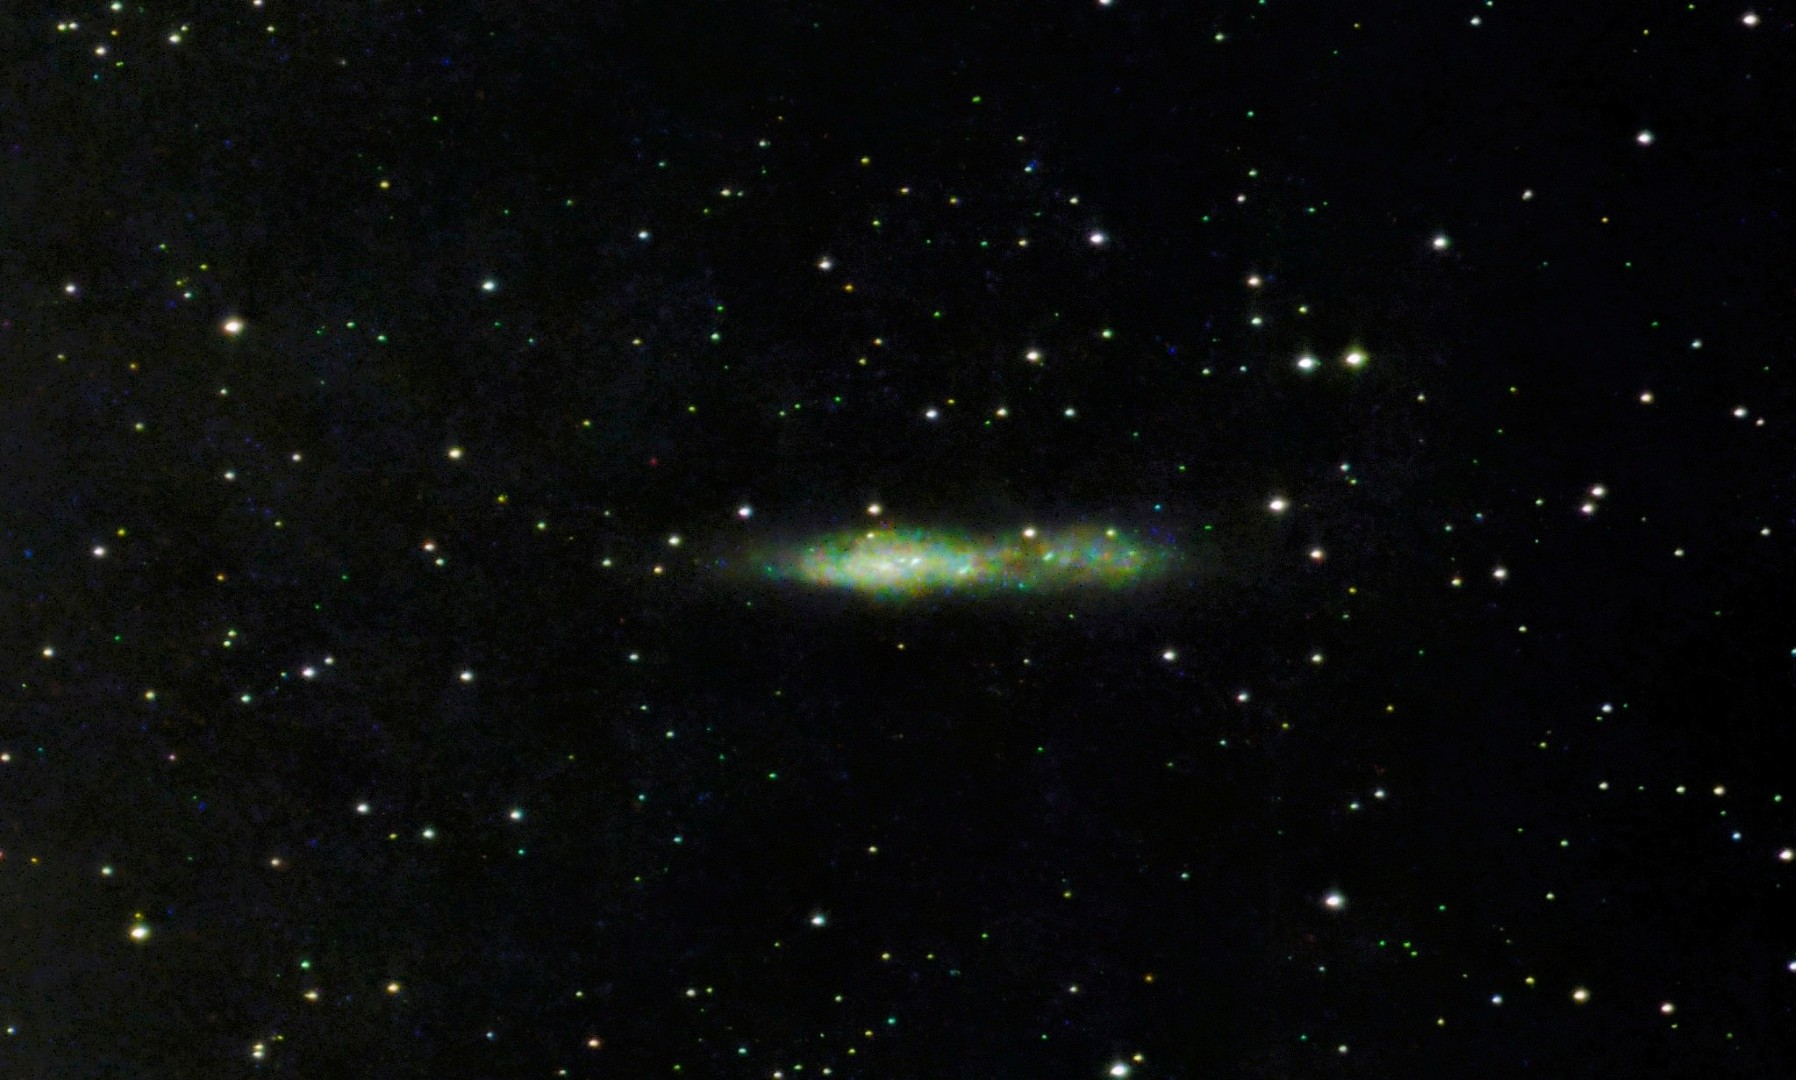
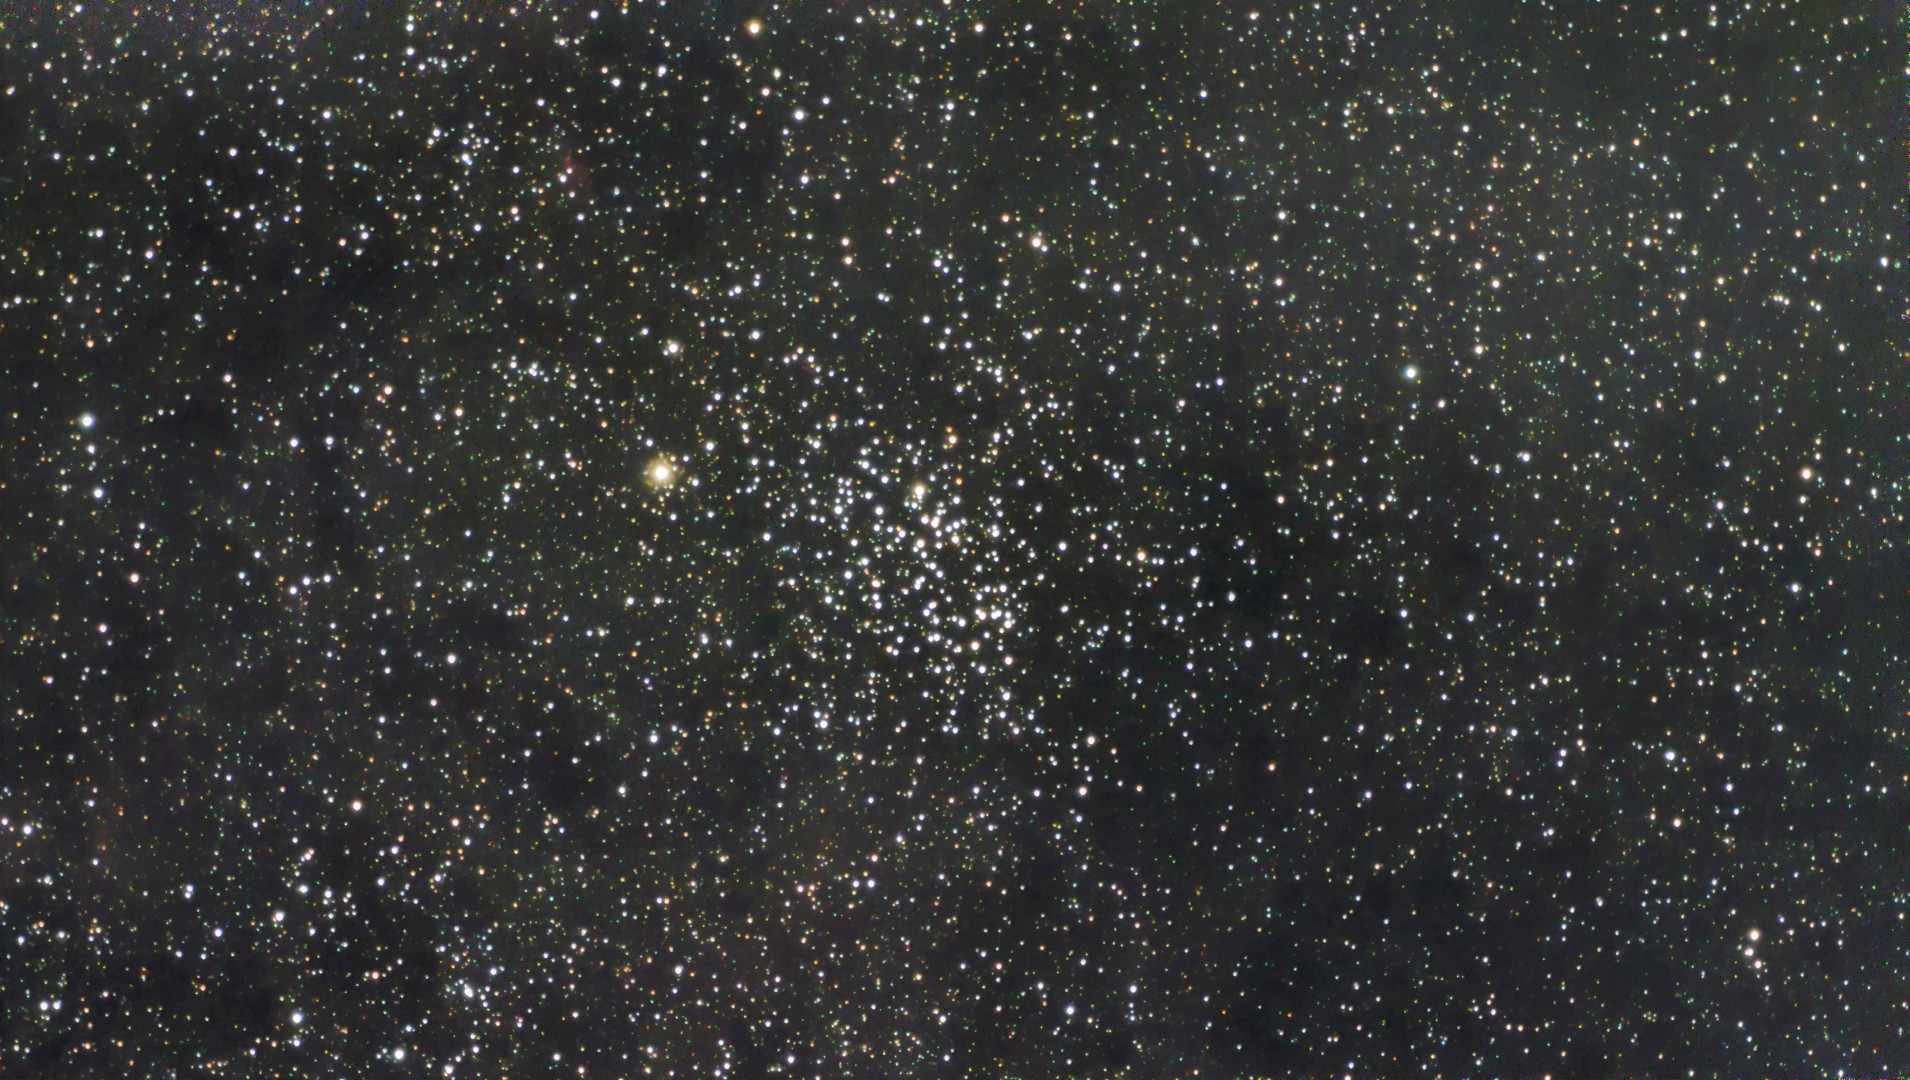
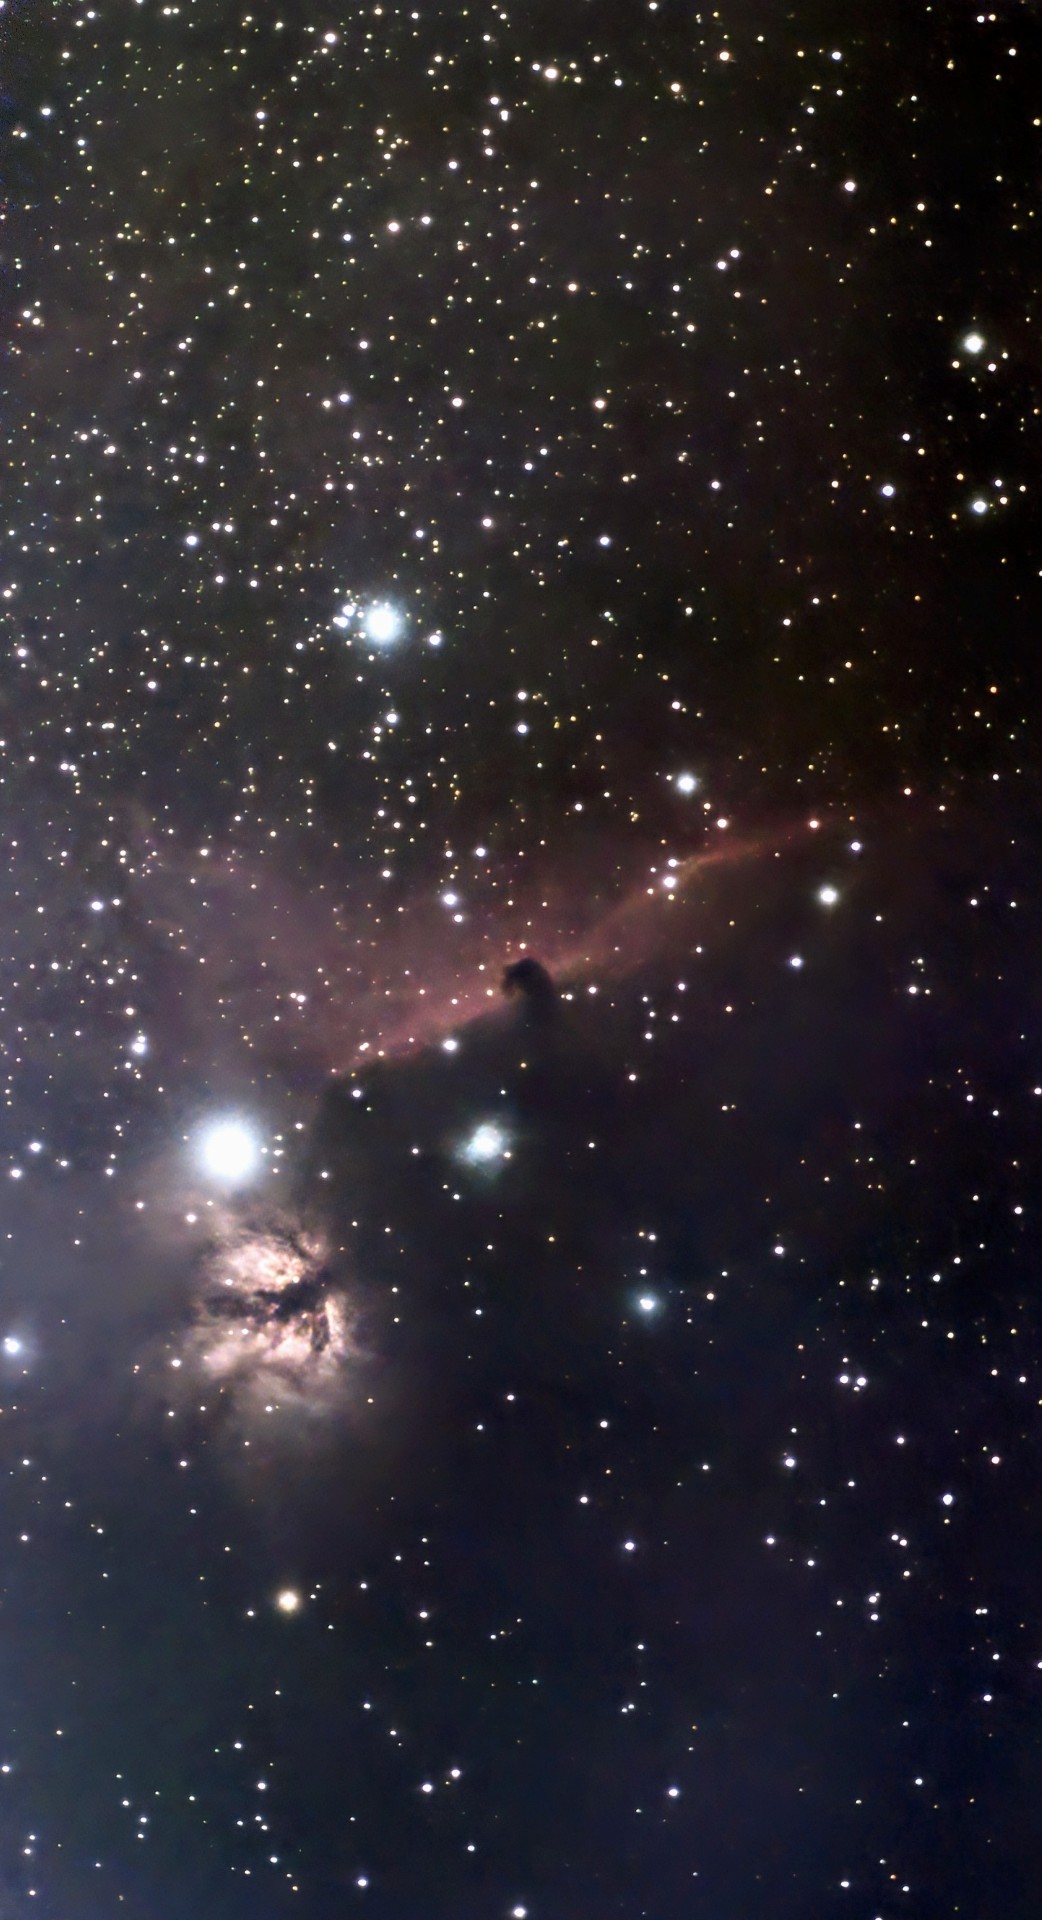
However, where this telescope shines is in capturing galaxies through its astrophotography capabilities, thanks to its large field of view, 3.4mm aperture wide-field lens, 35mm aperture telephoto lens, and high-quality Sony IMX678 camera sensor. It also has Astro and Duo Filters to enhance the light from distant galaxies, including their myriad colours.
The telescope saves your captured images in JPG, PNG, TIFF, and FITS formats. FITS stands for Flexible Image Transport System and is used to stack images to capture those amazing galaxies via time lapse. To use FITS, you need additional software such as SIRIL, an astronomical image processing app. Supporting your astronomy or bird watching, the Dwarf 3 comes with video recording in 4K resolution (3840×2160), making it quite a versatile telescope. Transferring files is done via the app to your smartphone, or you can directly connect the Dwarf 3 to a computer to copy or move files.
The Moon
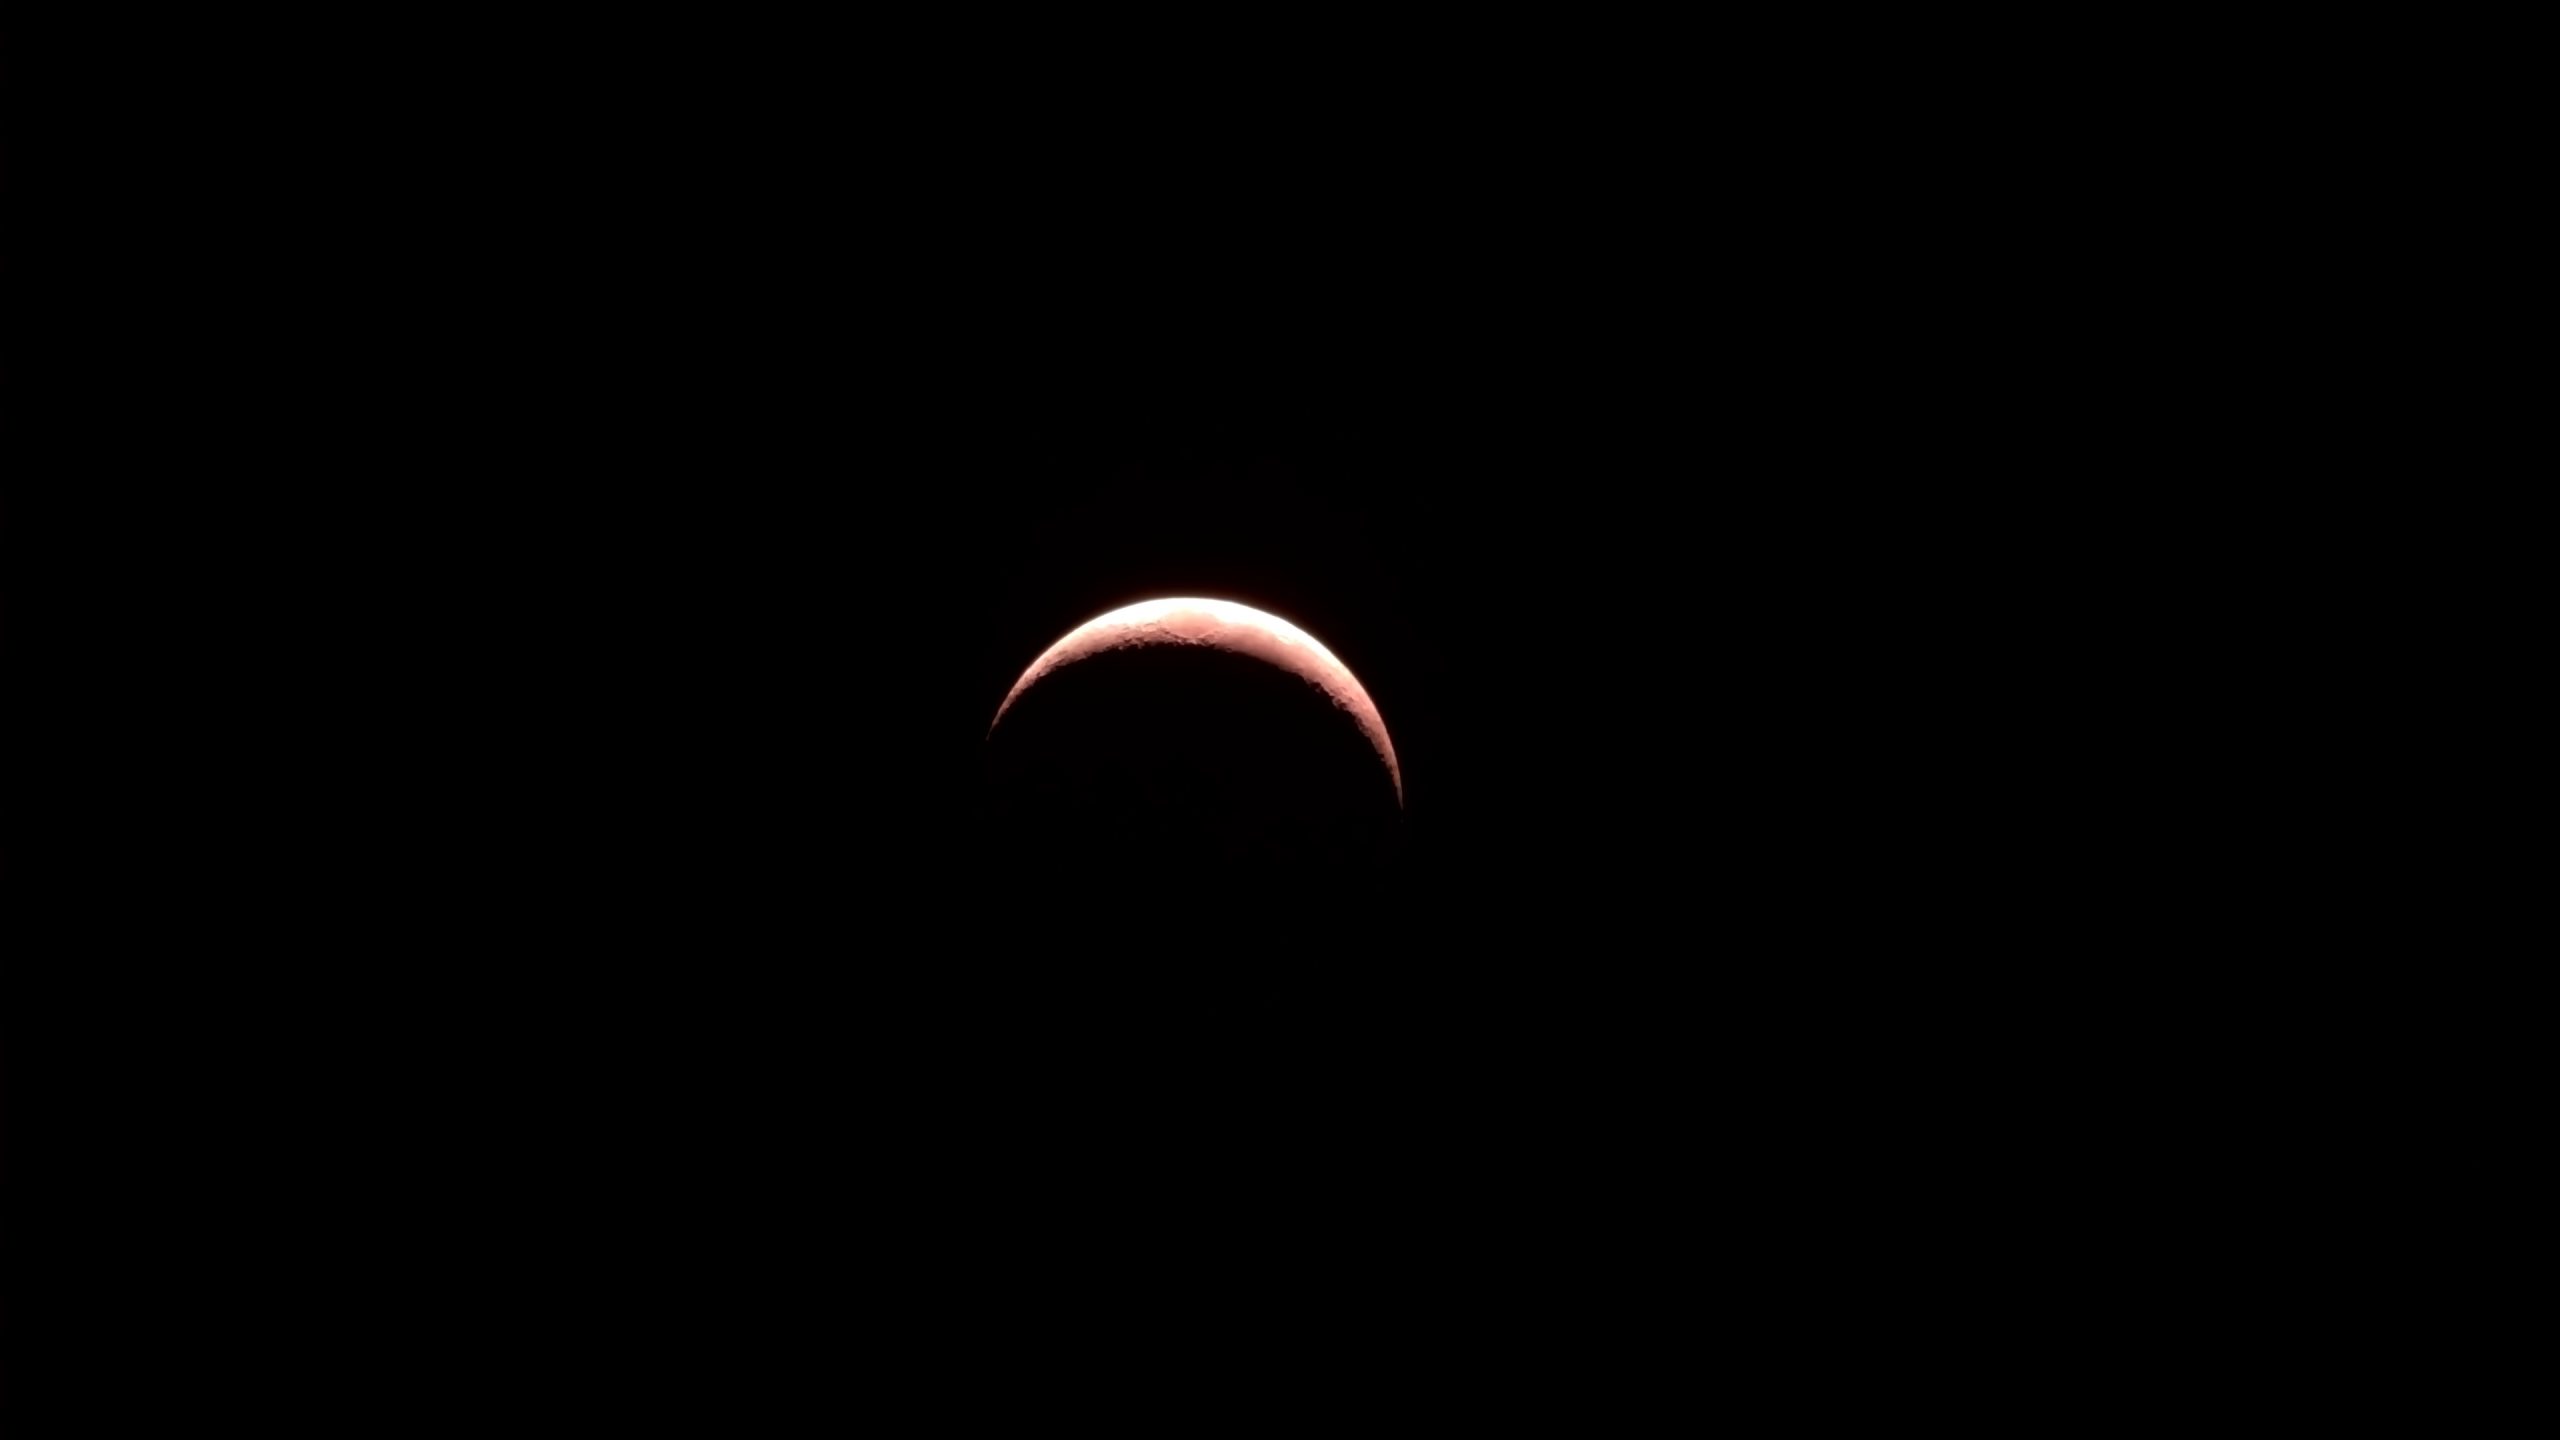
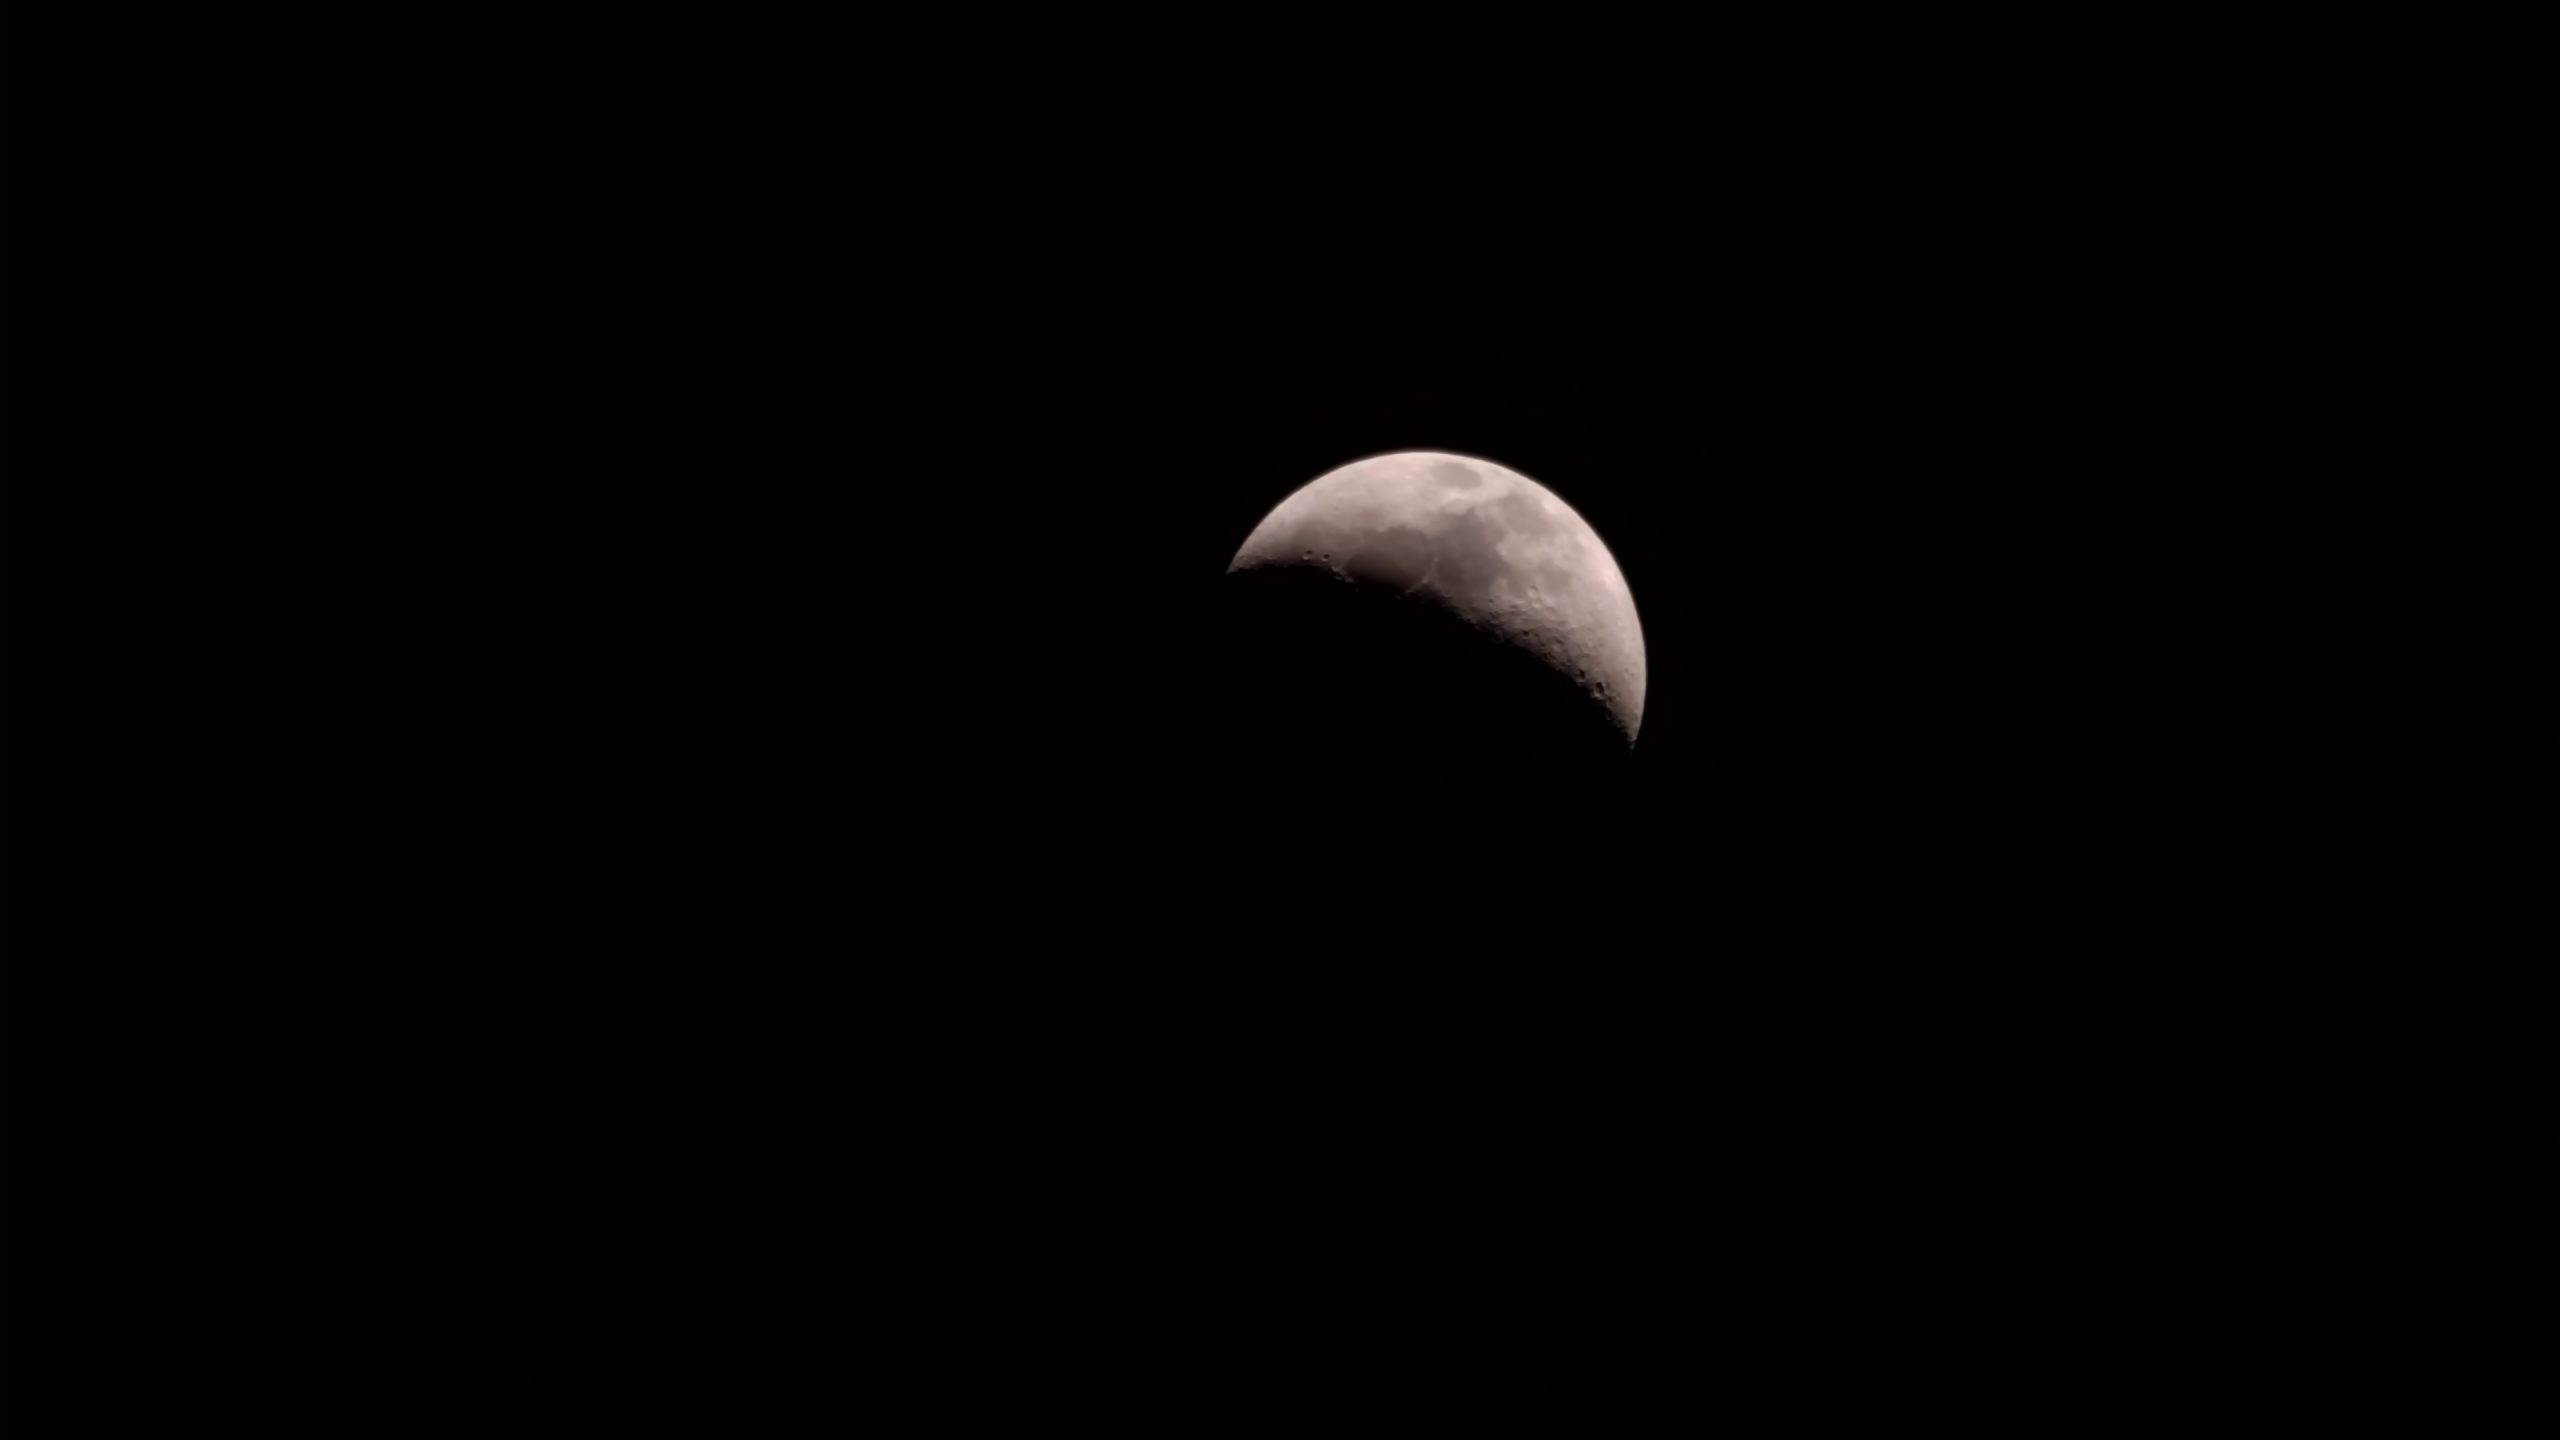
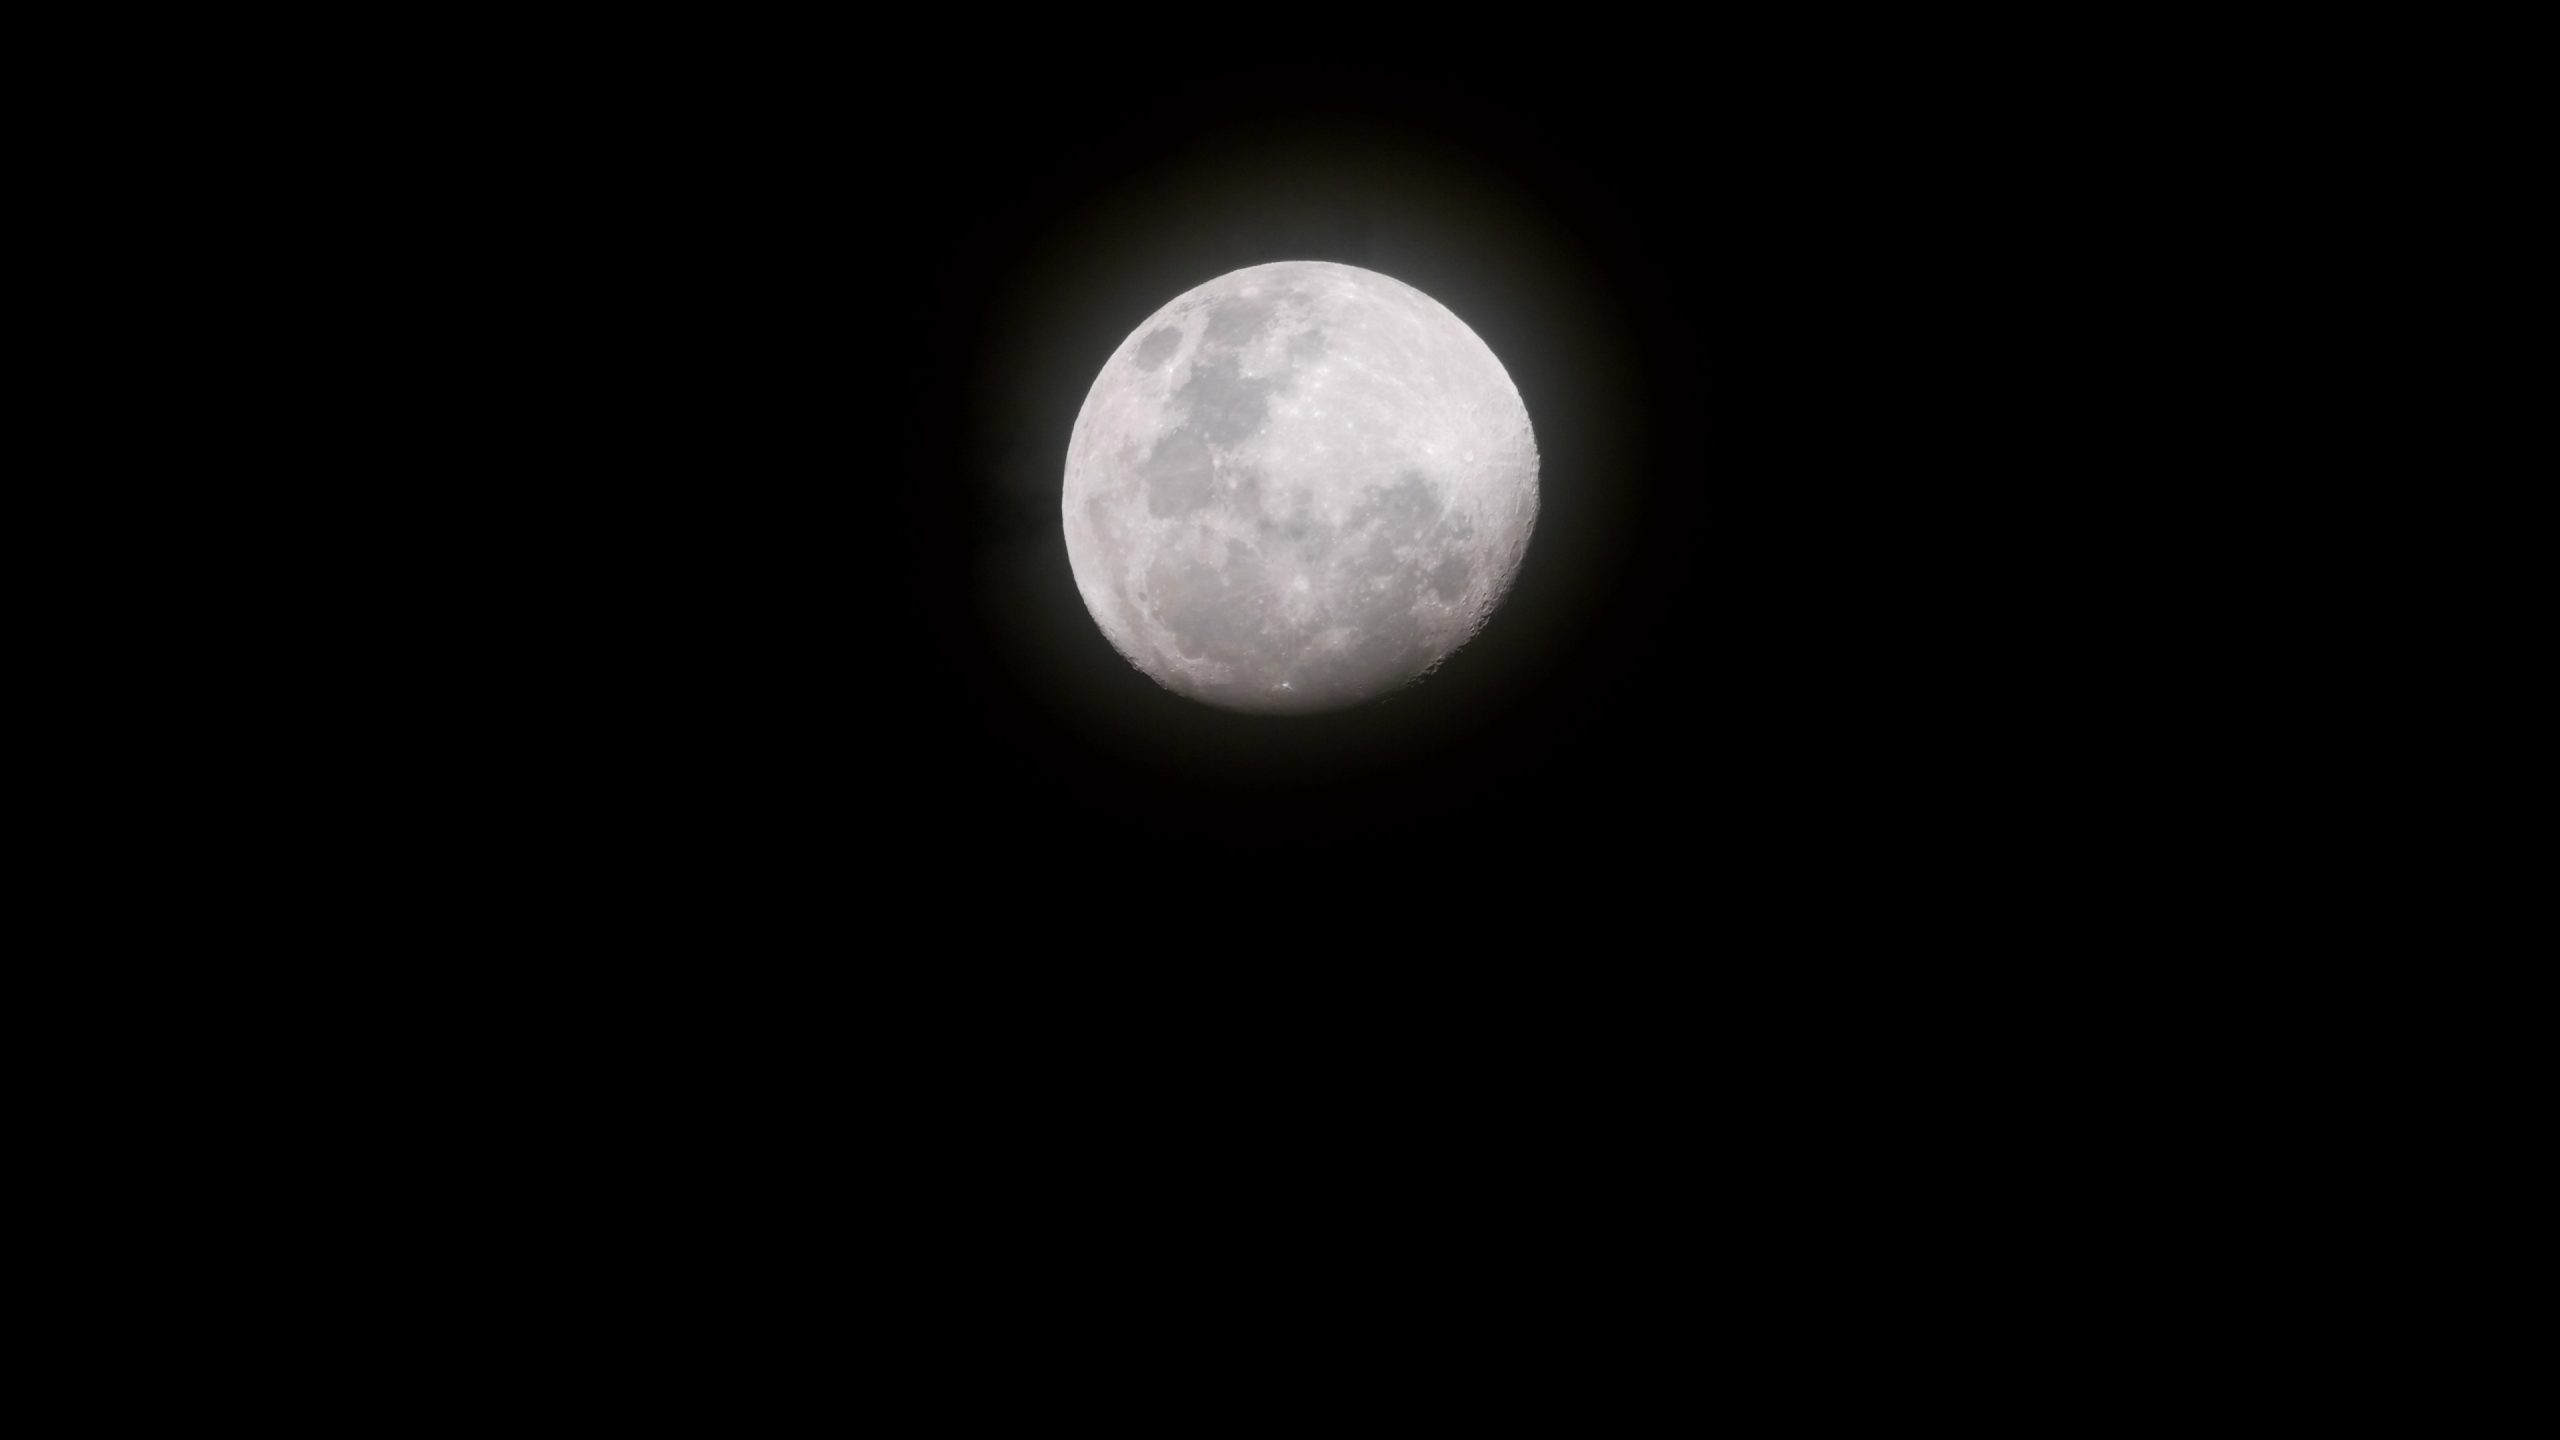
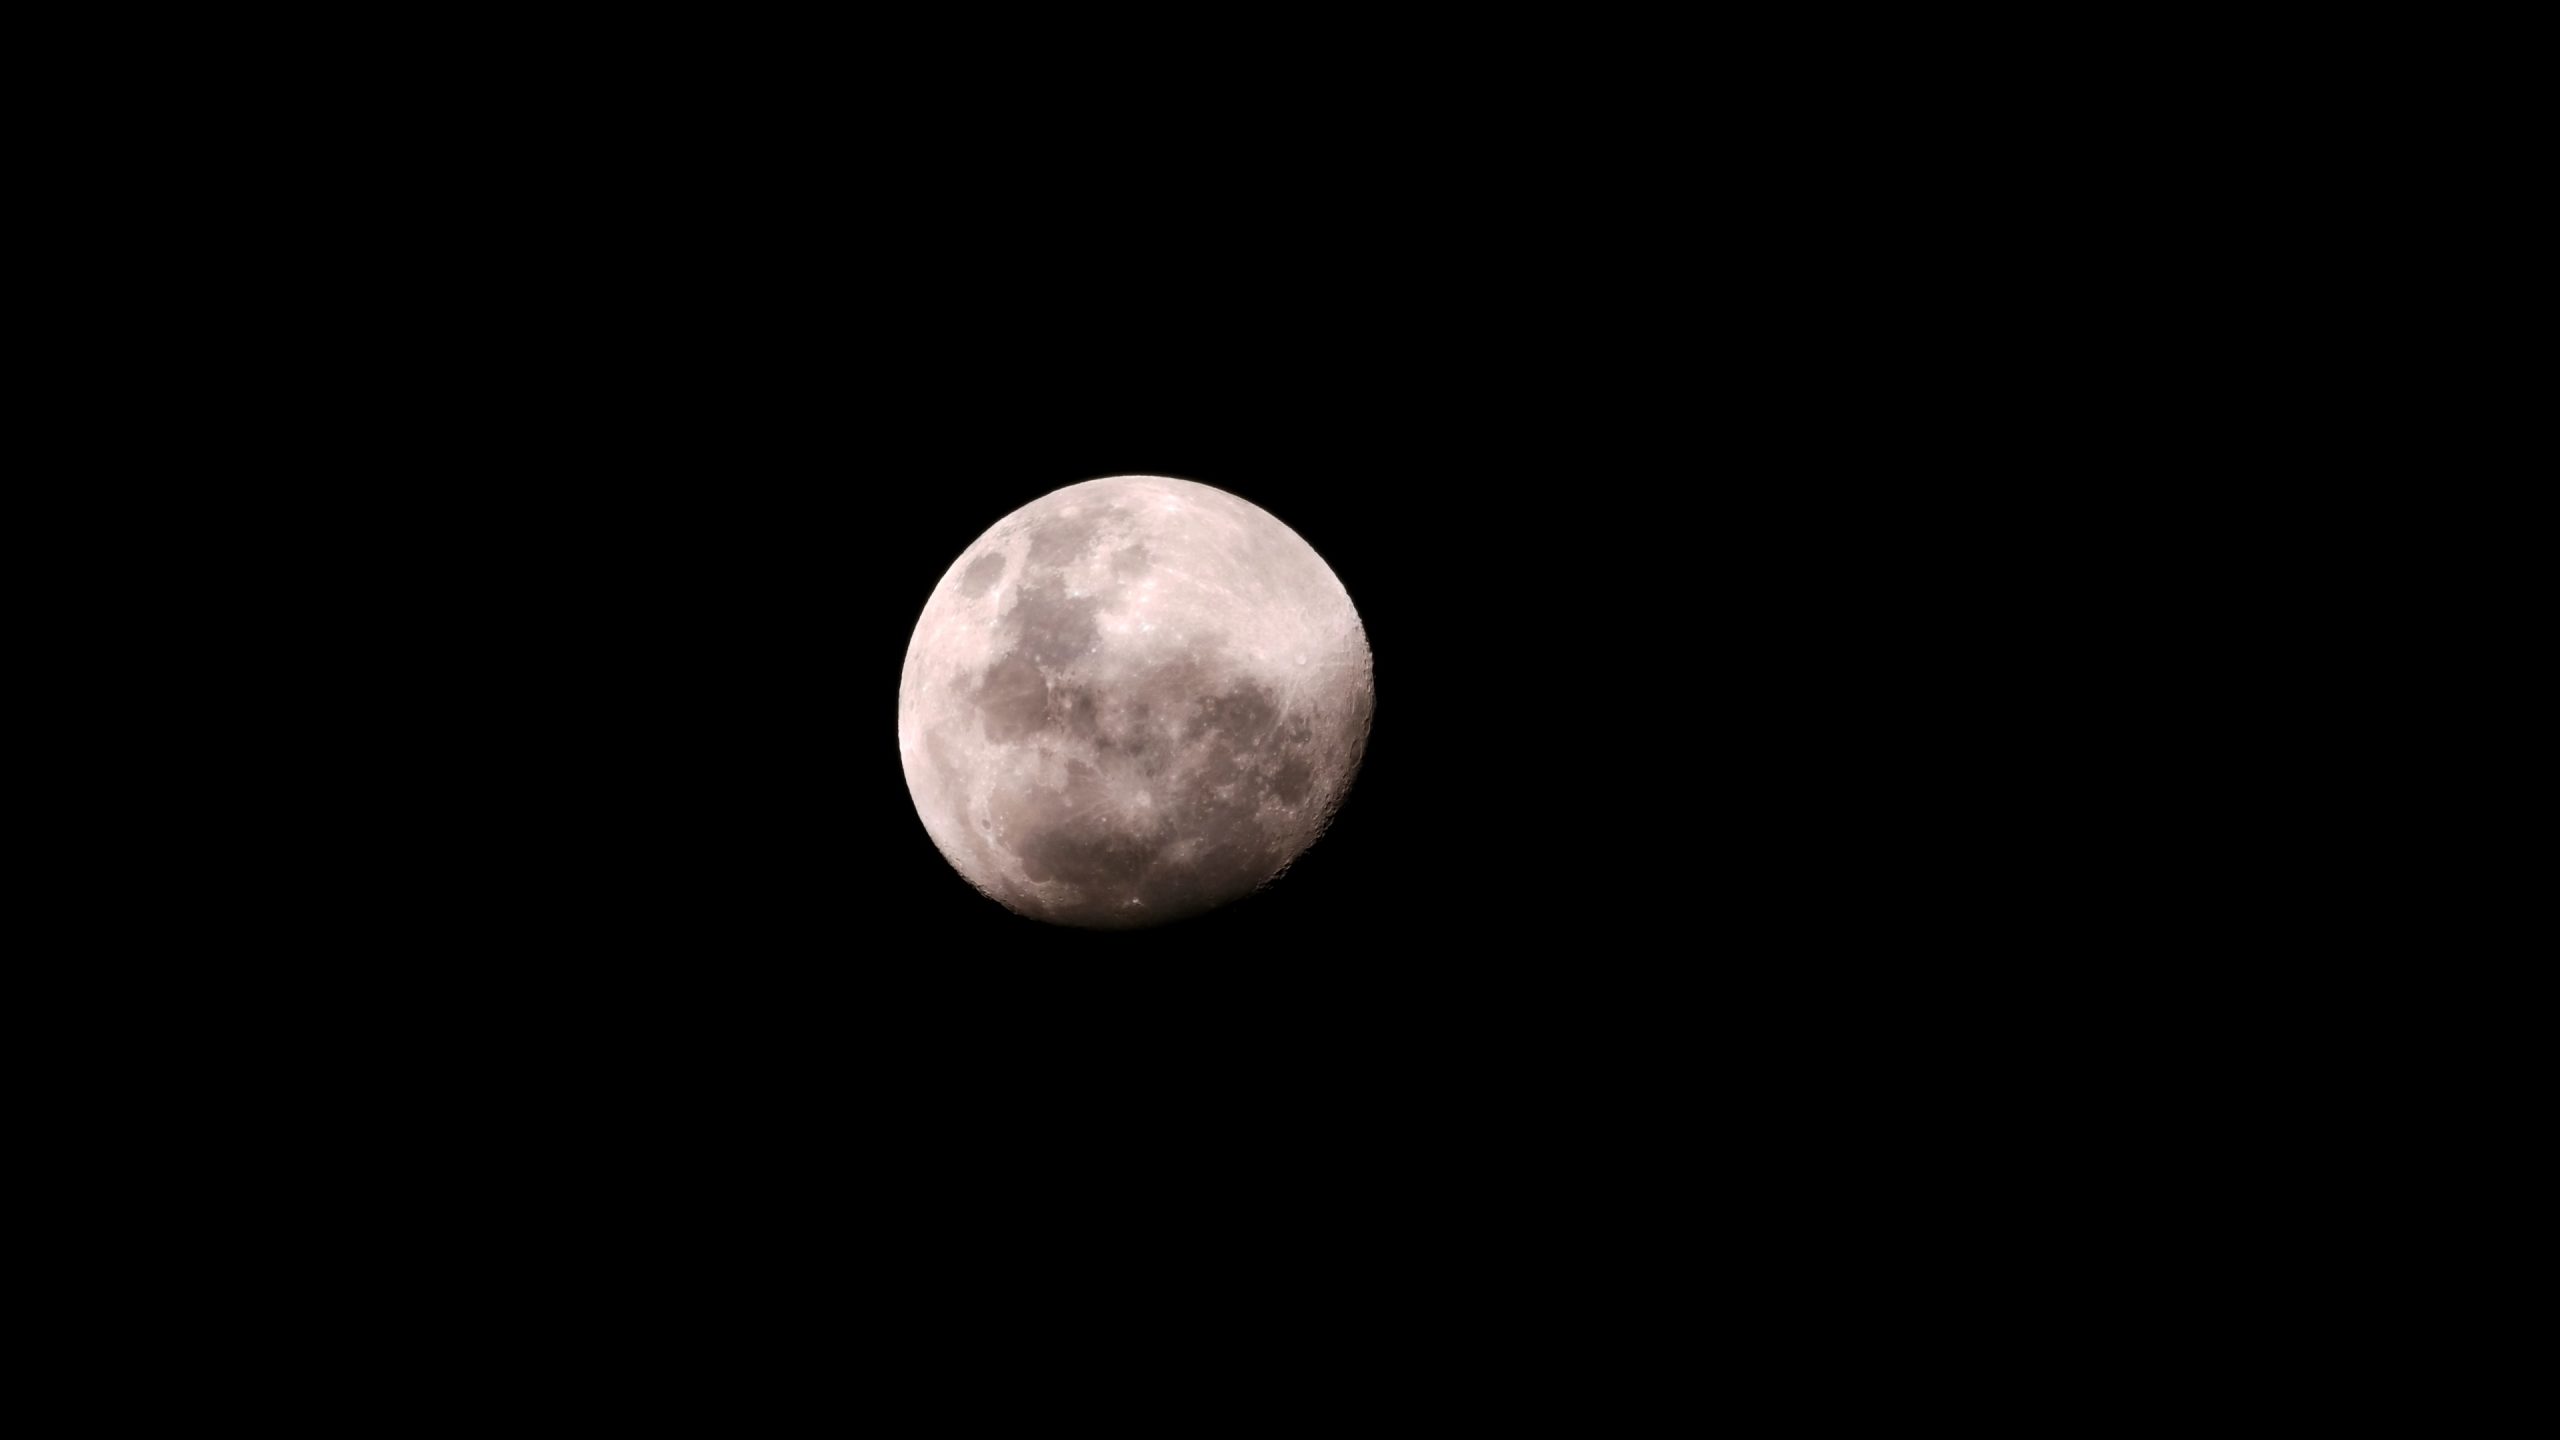
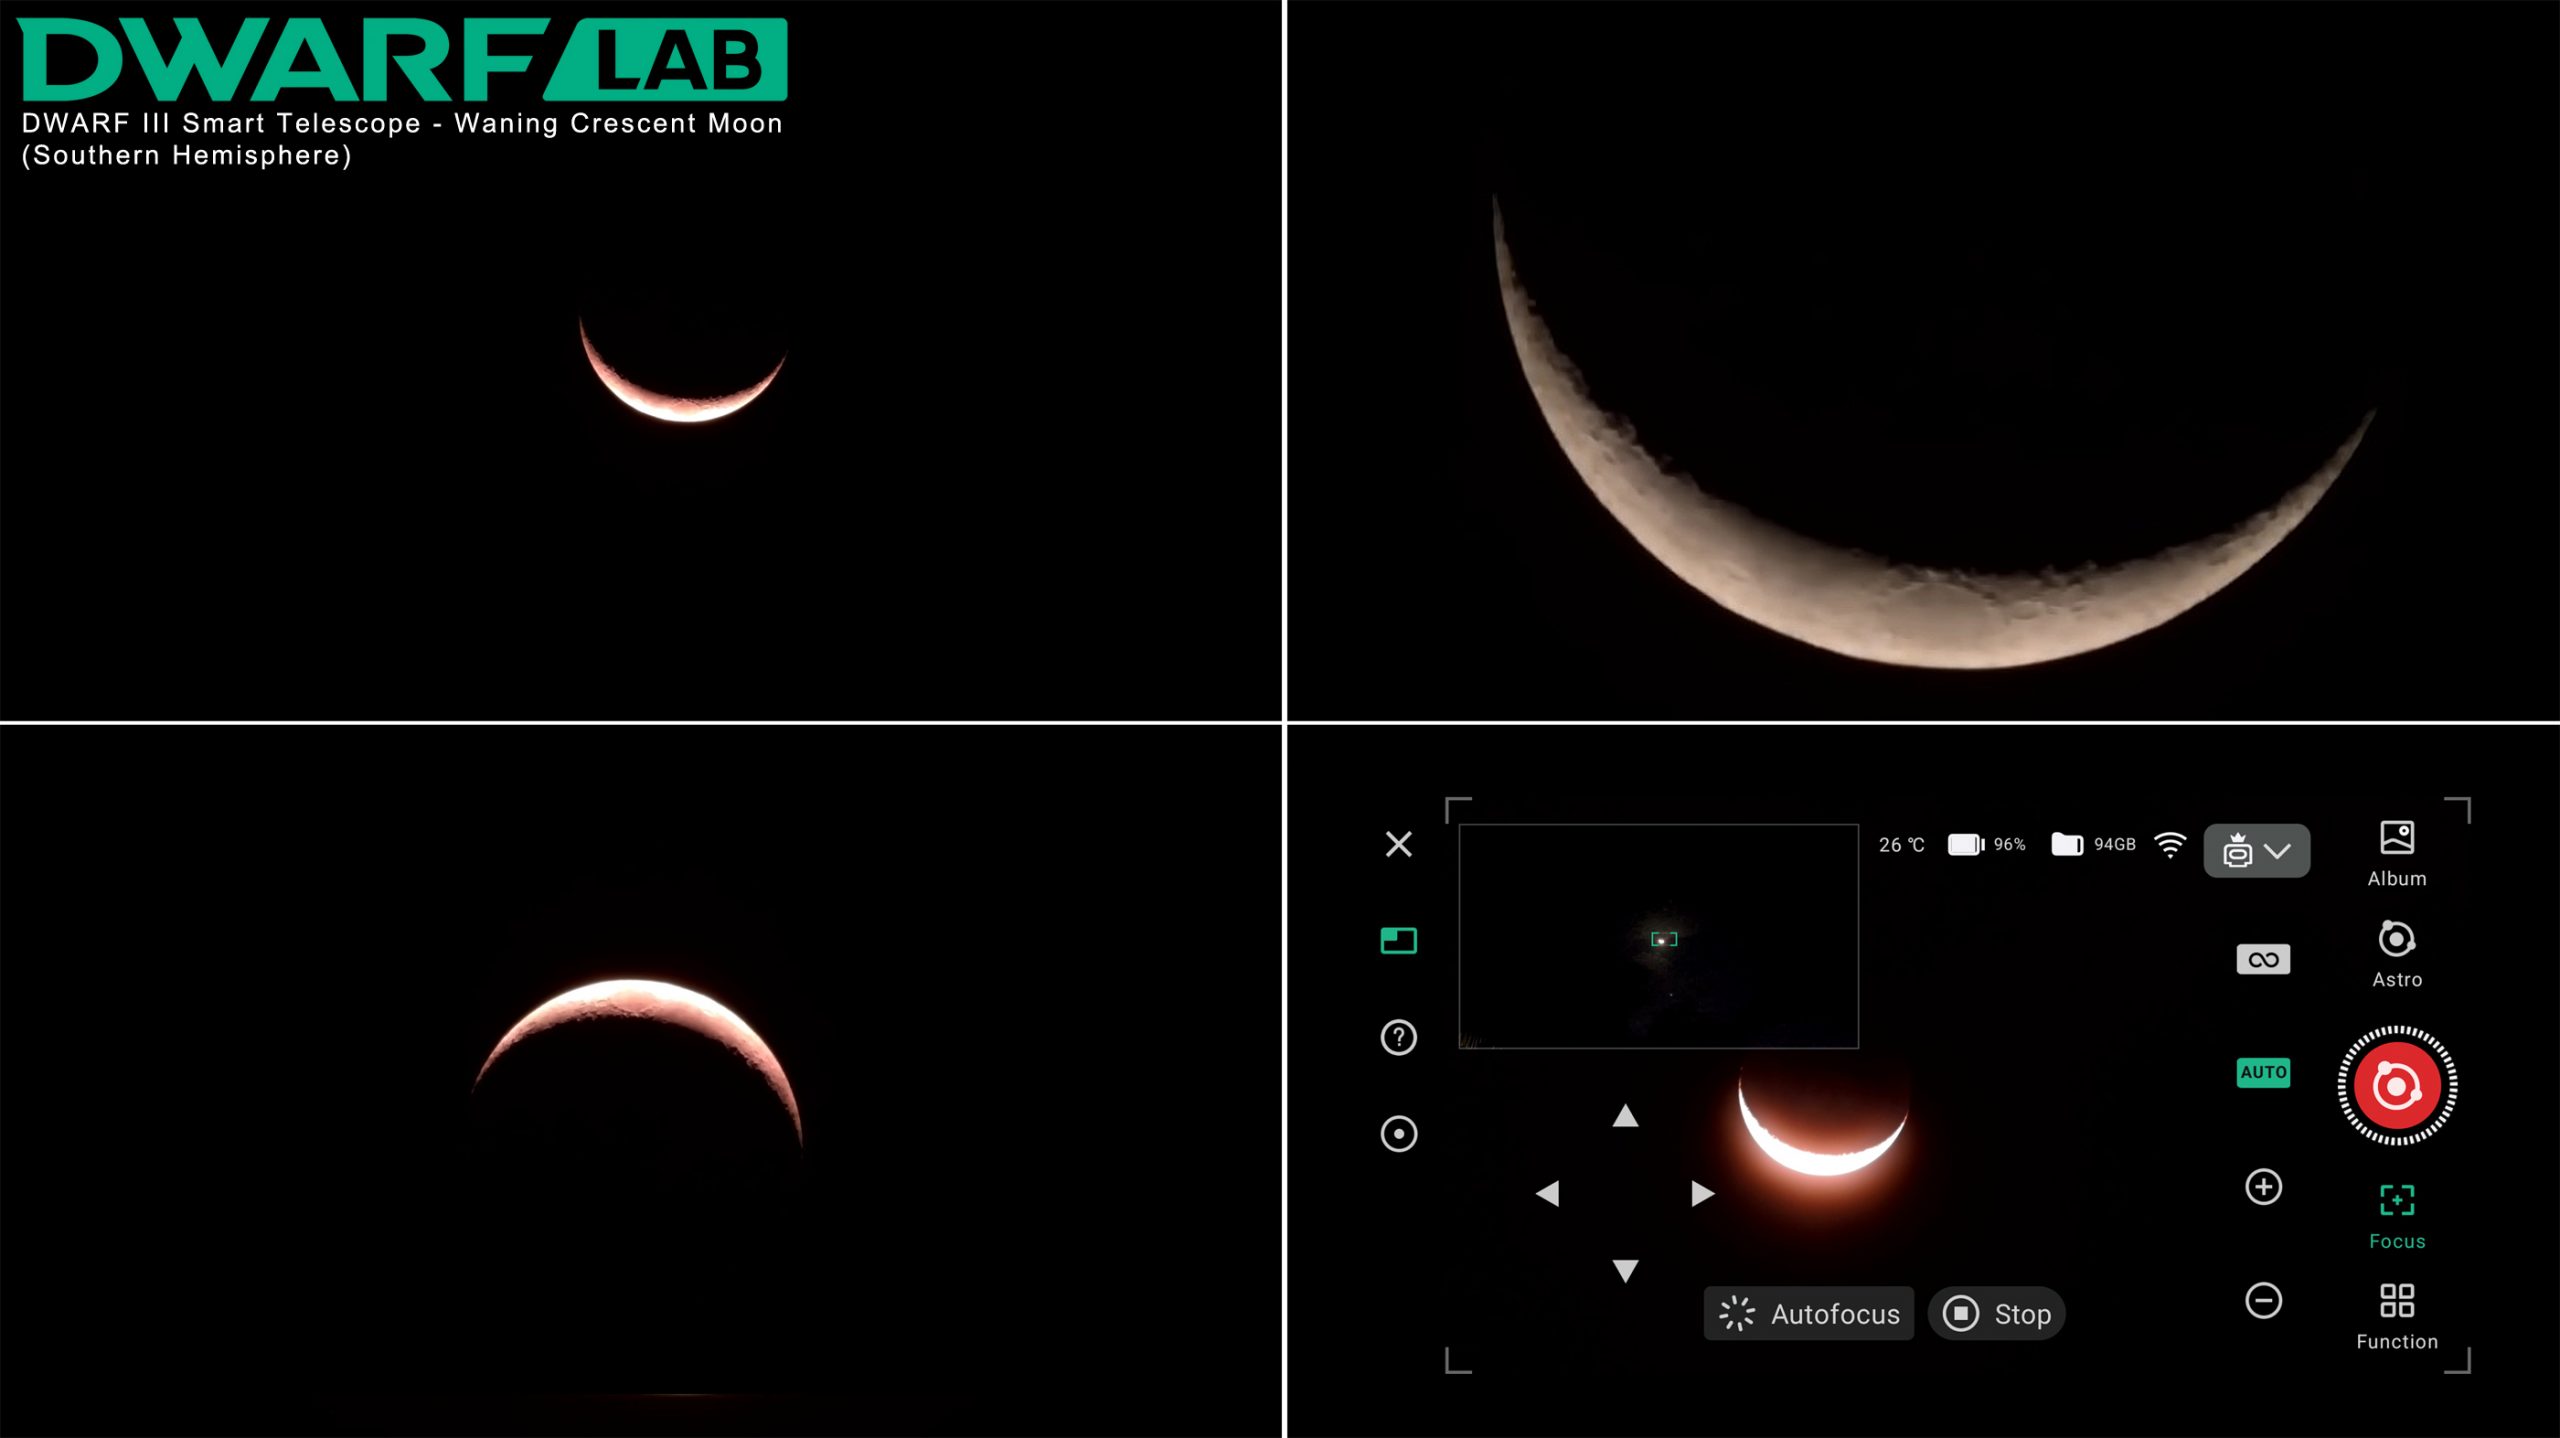
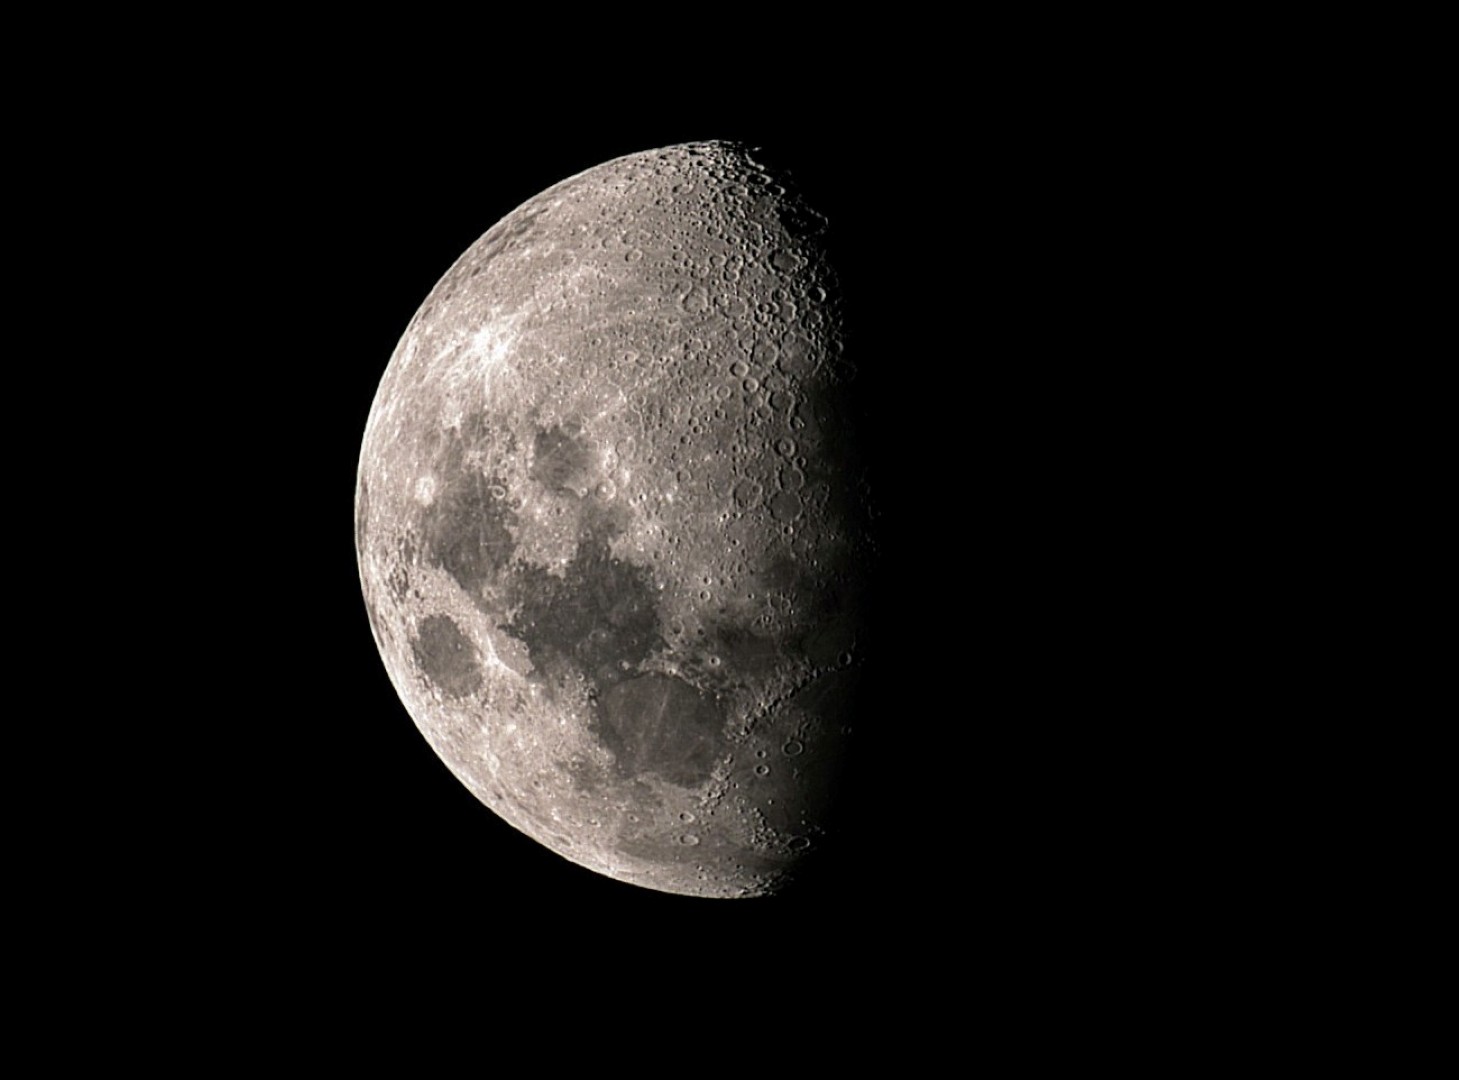
Here are some images of the moon that I took before I knew what I was doing – this is just the Dwarf 3 autofocusing on the moon and then using the photo mode to take the image. They look good but…
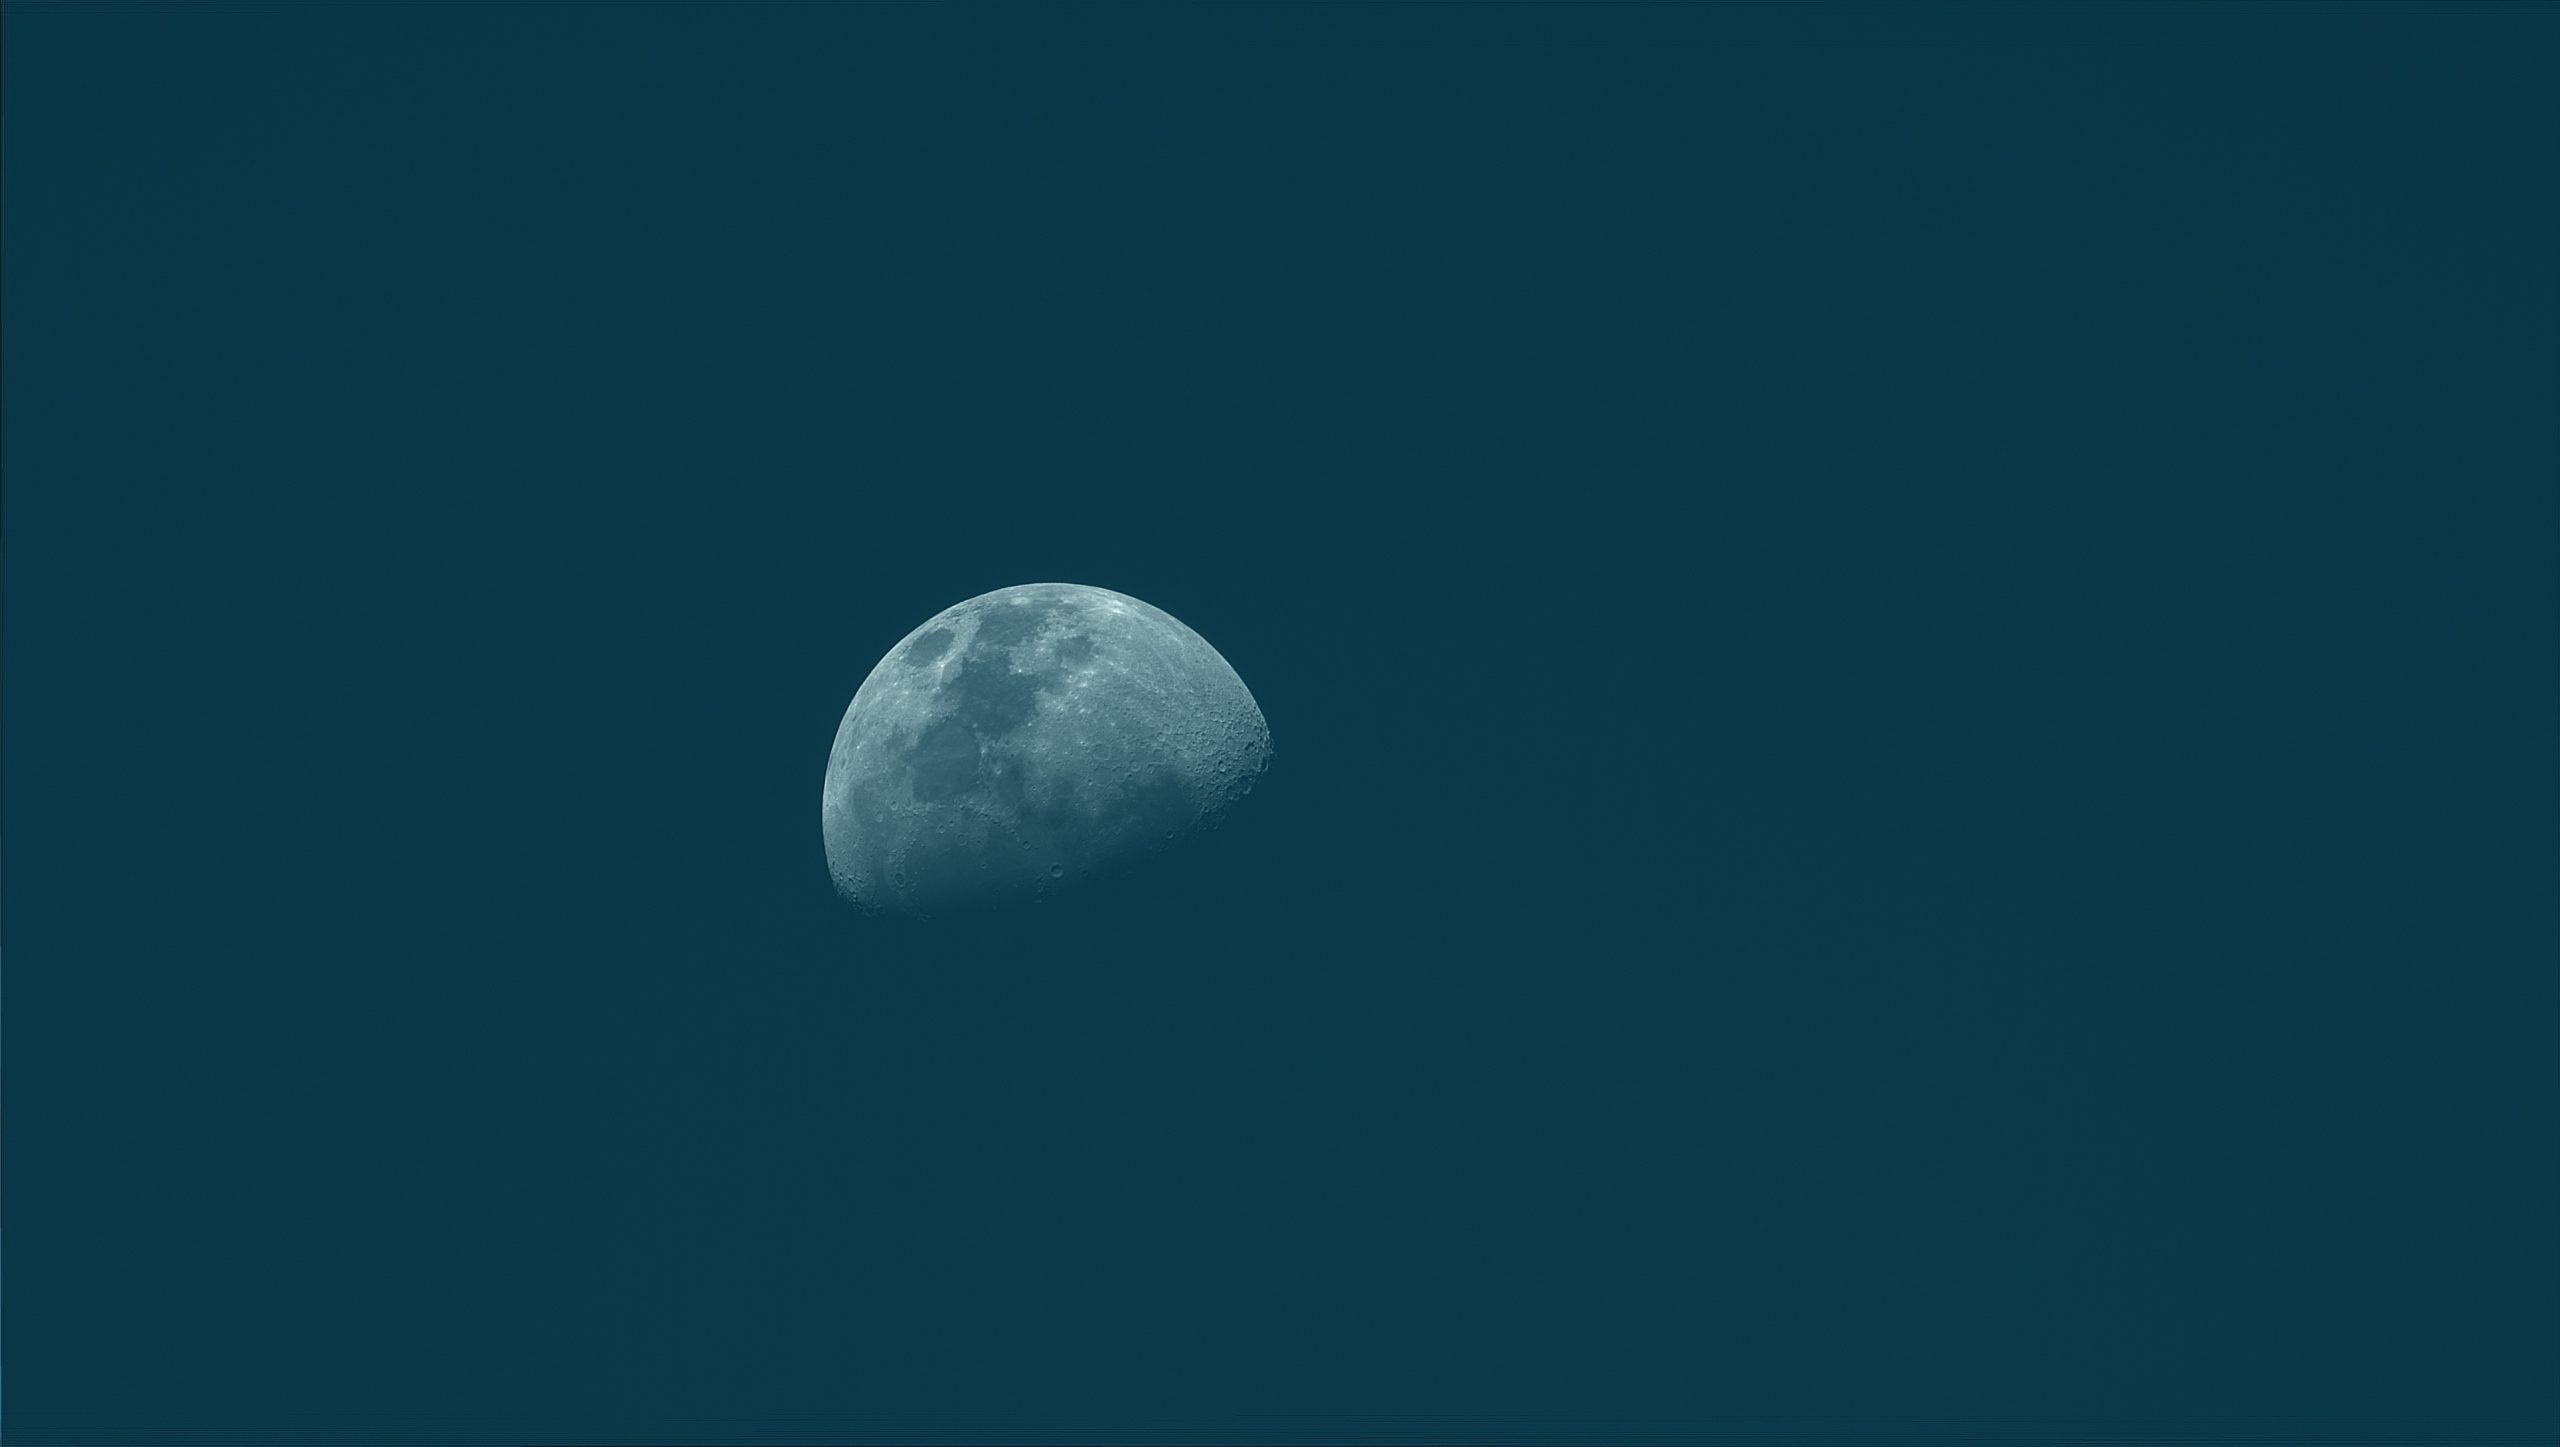
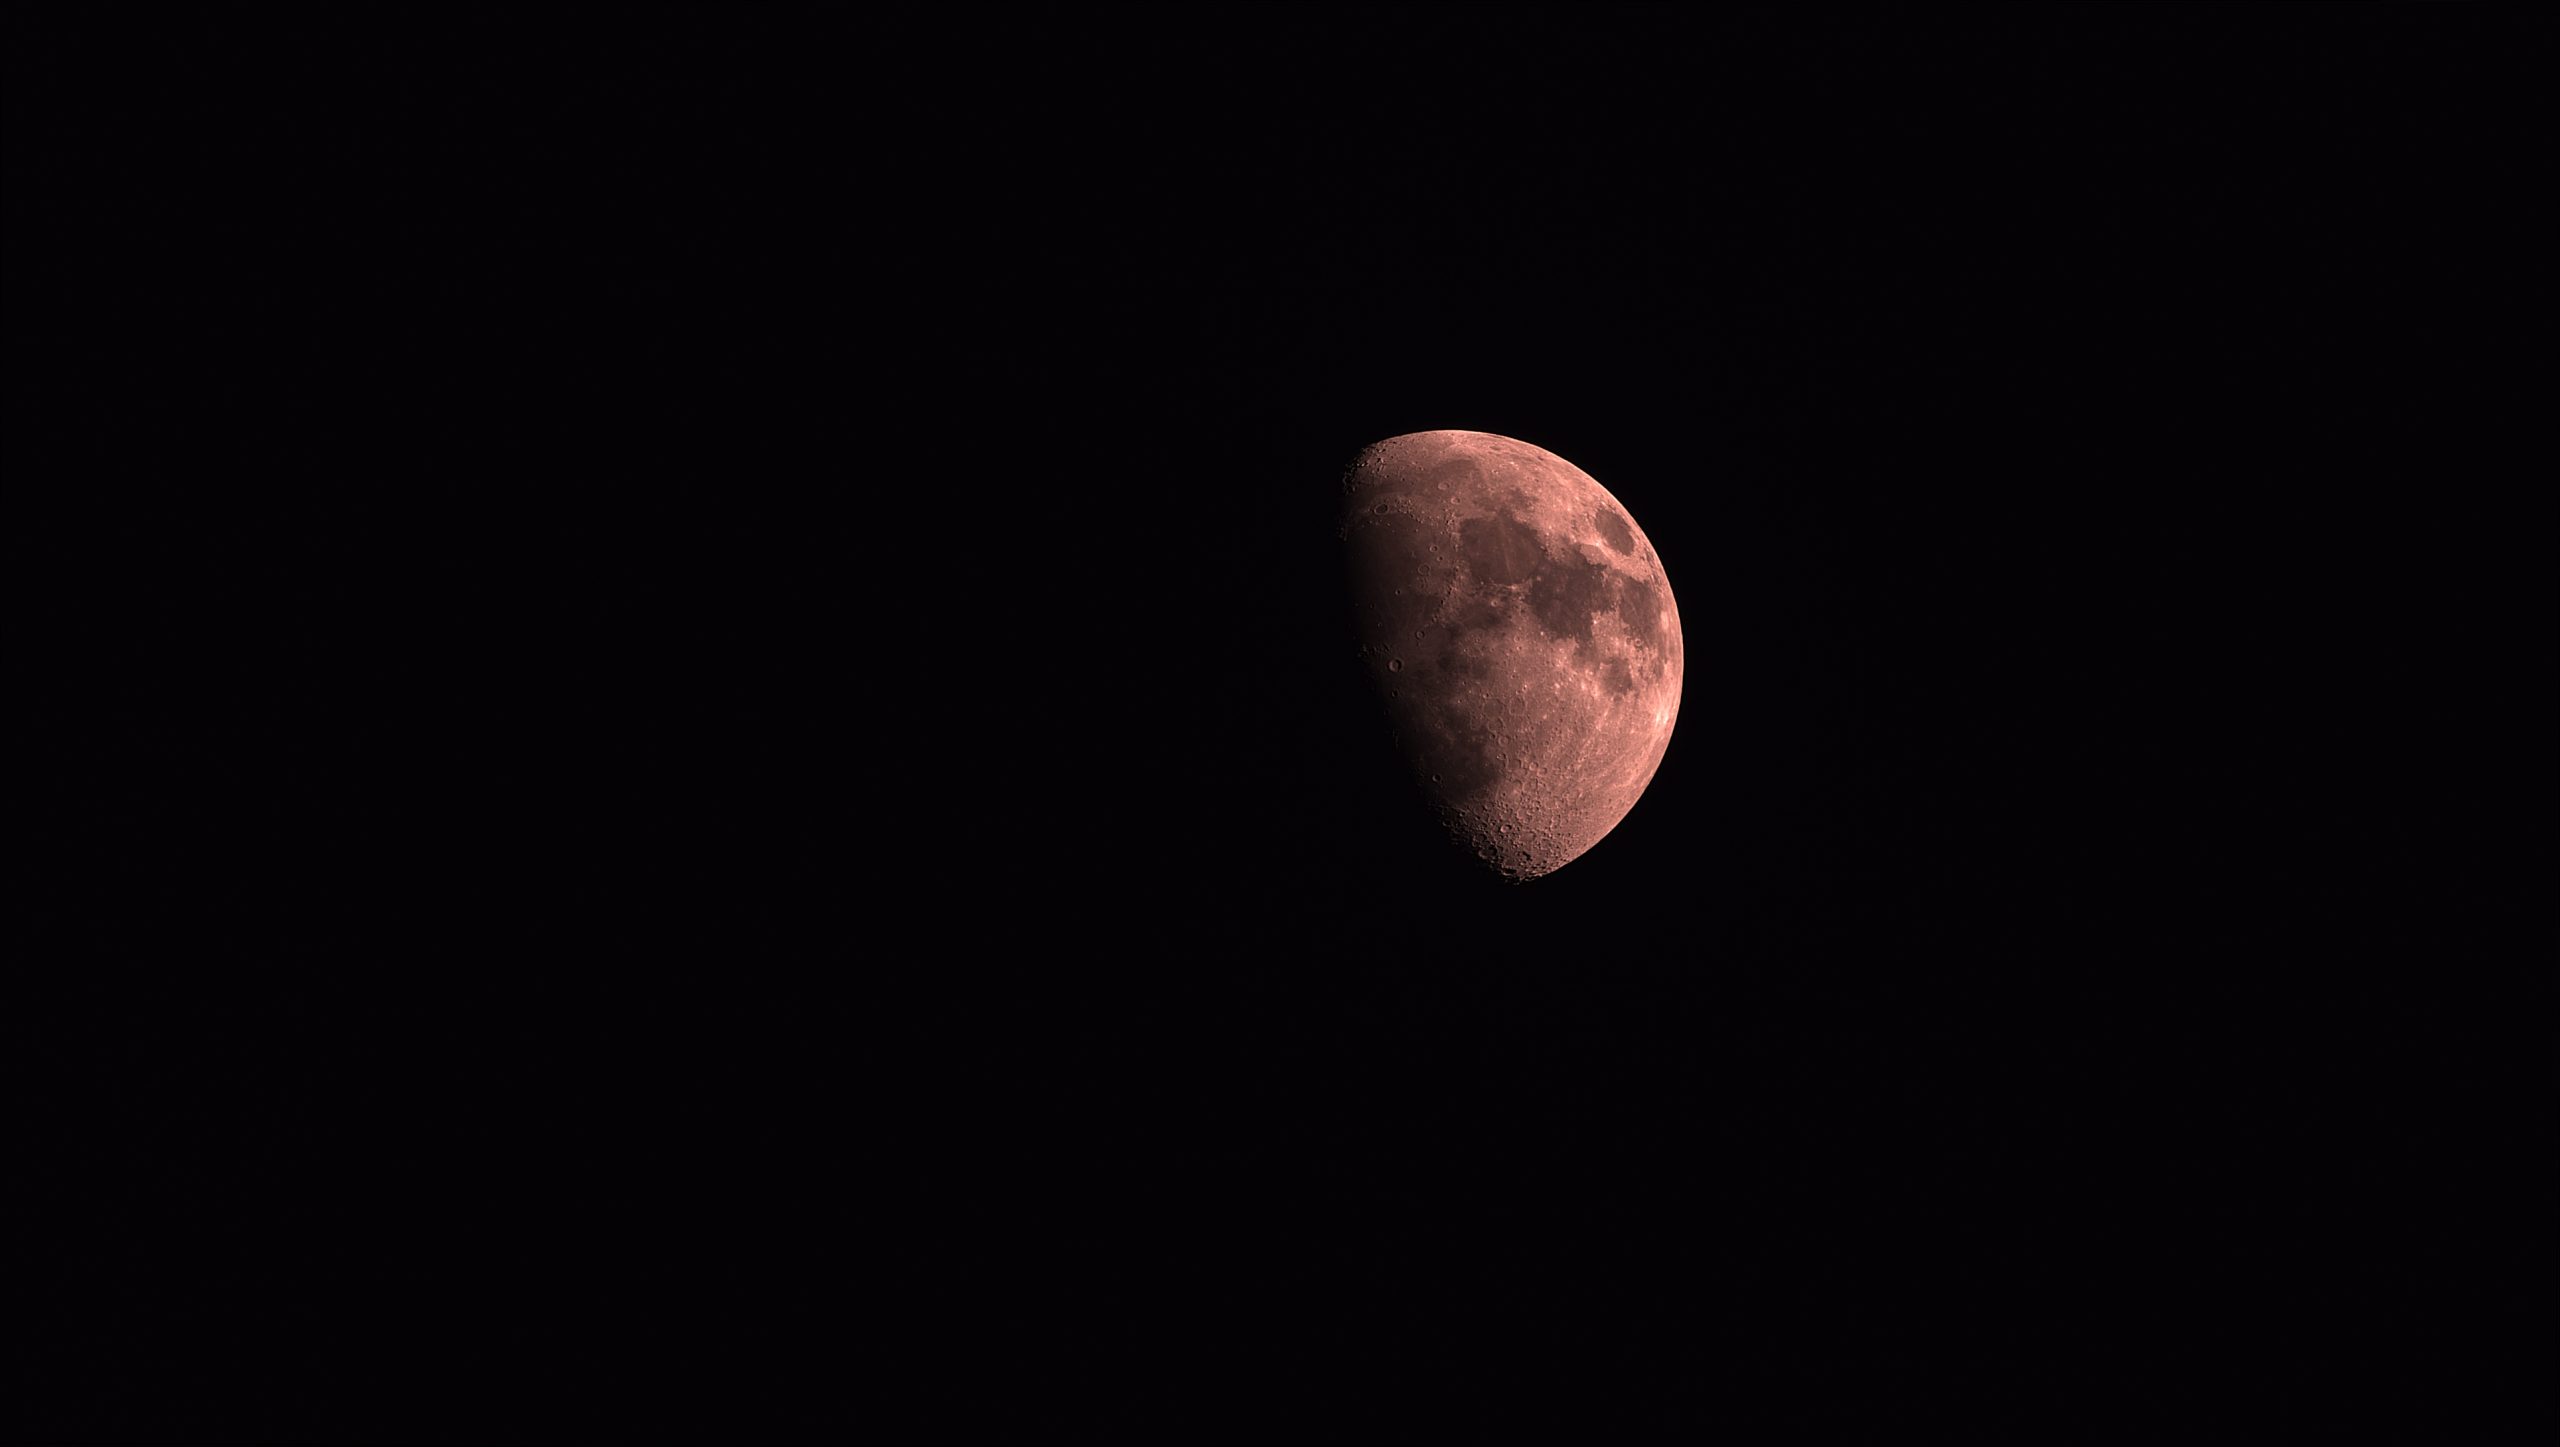
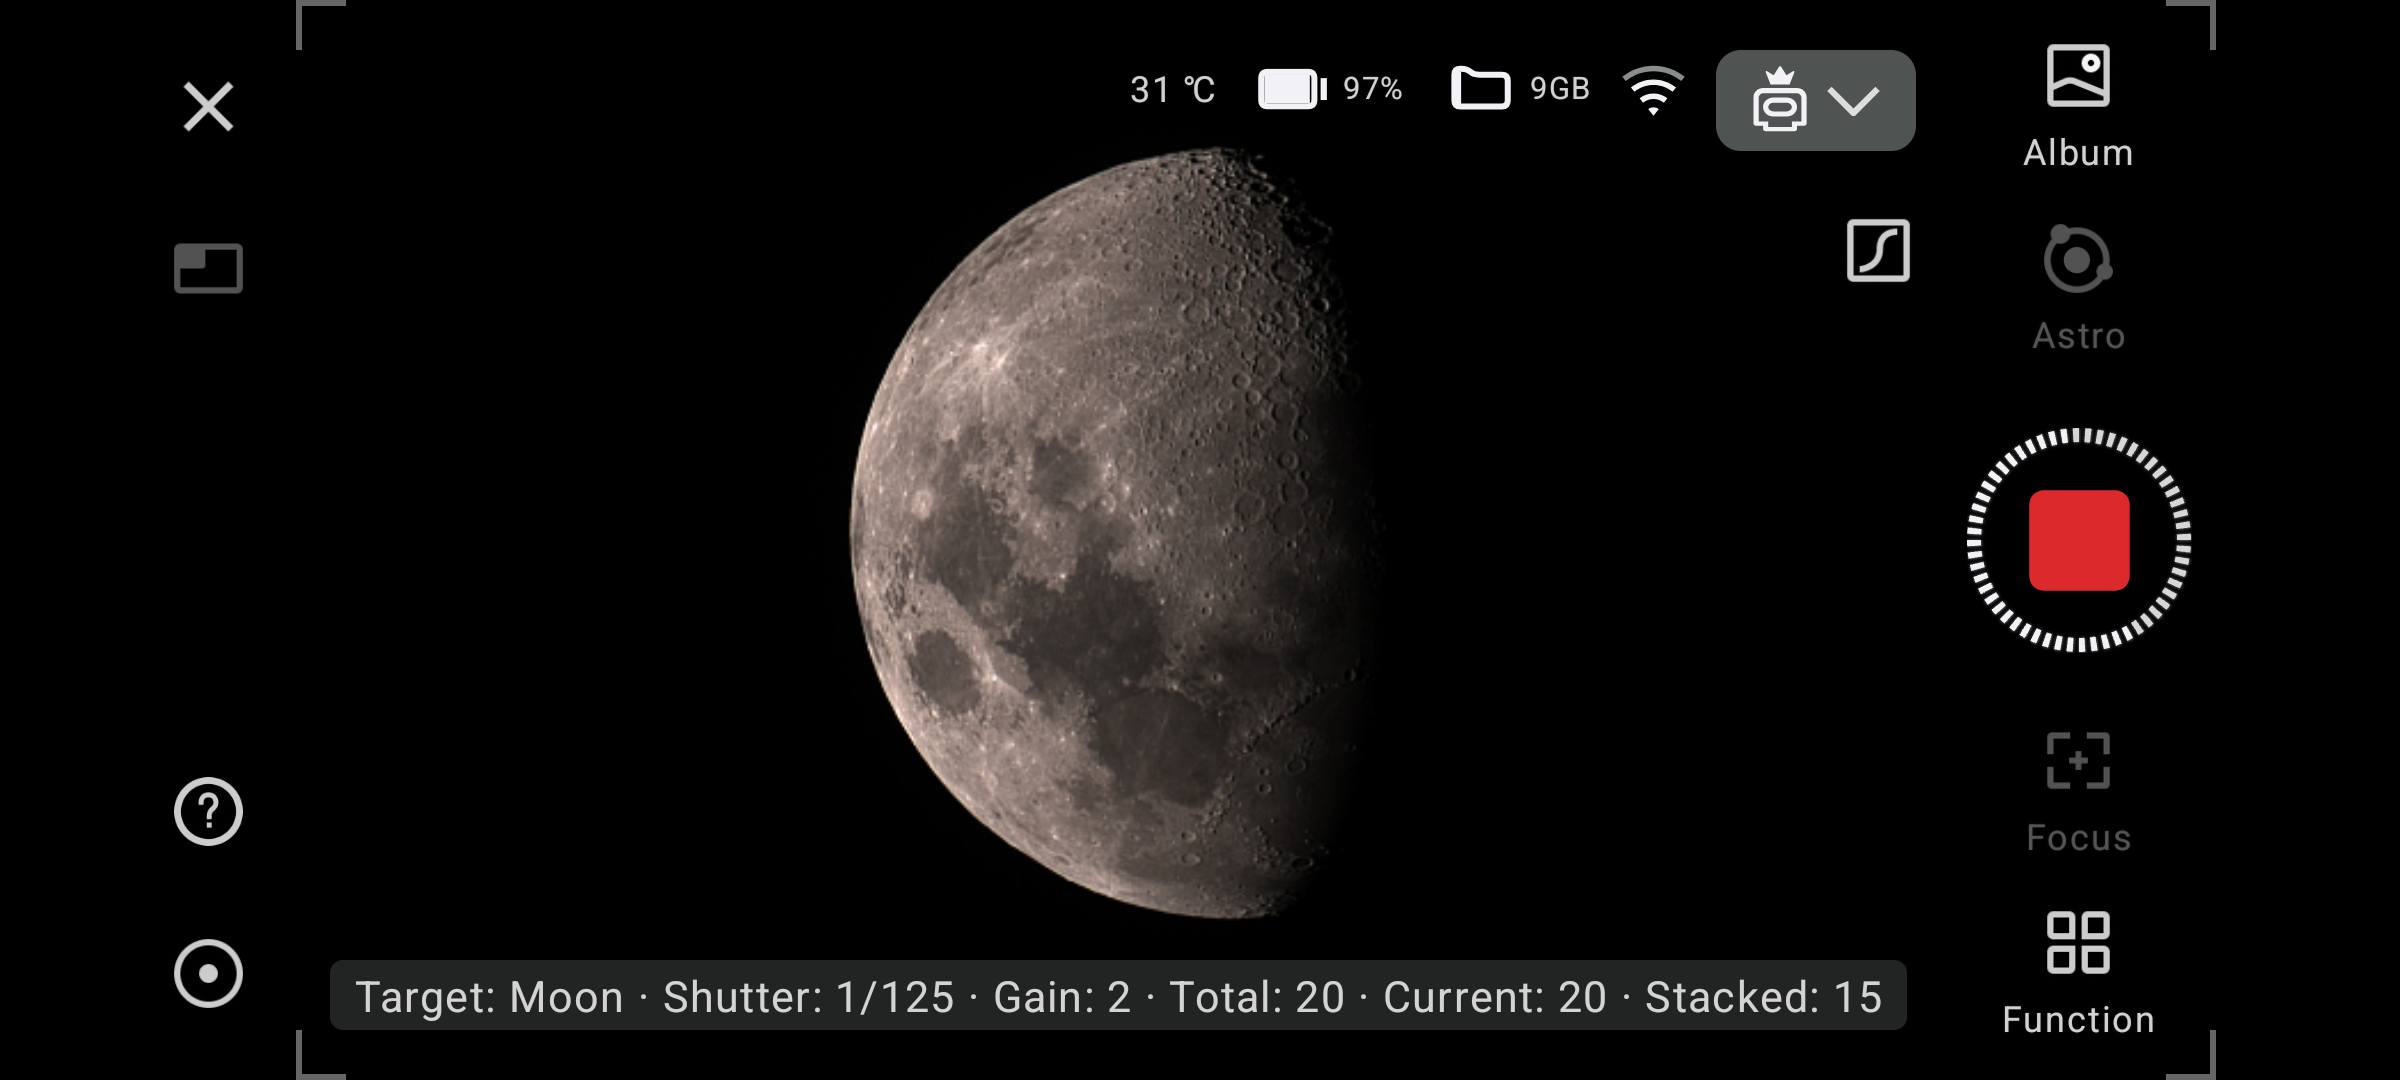
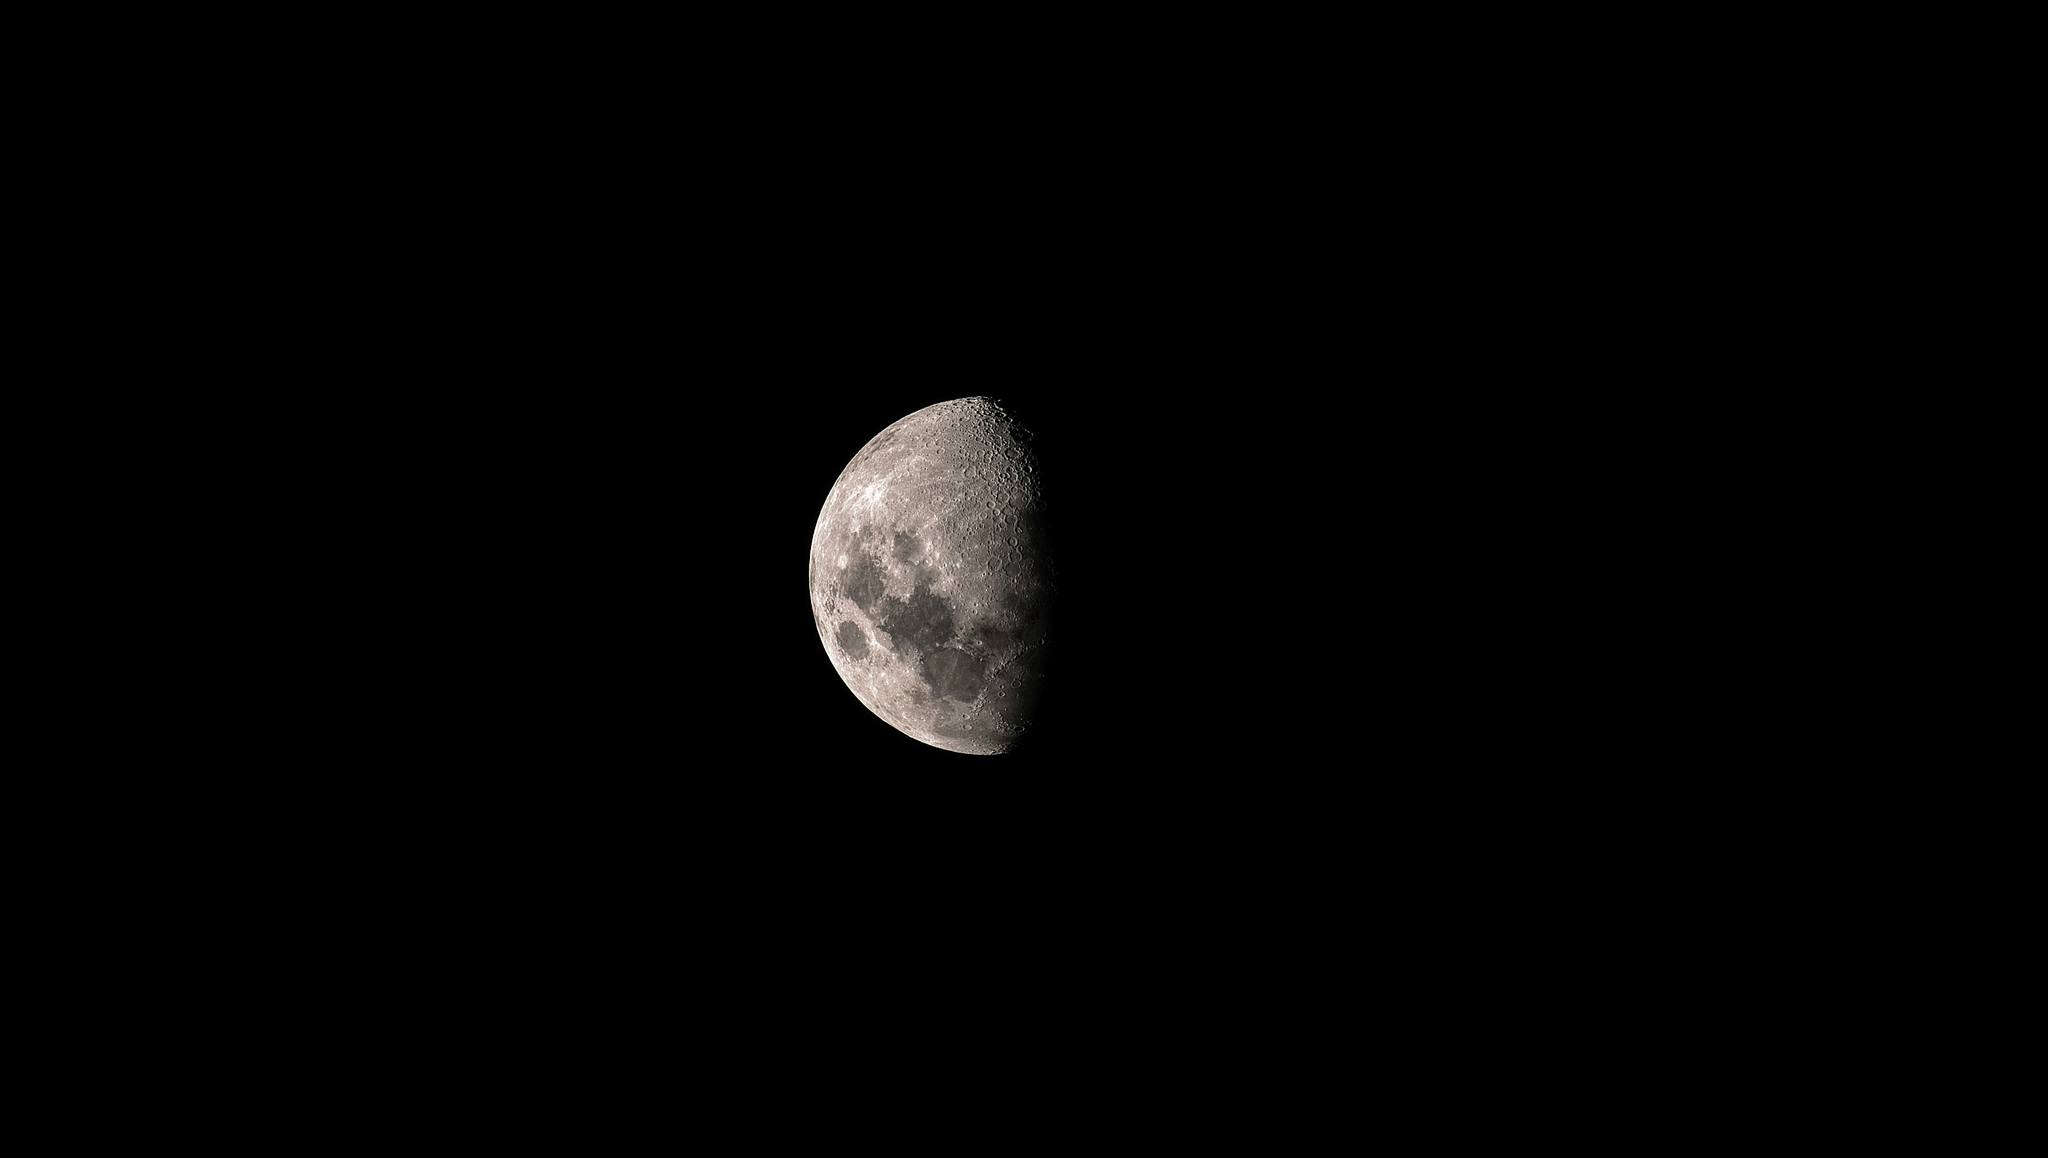
And here are two images I took using the astrophotography mode. As you can see, there is a major difference and the first photo of the moon below was taken at 6pm during sunset, with the second photo at 9pm.
Saturn
The Sun
Deep Sky Astrophotography
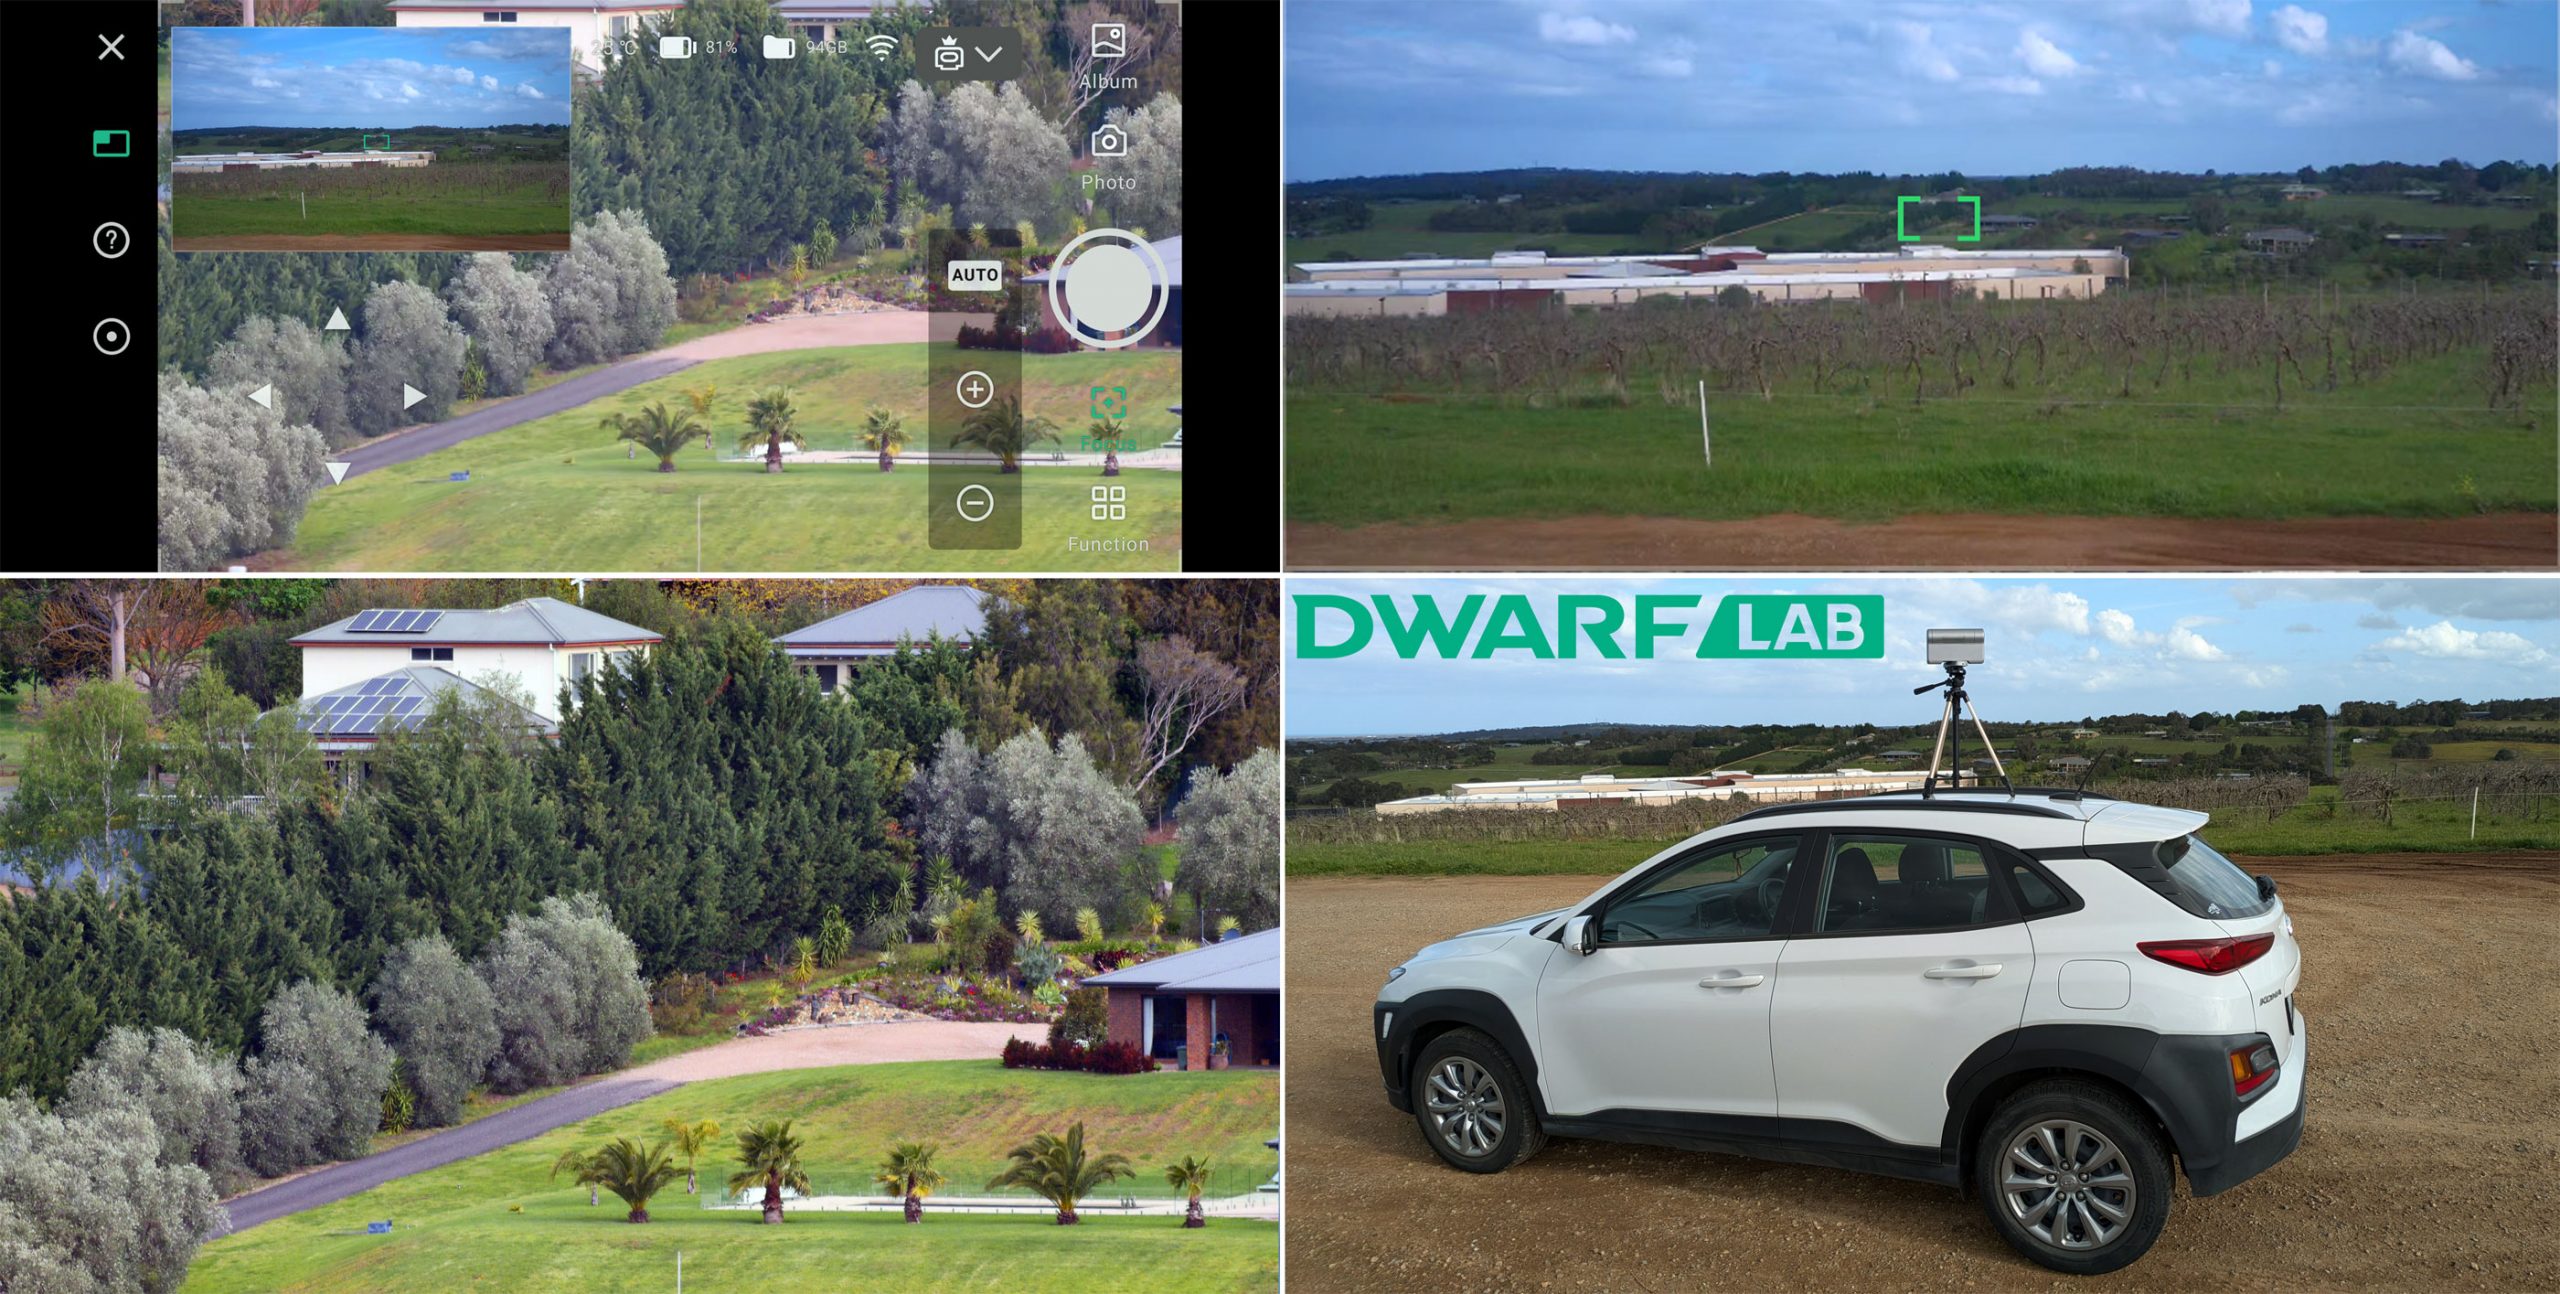
Day
Bird watching
The Moon
Final Thoughts?
The Dwarf 3 Smart Telescope is excellent value for money at just $499 USD (October 2024). It comes with a 2-year warranty and excellent lifetime support should you encounter an issue, like myself, which was user error. Dwarflabs also offers a plethora of tutorials, not to mention some excellent Facebook pages to help and inspire newbies like myself. I’ve used traditional telescopes before, even with a smartphone attachment, but nothing could be simpler than the Dwarf 3. Given the cost, it captures and produces some excellent images, making it perfect for astronomers of all levels…
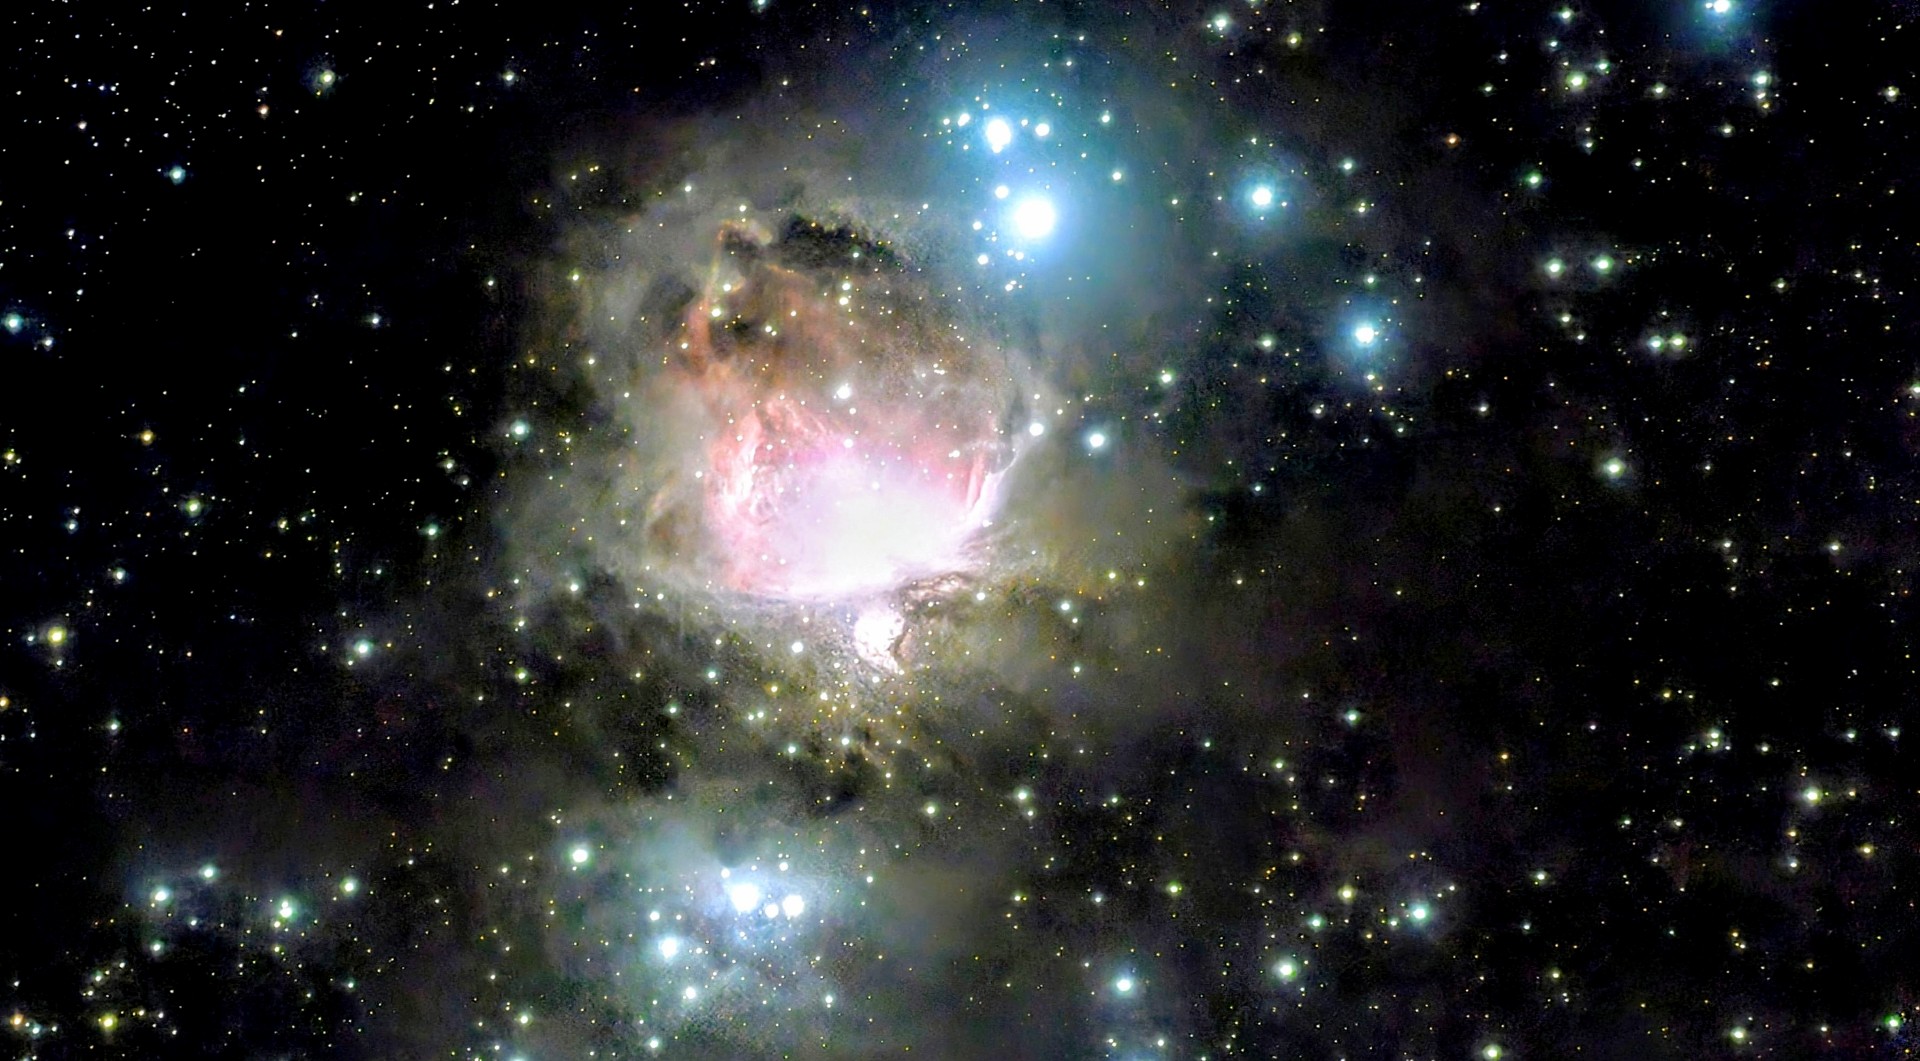
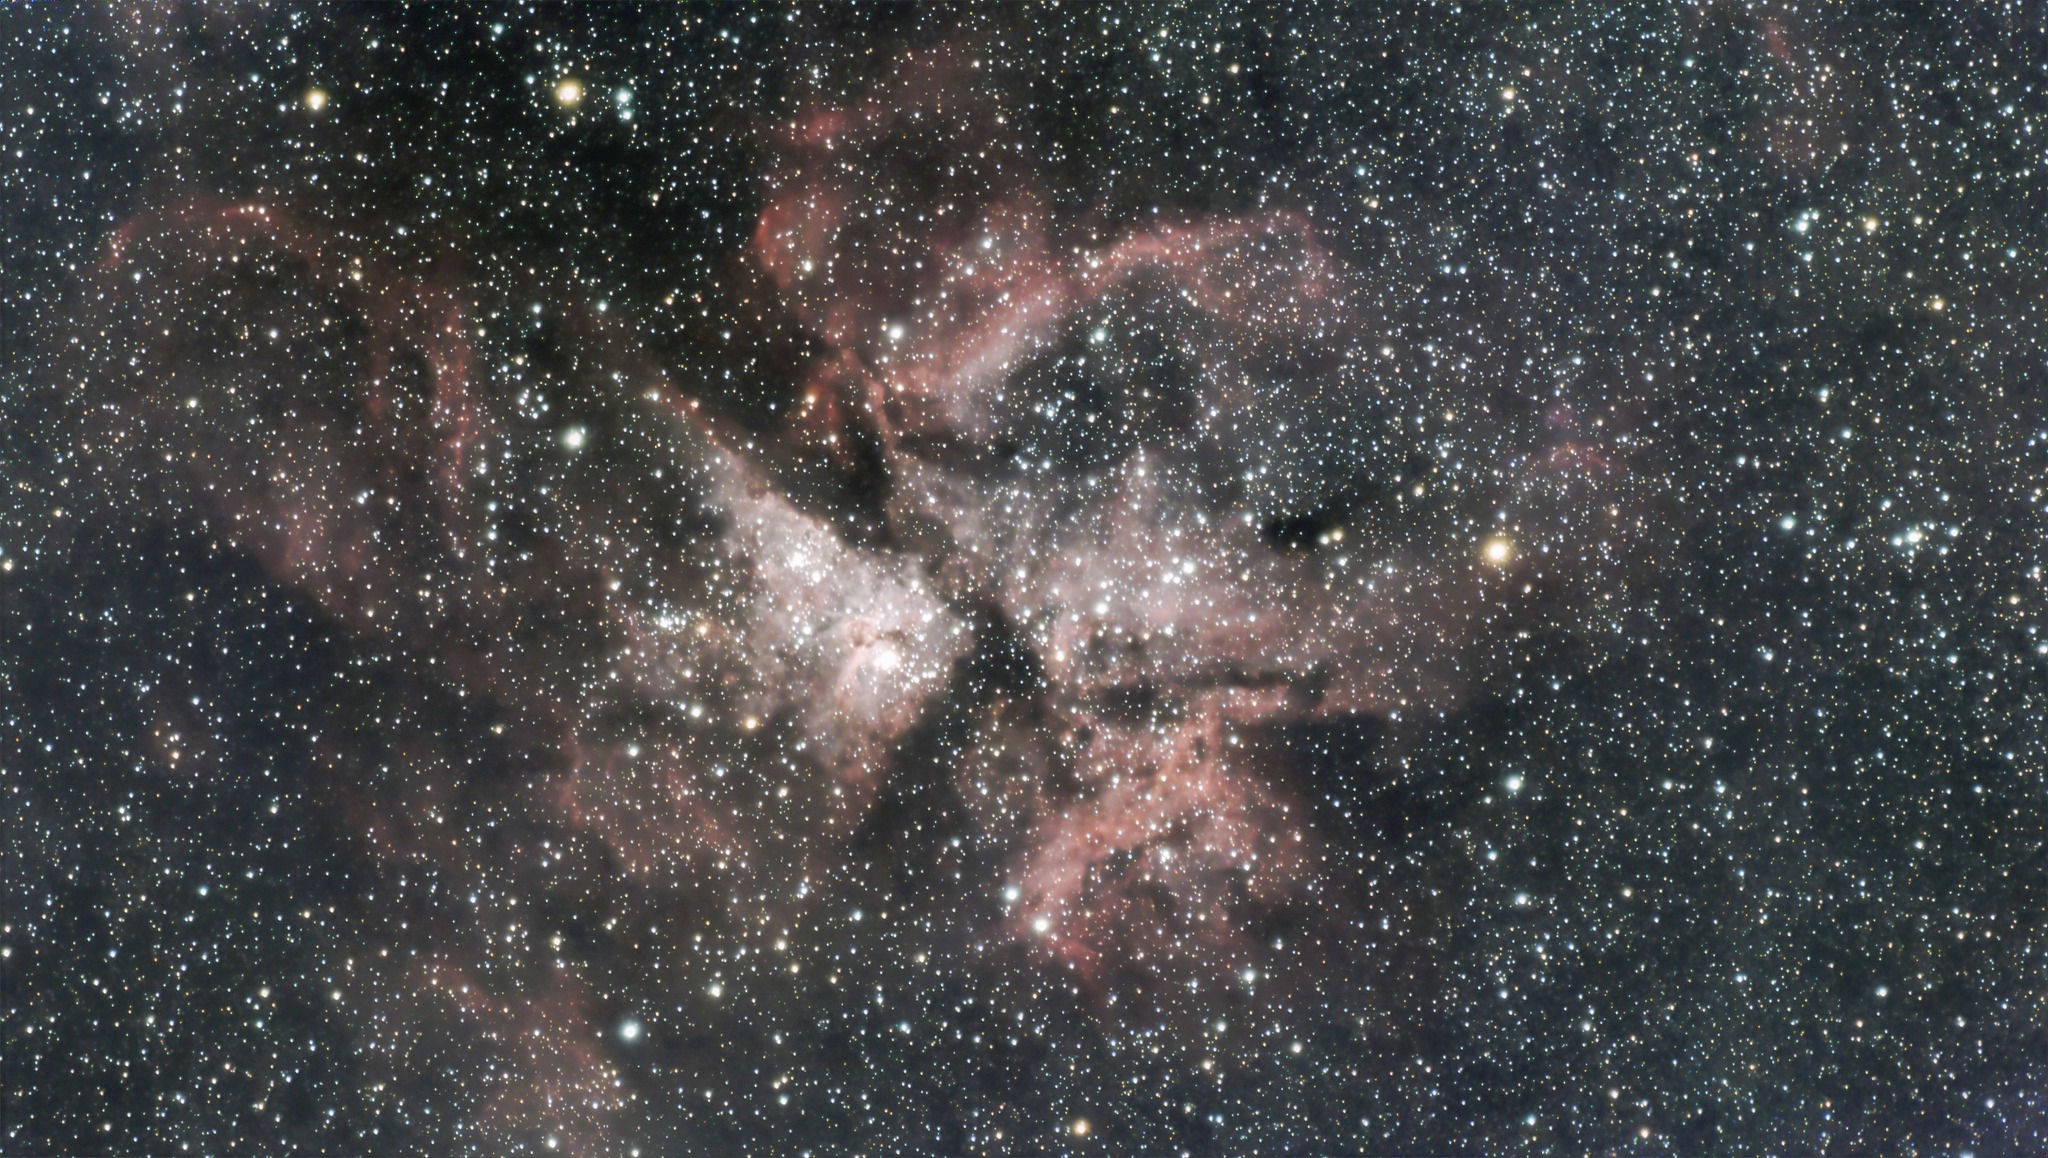
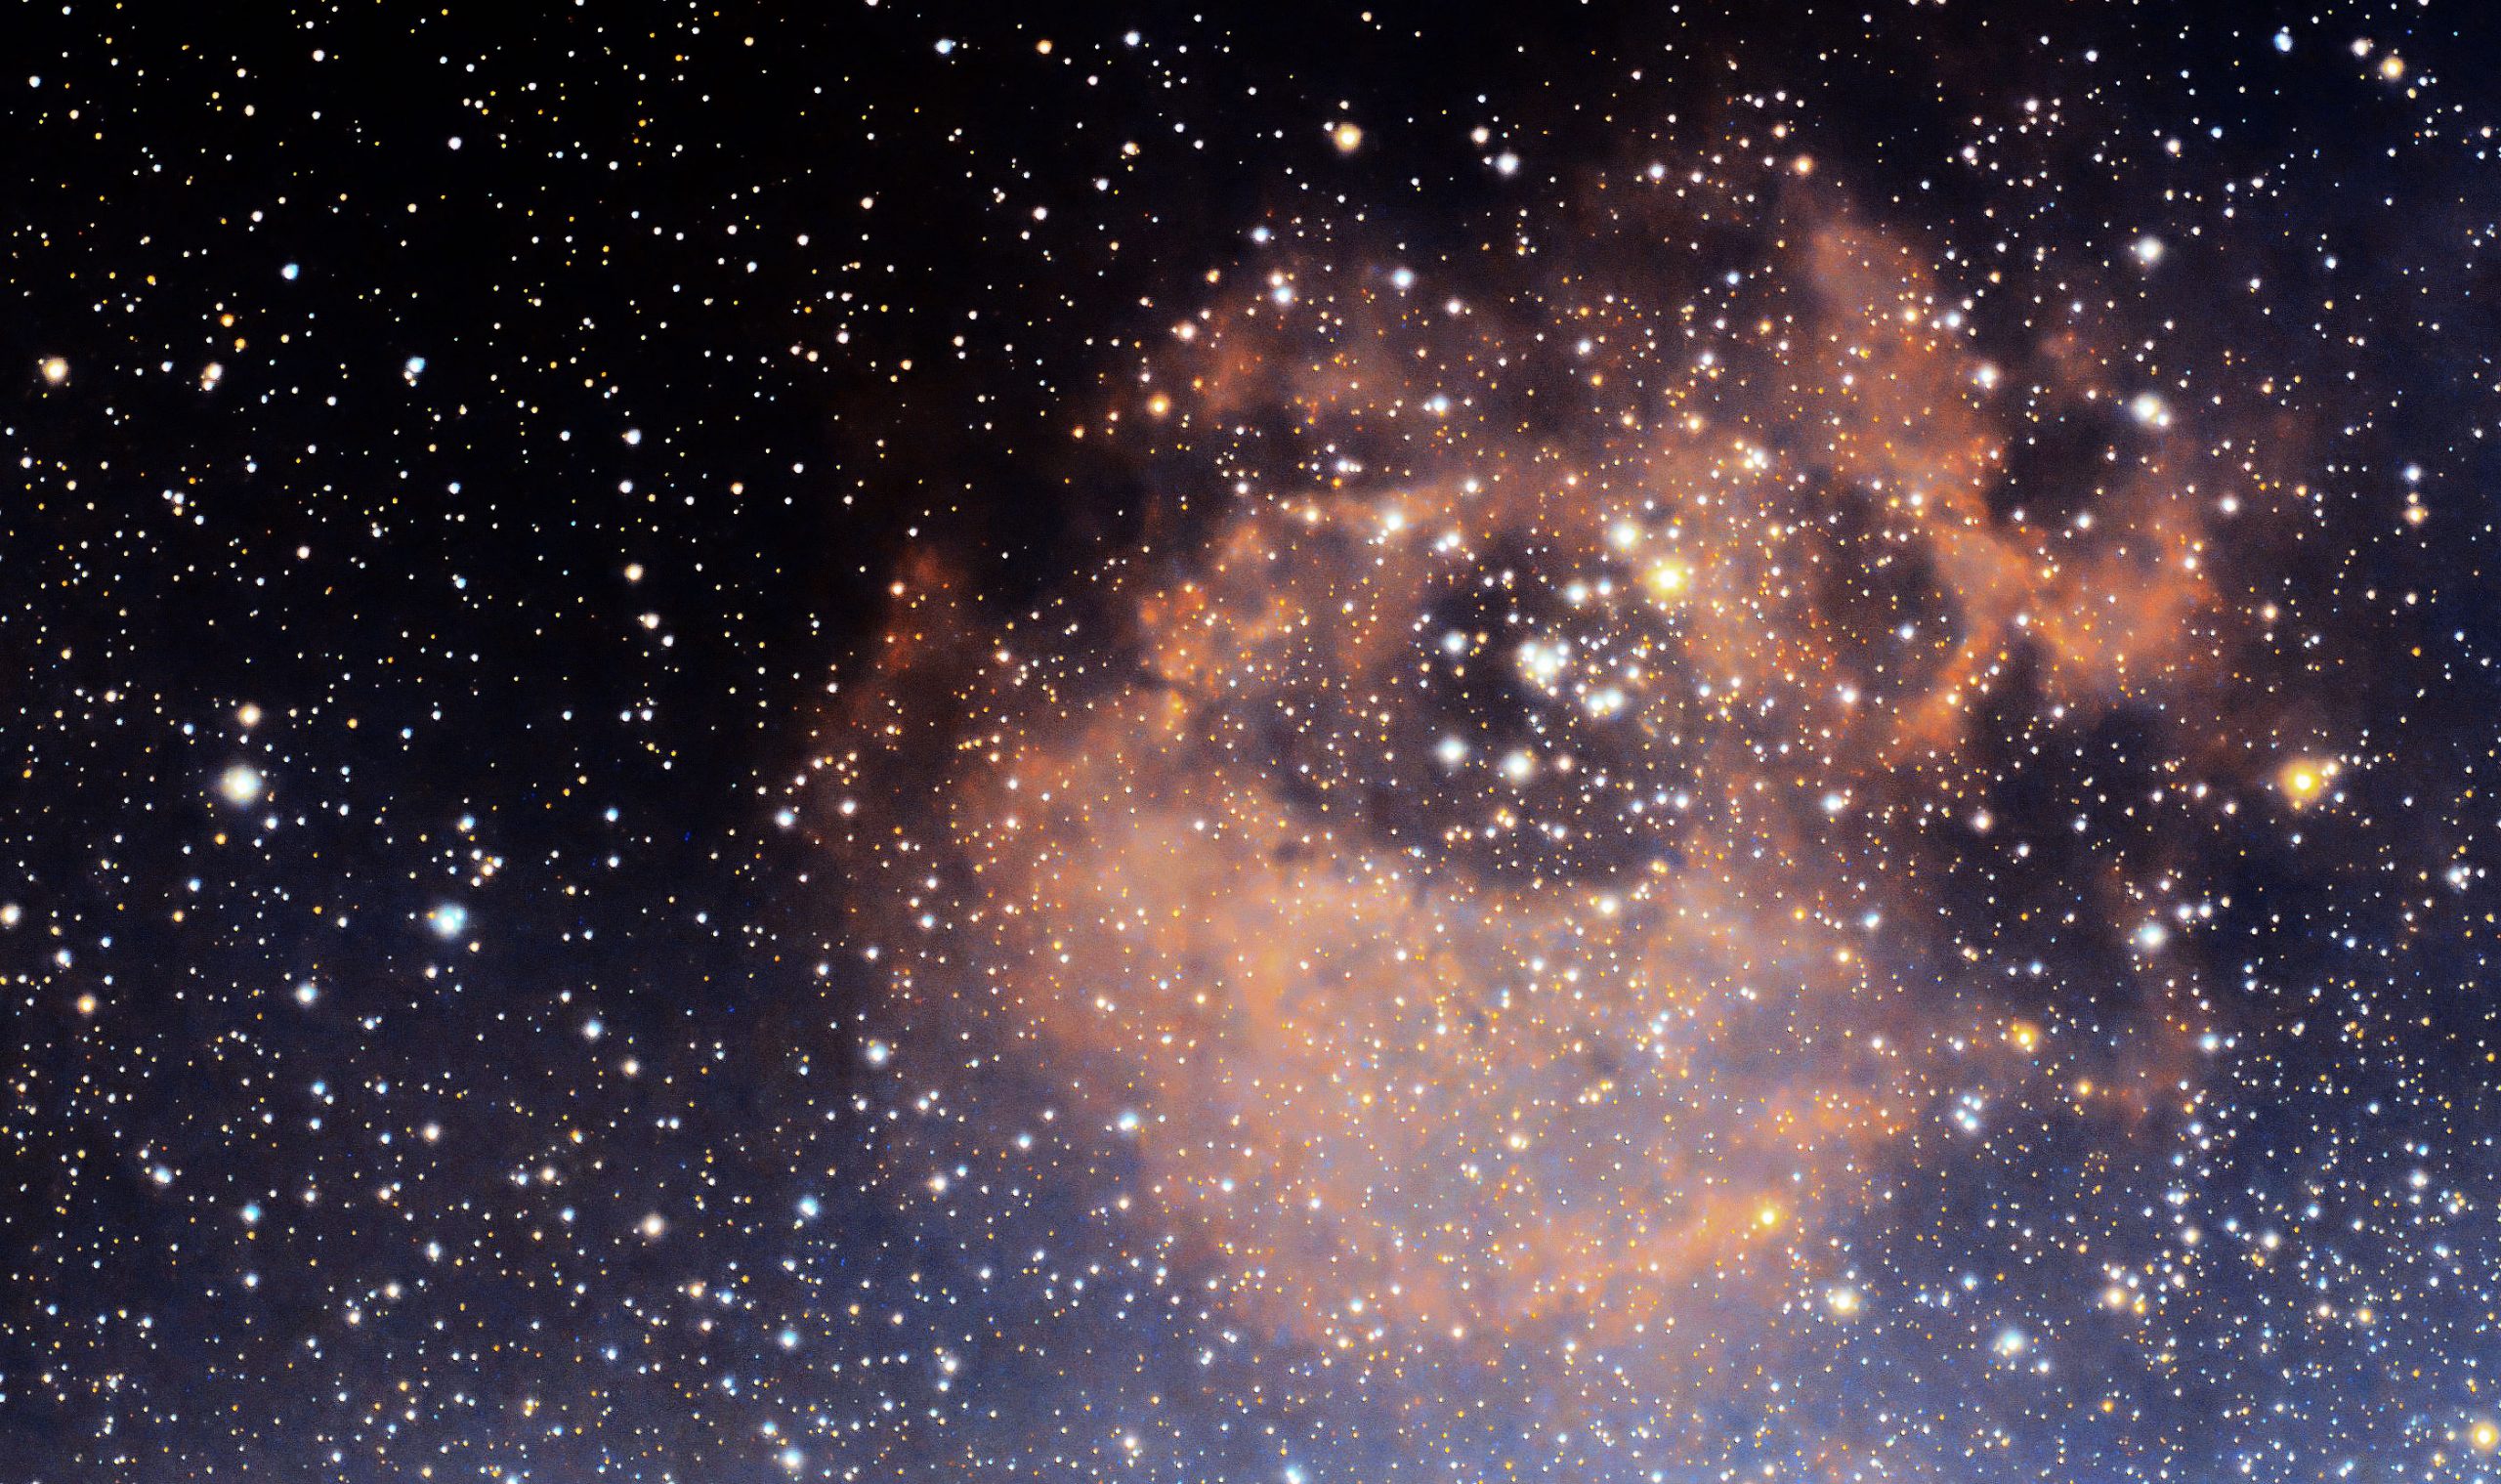
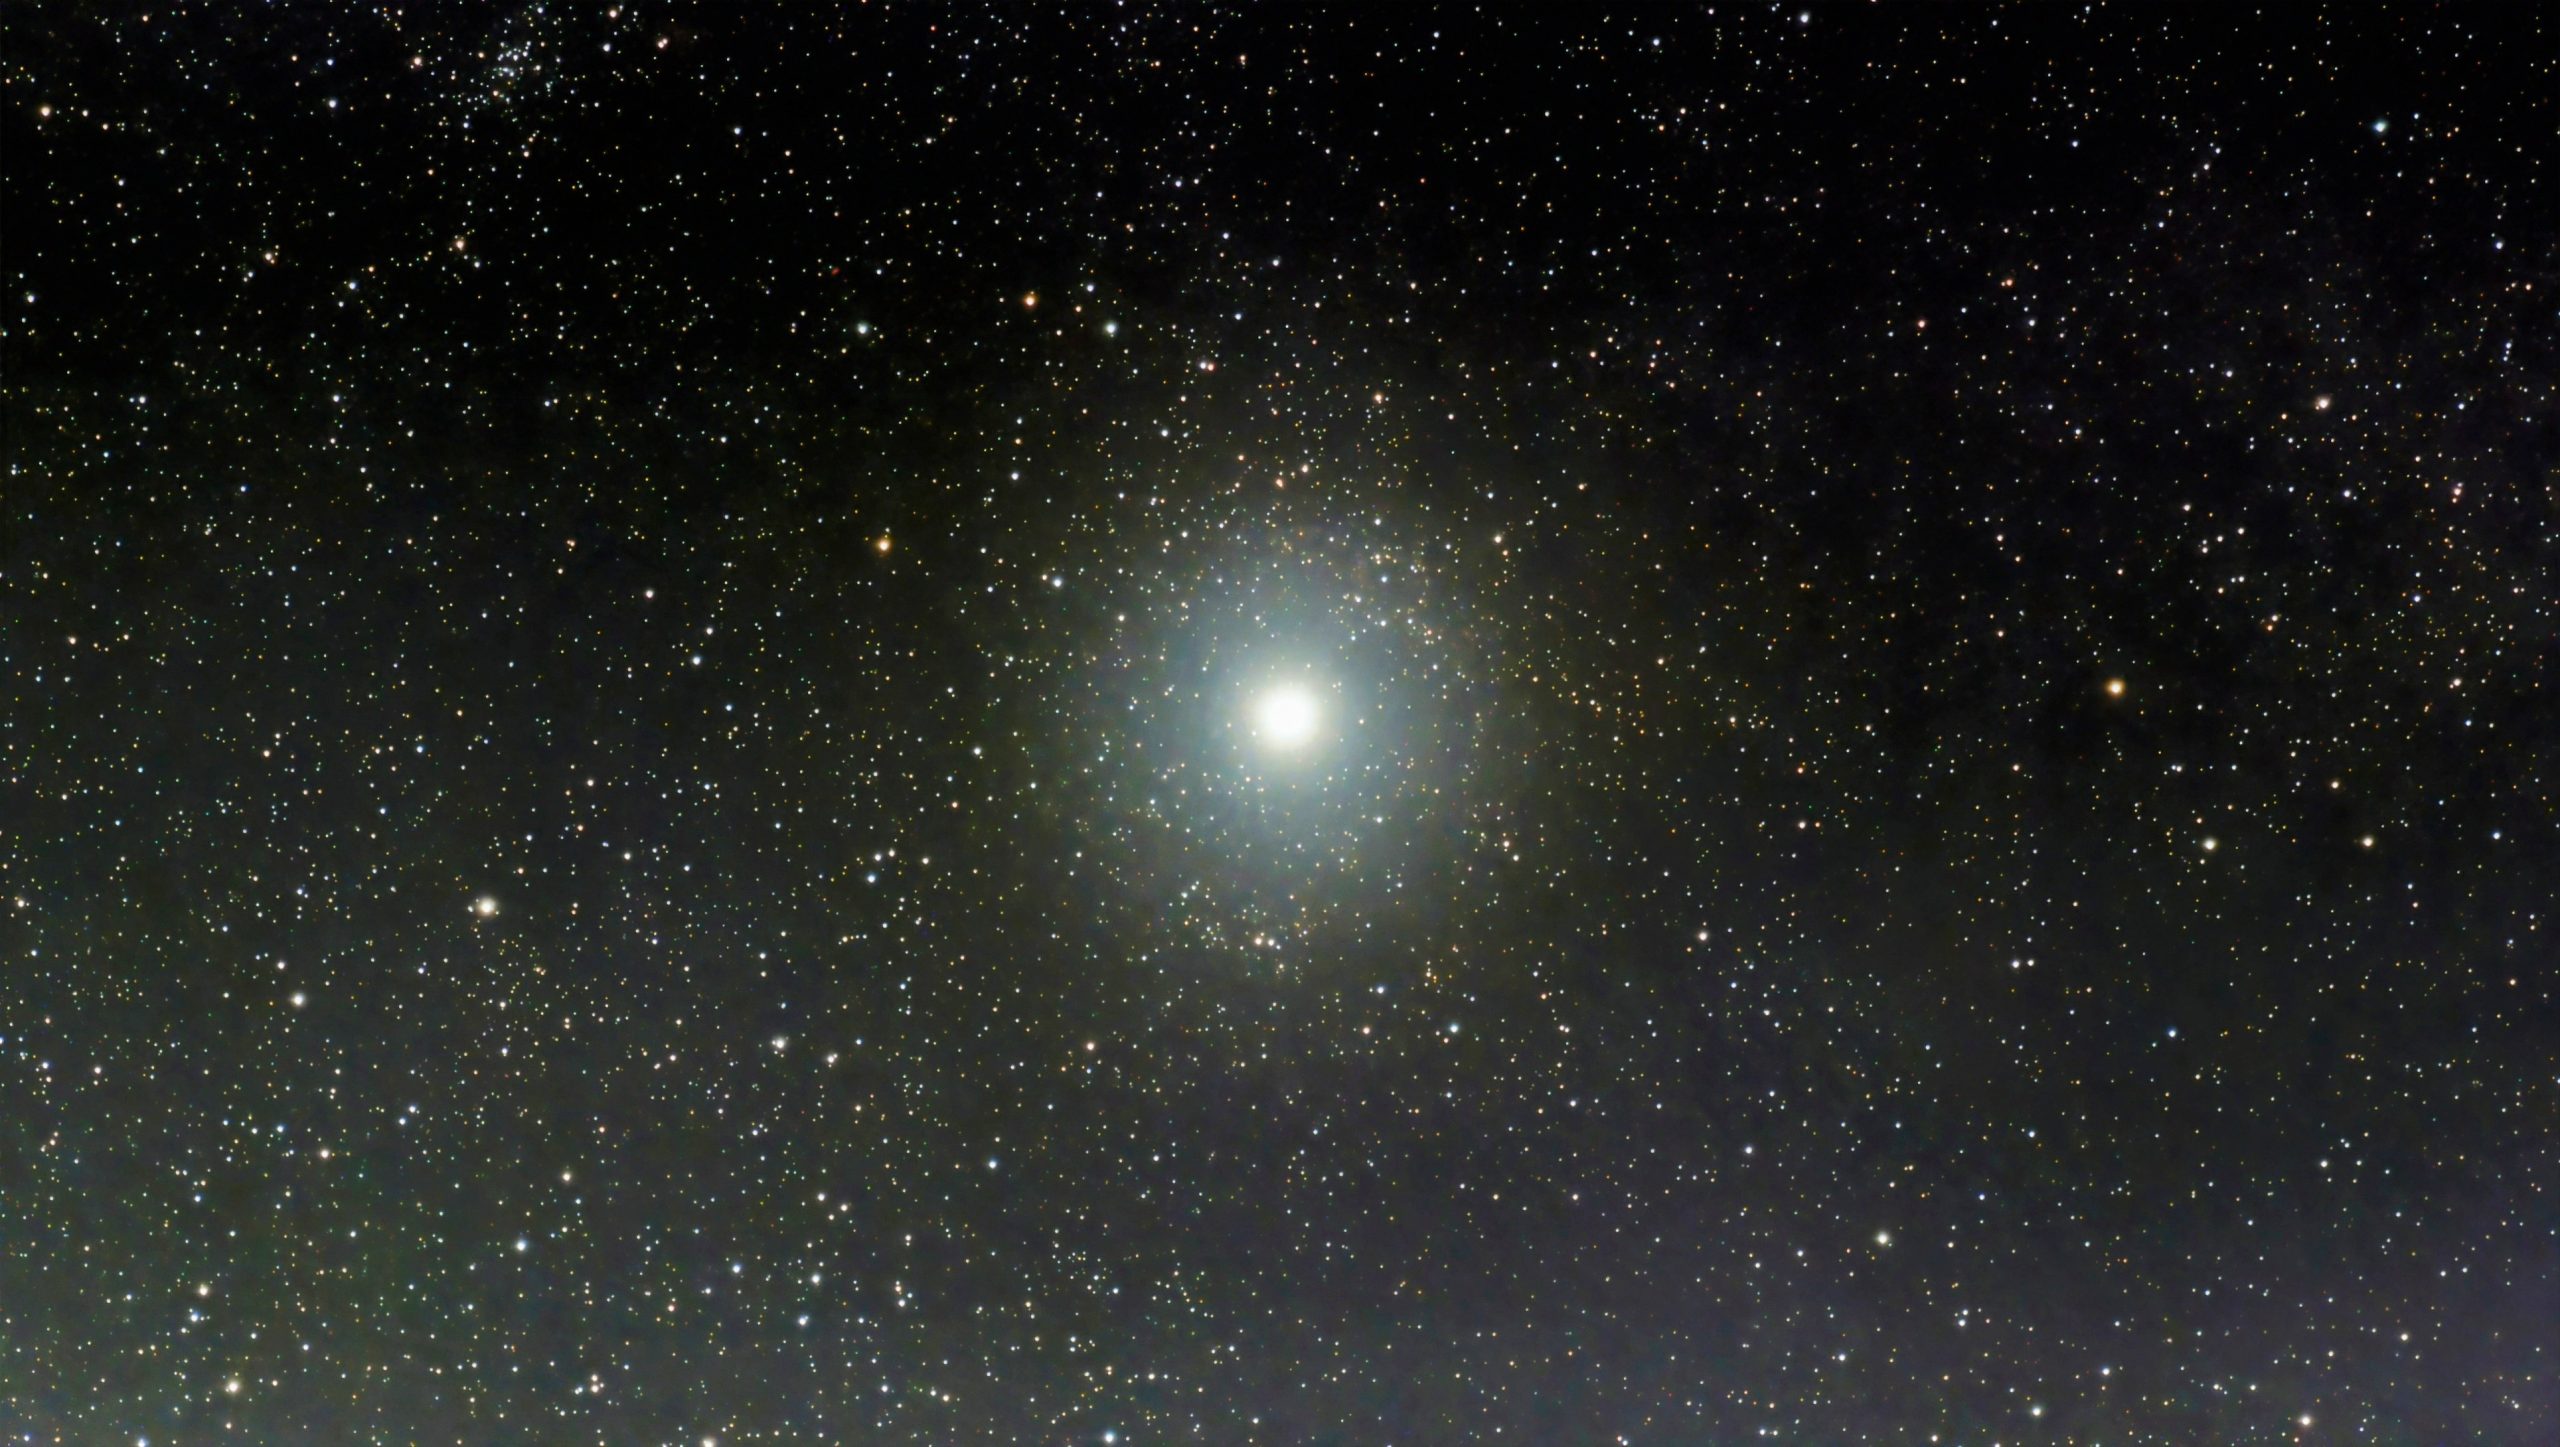
and lastly, here are some amazing images that I have taken since the origianl pre-release release of the Dwarf 3….


